- High Level Synthesis in Vitis HLS
- Hardware Setup in Vivado
- Application Setup in Vitis
- Further Reading
This is a complete guide for utilising a Vitis HLS design with the Zybo Zynq-7000 development board. We will use a simple FIR (Finite Impulse Response) moving average filter as an example.
The guide has been made for the USN course CS4110 by Kent Odde and Stian Onarheim upon request of Professor Jose Ferreira.
- Vitis 2021.X
- Viviado 2021.X
- Vitis HLS 2021.X
- Zybo Zynq-7000 development board
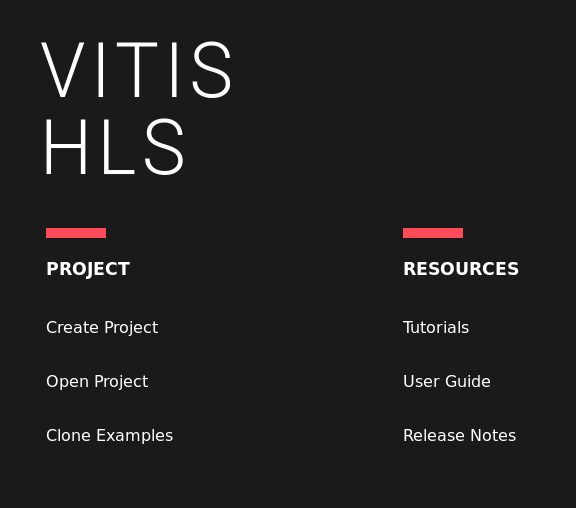
Open up Vitis HLS and choose Create Project.
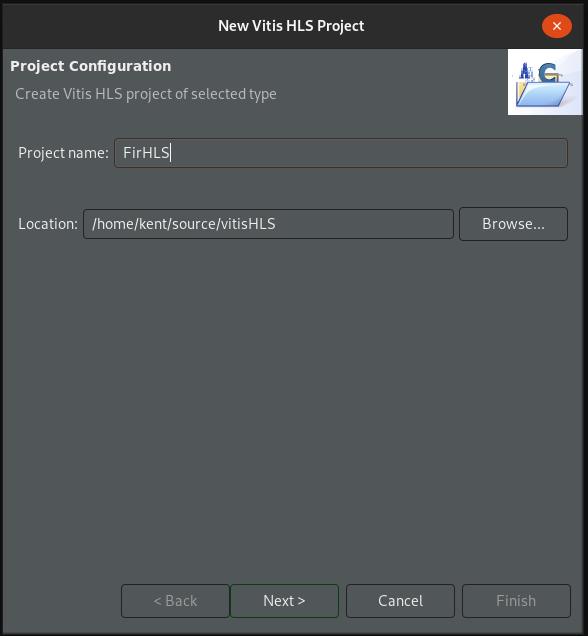
Give the project a suitable name and location.
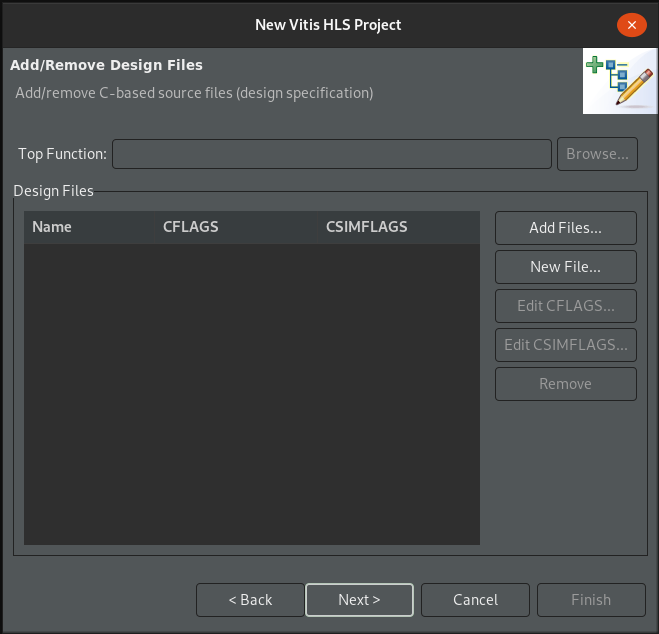
For now, skip adding design and testbench files. We will do this at a later
stage. Click Next.
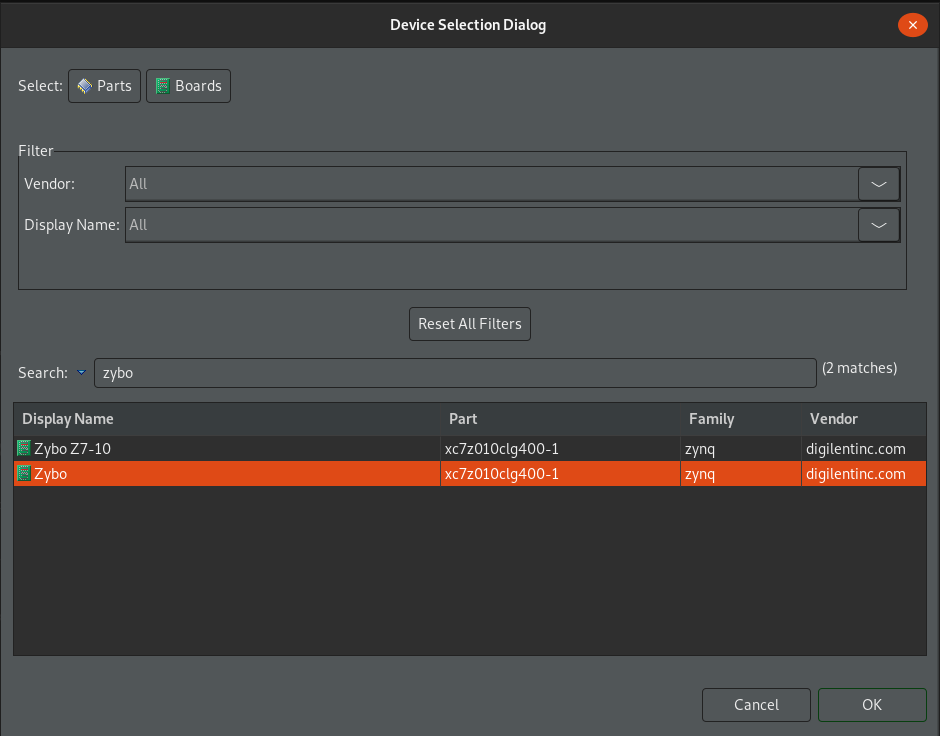
Click the "Three horizontal dots" button under Part Selection.
In the Device Selection Dialog, press Boards and search for Zybo.
To install board files, look at Jose and Manuels guide here.
If the board does not show up, try clicking Boards again after searching and the board should appear.
If on Linux, also follow the instructions in the last post here.
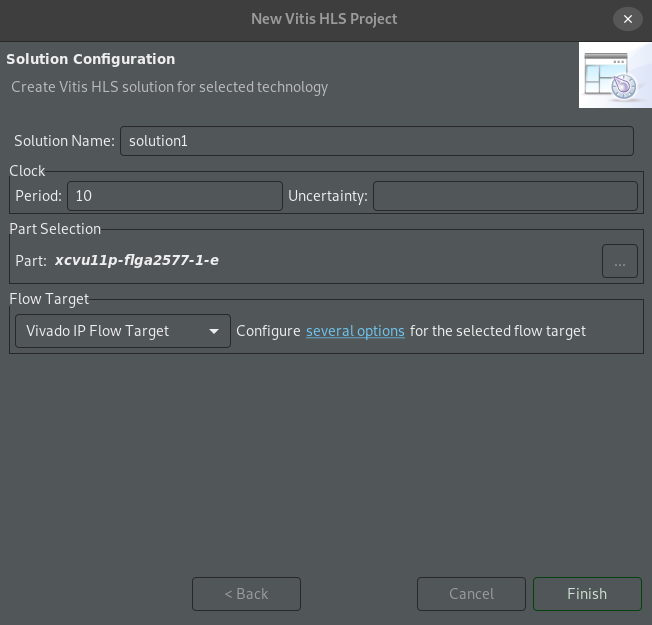
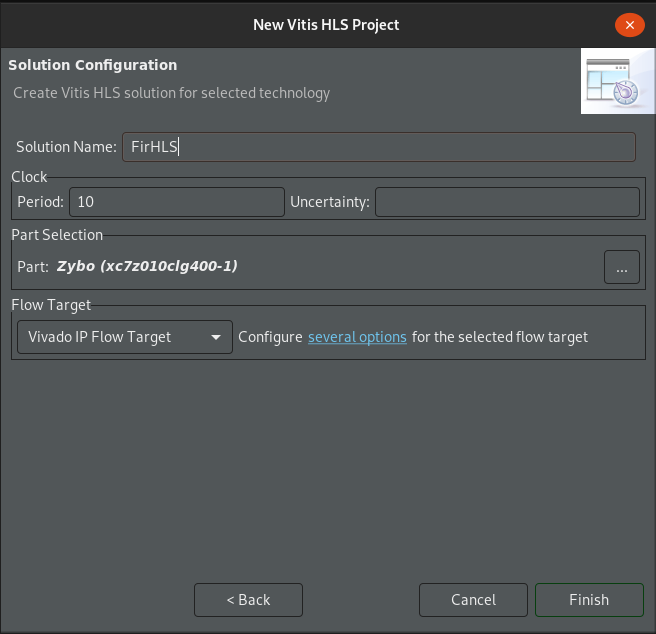
Give the solution a suitable name and press Finish.
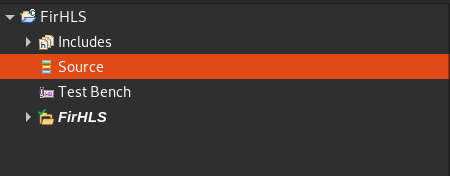
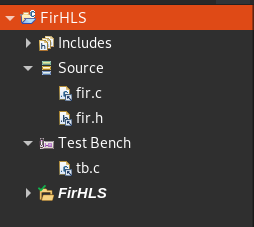
On the left side in the Explorer window, right-click Sources and click New file. Add the files fir.c and fir.h.
Right-click on Test Bench, click New file and add the file tb.c.
The file tree should now look like this:
The source code can be found here:
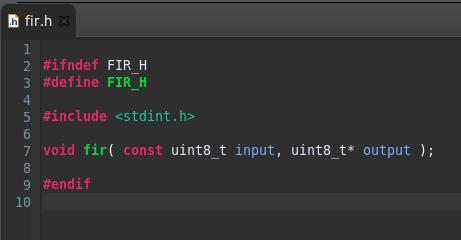
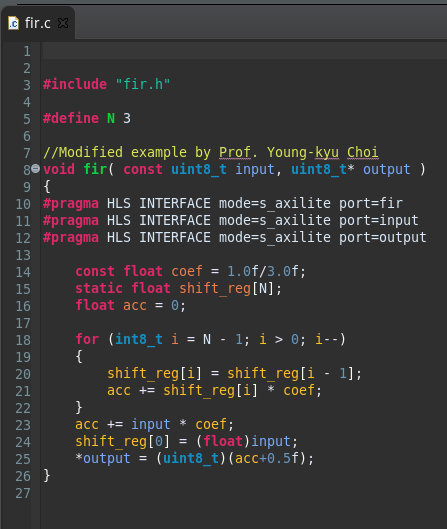
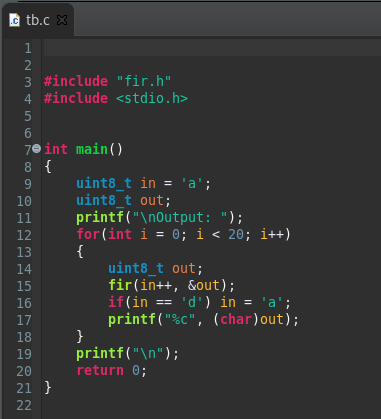
The files should now look like this:
fir.h
fir.c
tb.c
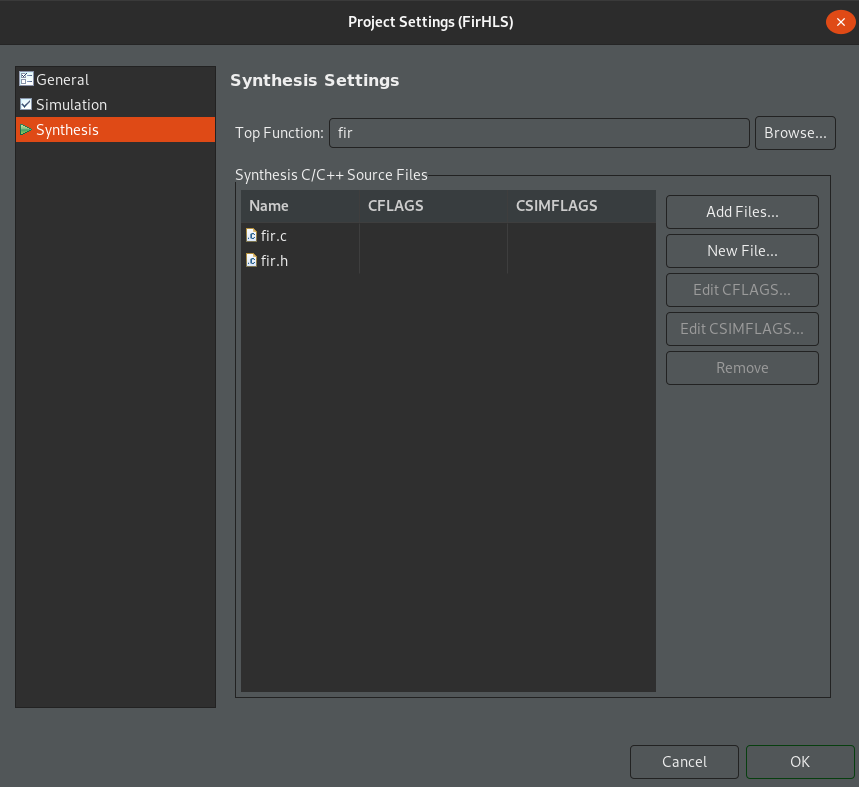
Go to Project --> Project Settings --> Syntesis. Select fir.c and click Browse to select the top level function for synthesis. In our case this is fir.
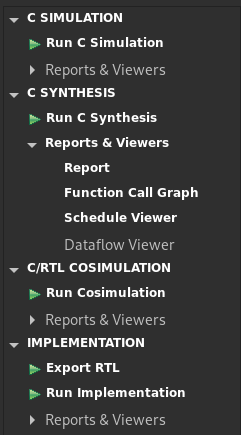
In the Flow navigator window as seen below:
Run the C simulation and ensure that the output looks something like this:
utput:  Abbbbbbbbbbbbbbbbbb
INFO: [SIM 211-1] CSim done with 0 errors.
INFO: [SIM 211-3] *************** CSIM finish ***************
INFO: [HLS 200-111] Finished Command csim_design CPU user time: 23.45 seconds. CPU system time: 1.31 seconds. Elapsed time: 24.48 seconds; current allocated memory: 251.756 MB.
Finished C simulation.
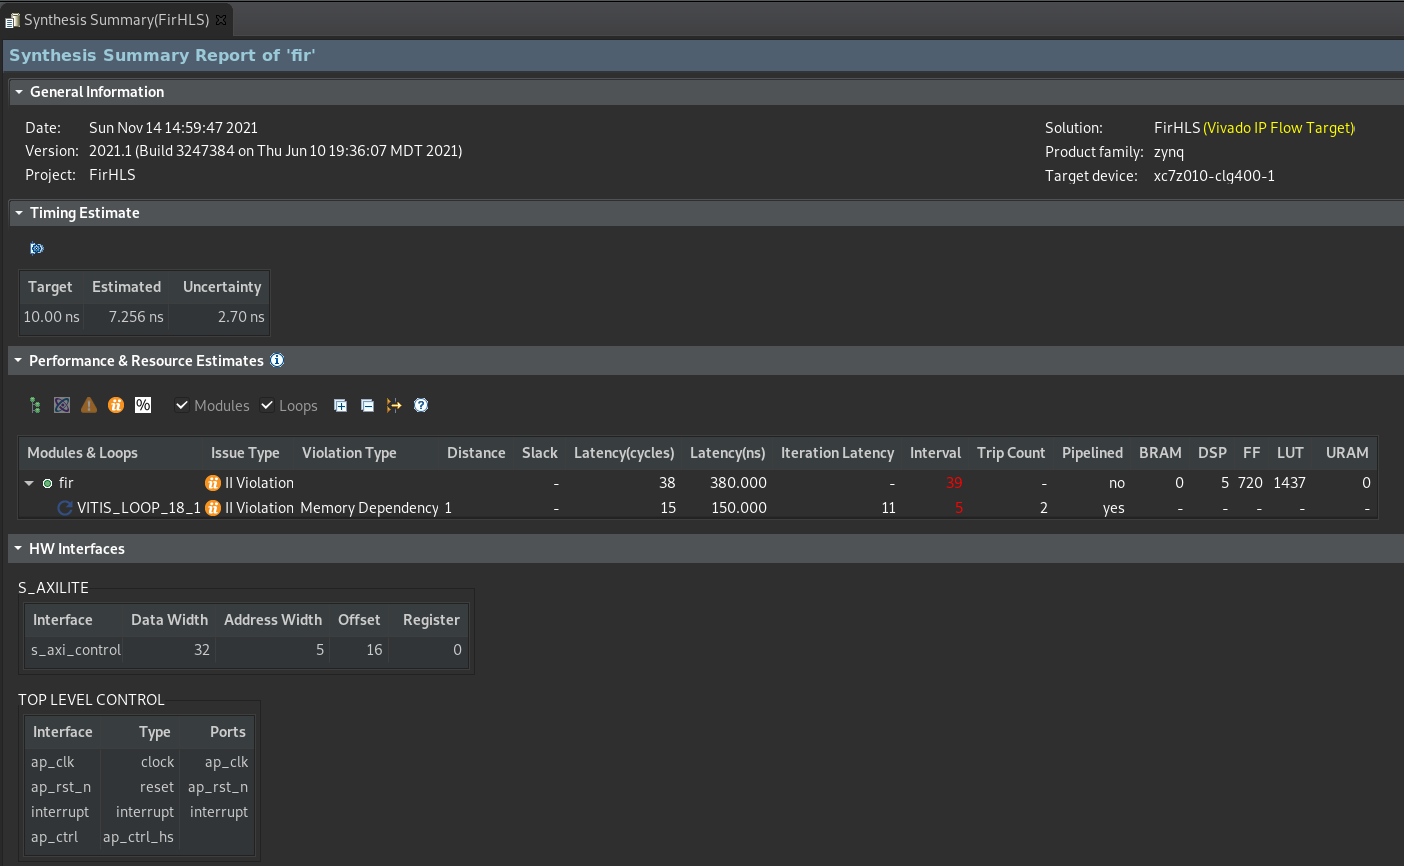
Run the C Synthesis and ensure that the output looks something like this:
The code is not optimised and has timing violations. Since this is only an example, this is fine.
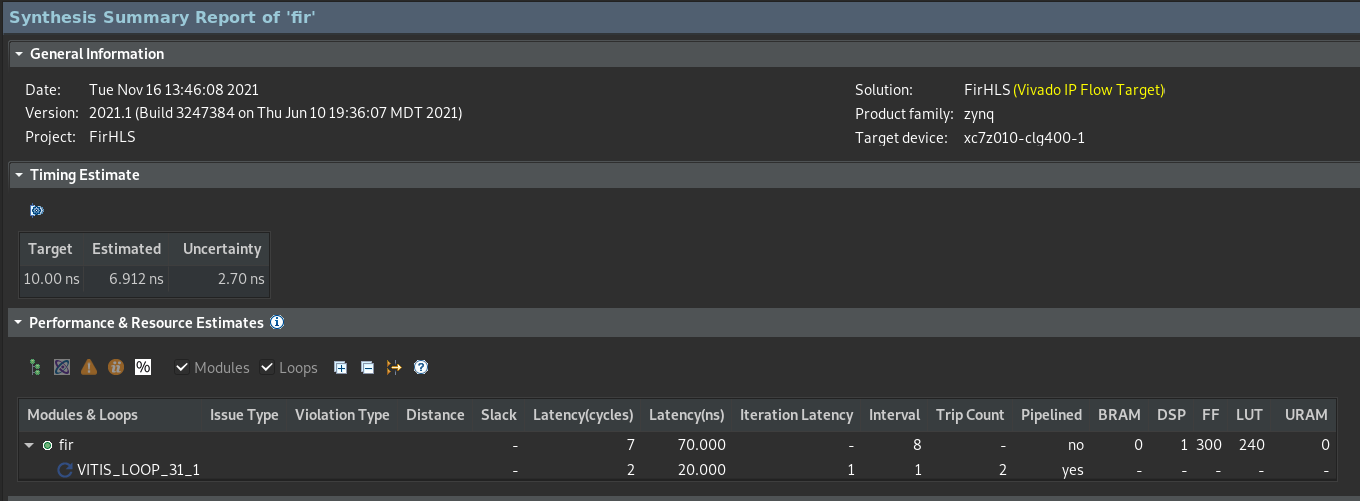
Swap out the content of fir.c with fir_improved.c and run C Synthesis again.
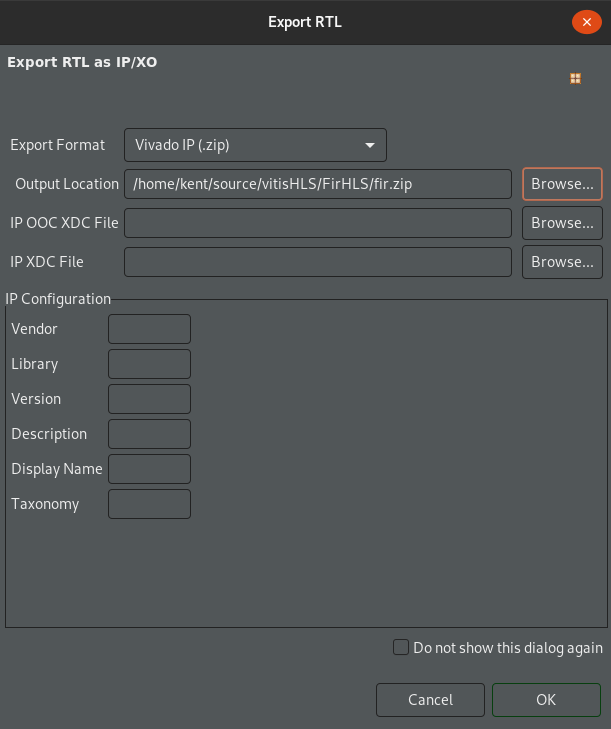
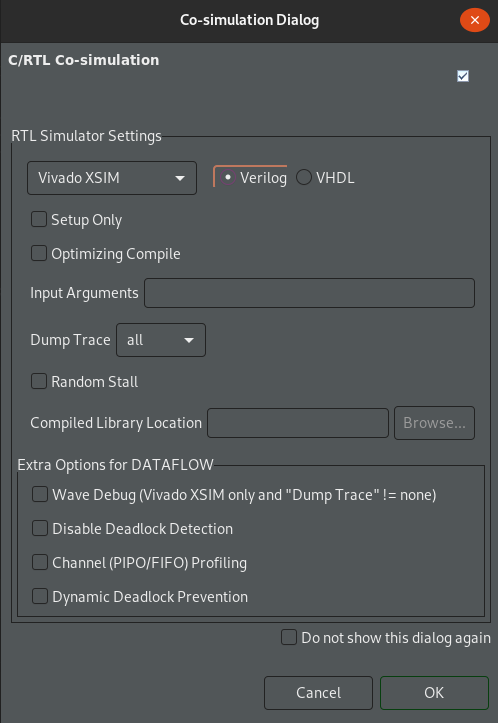
In the Flow navigator window, press the Export RTL button and save the ZIP file in a suitable location. When prompted by the Run Cosimulation window, keep it set to Verilog, and set dump trace to all in order to later see the waveform. (See image below).
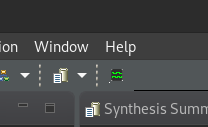
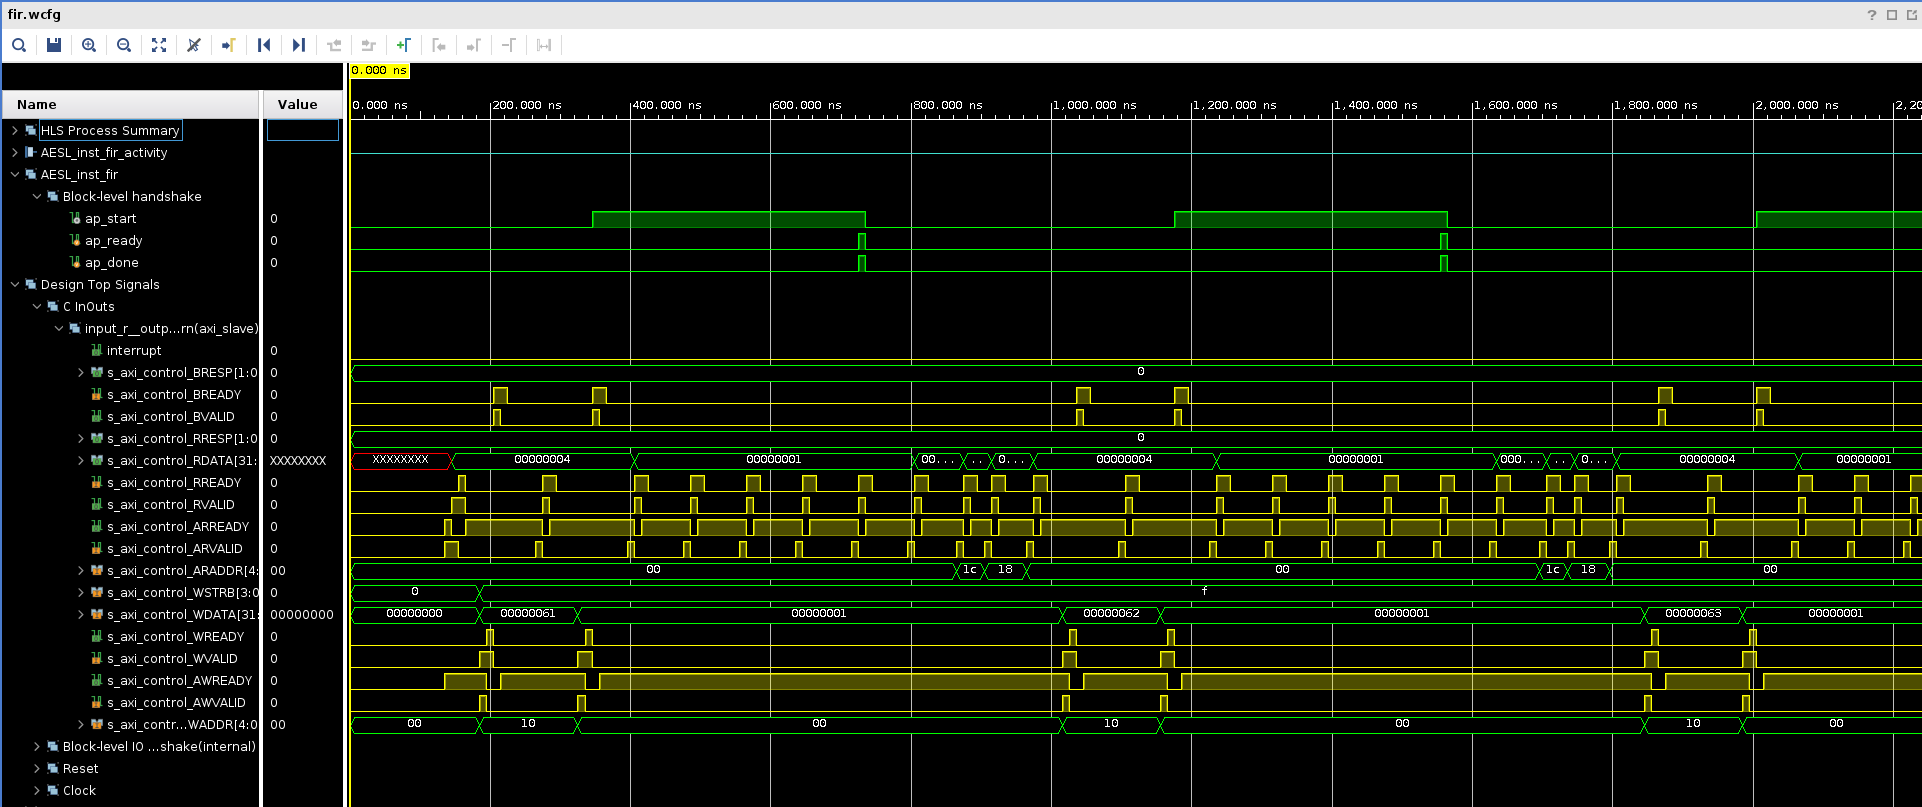
Run Cosimulation and press the Waveform button in the top menu and wait for the Vivado program to open.
It should look something like this:
As we assume some familiarity with the Vivado Design Suite, we will not go over how to create a new project. Create a new Vivado project and do not create any files.
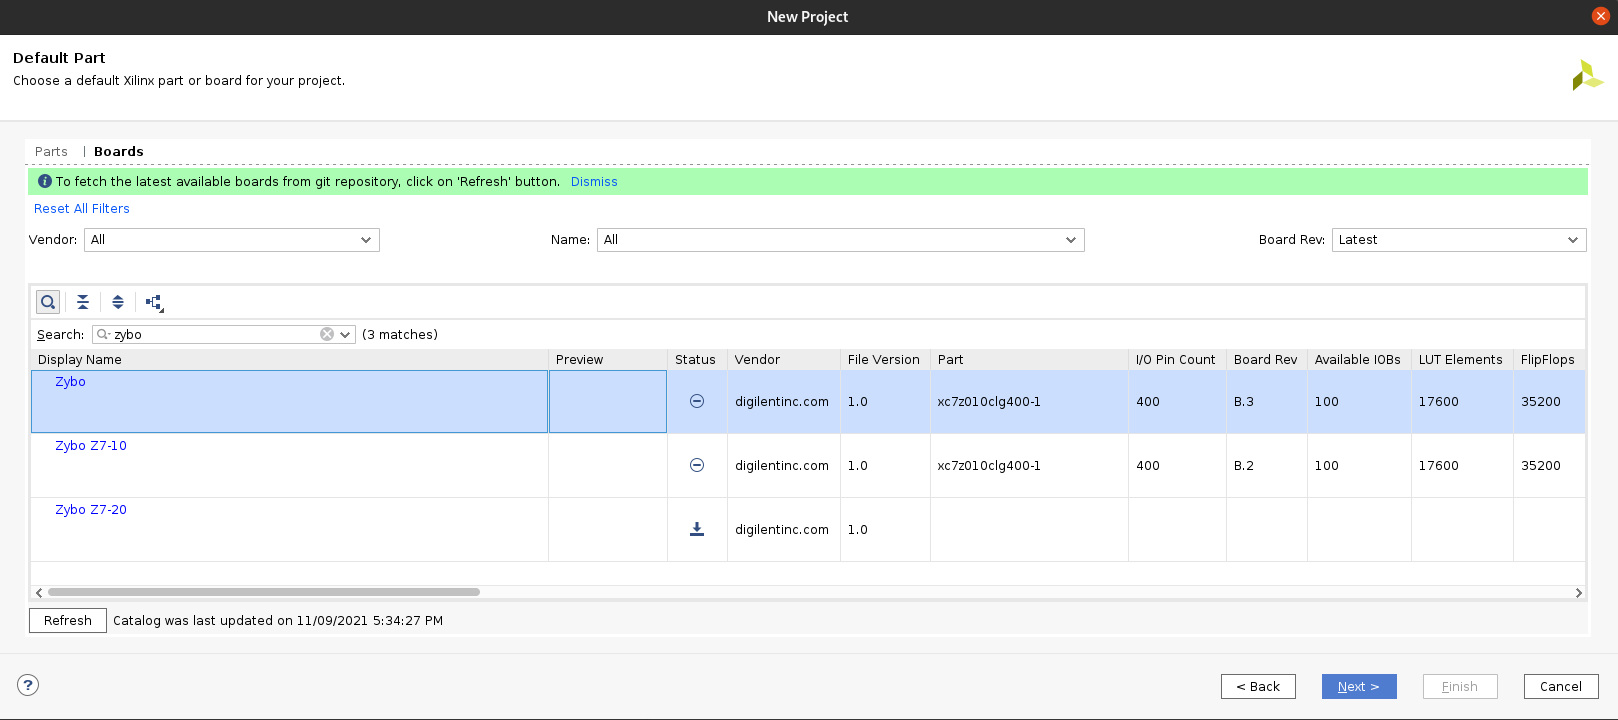
Remember to select the correct board file. You can find it by searching for Zybo. (You might have to click the 'Refresh' button).
Ensure that the Board Rev is B.3.
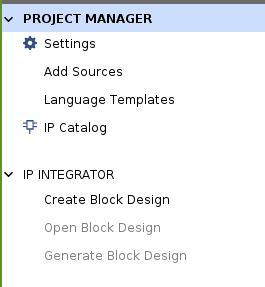
In the Flow Navigator window, under IP INTEGRATOR click Create Block Design.
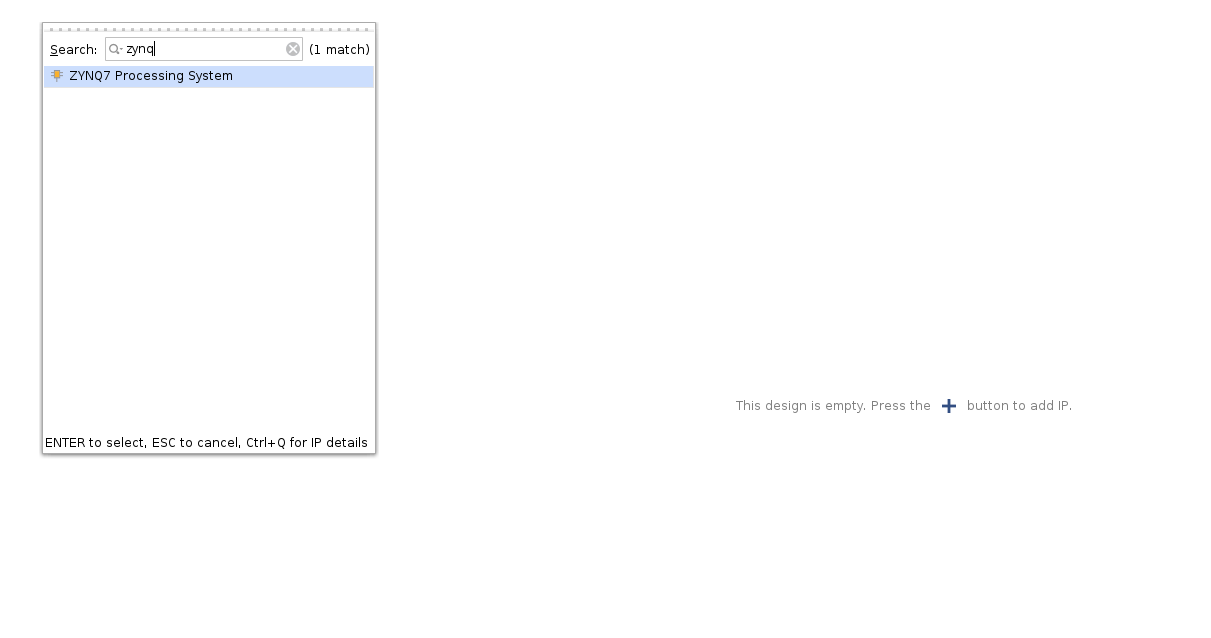
In the Diagram window, press the + button or right-click and press Add IP.
Search for Zynq in the pop-up window and double-click ZYNQ7 Processing System.
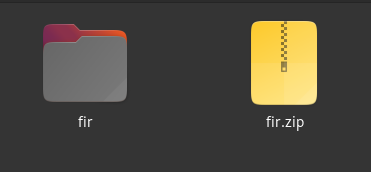
Locate the ZIP file that we exported in step 1.5, and unzip the file.
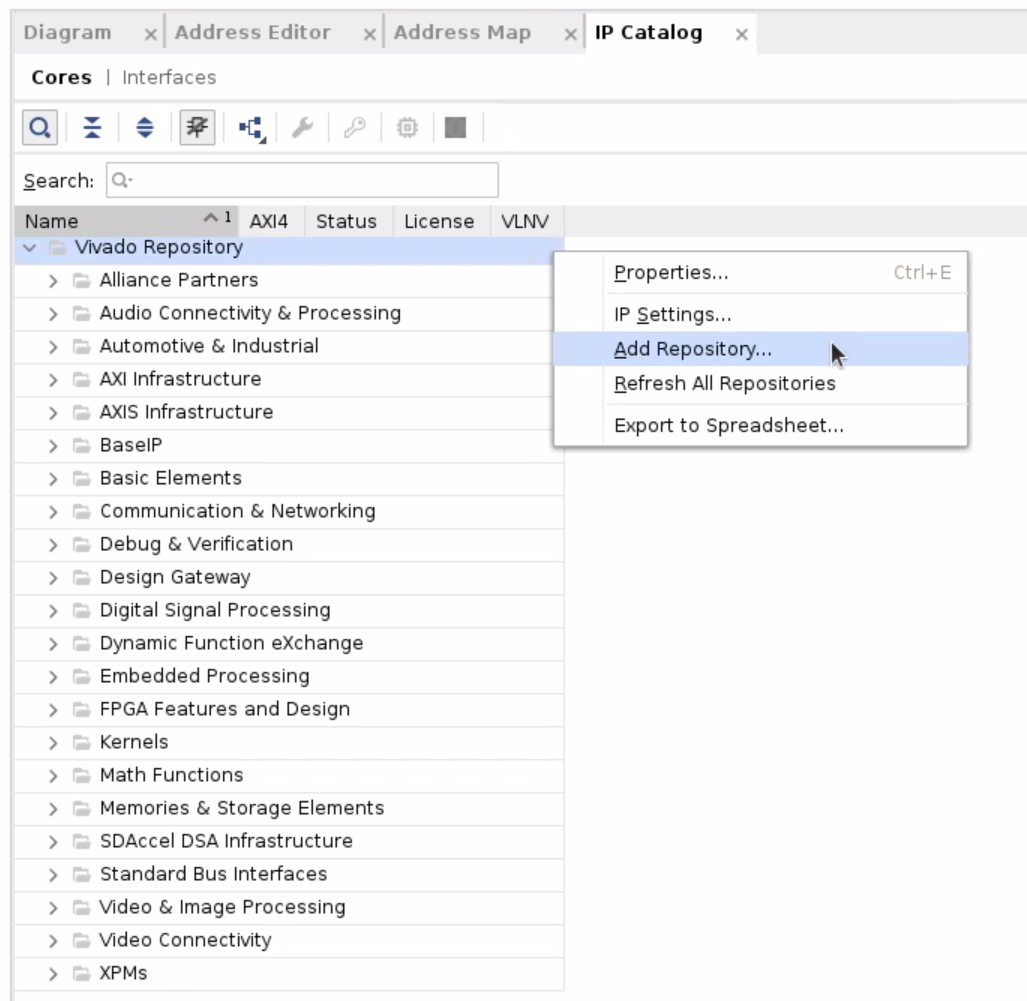
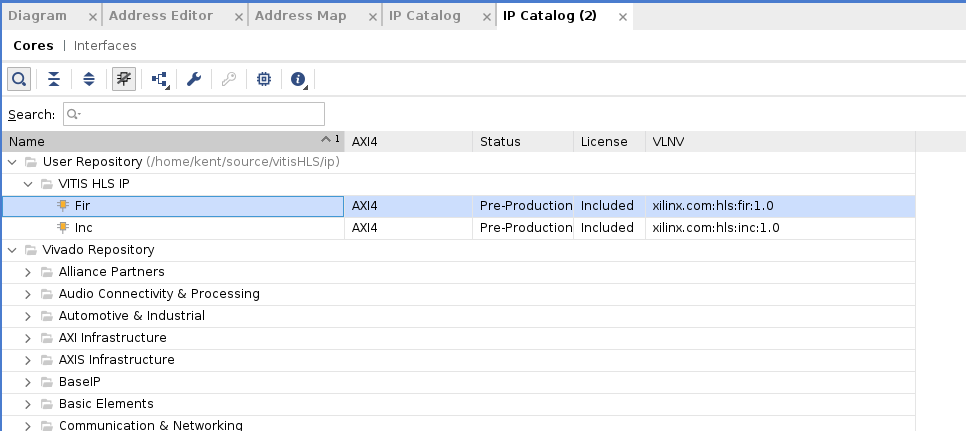
Go back to the Flow Navigator window in Vivado and click IP Catalog under PROJECT MANAGER.
Right-click anywhere in the IP Catalog tab and click Add Repository and select the folder that we unzipped.
Expand the User Repository folder and double-click Fir.
Click the Add IP to Block Design button.
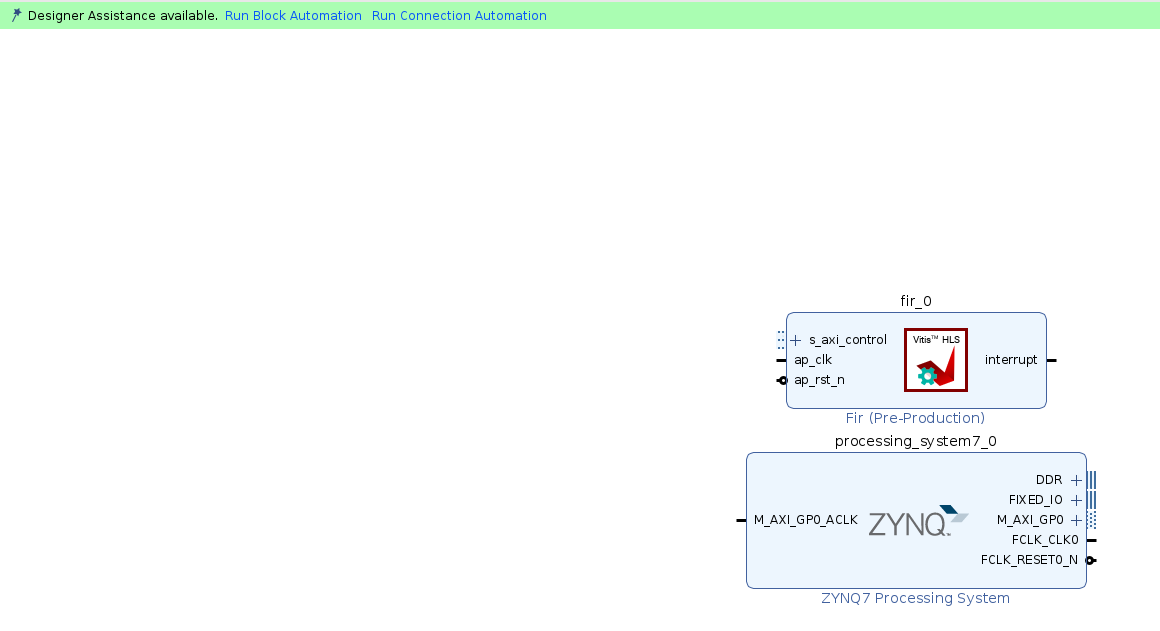
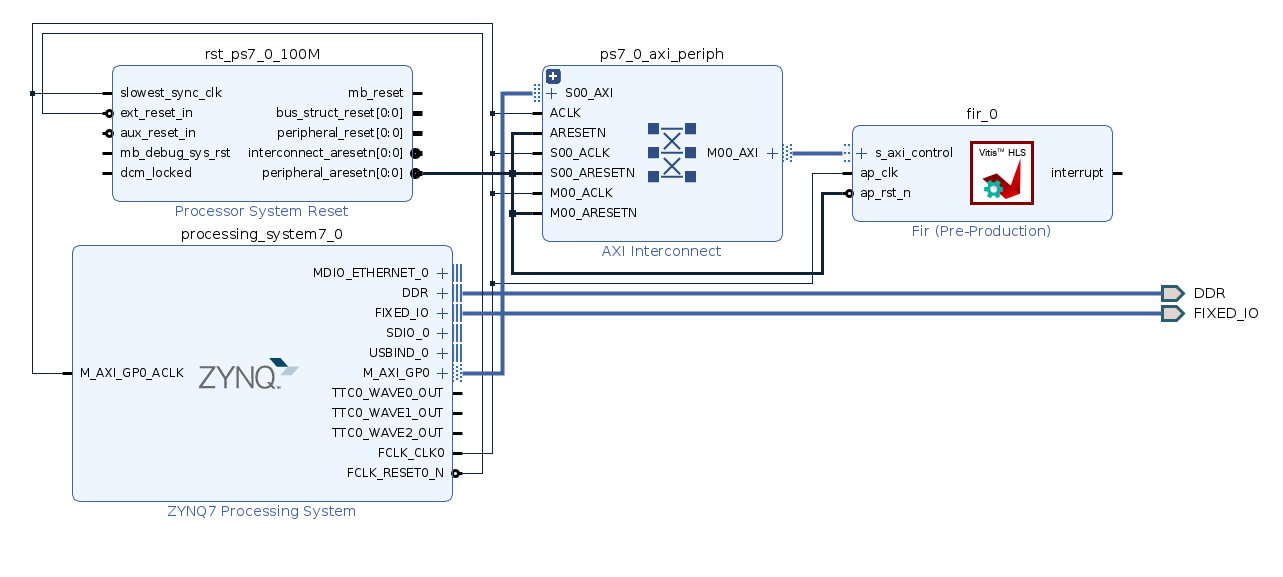
Return to the Diagram window. It should now look something like this:
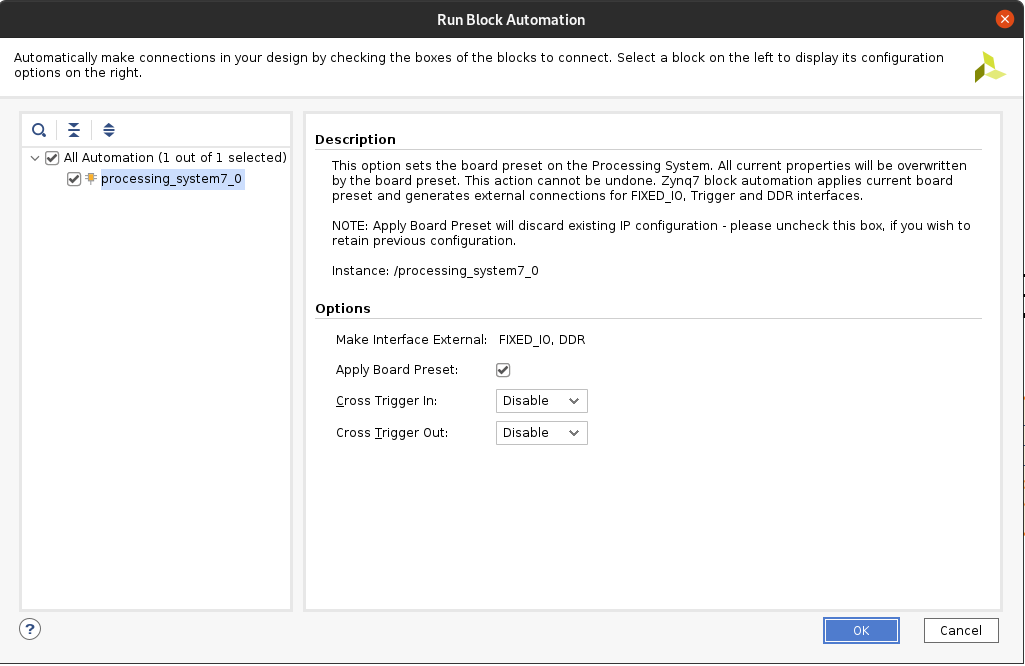
Click Run Block Automation.
The presets should look like the image below. Click the OK button.
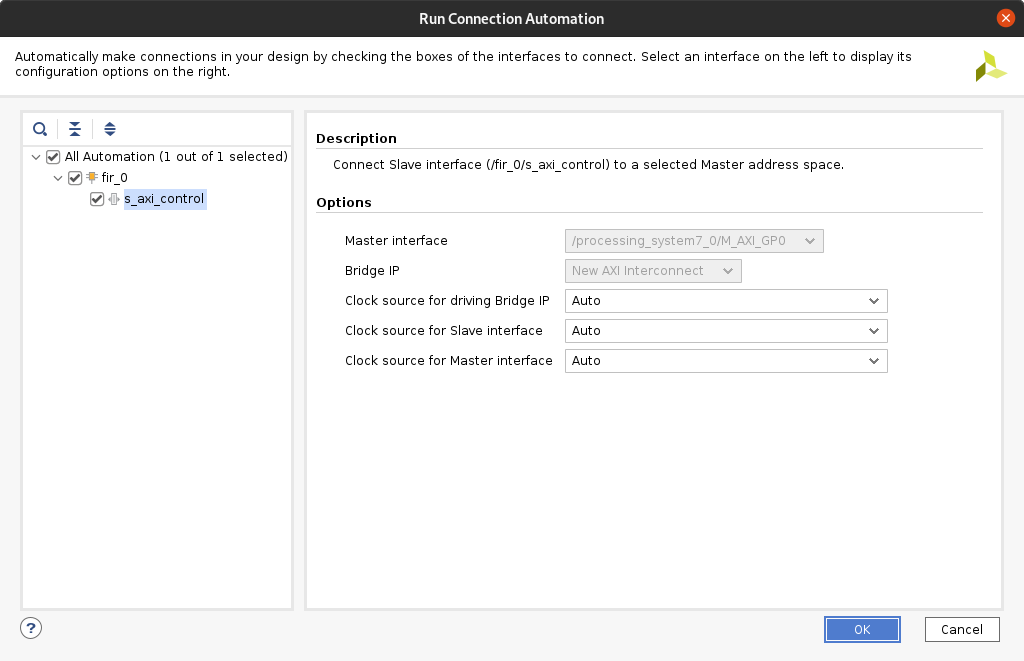
Click Run Connection Automation.
The presets should look like the image below. Click the OK button.
Click the Regenerate Layout button located in the Diagram window's toolbar.
If everything is done correctly, the diagram should now look like this:
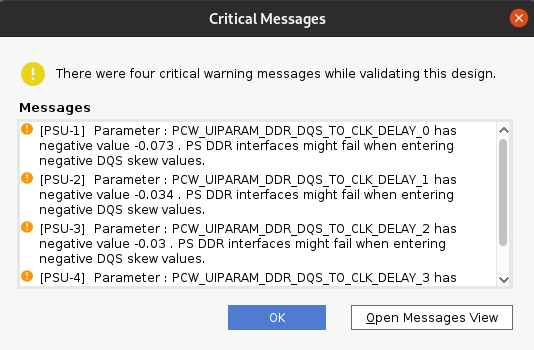
Click the Validate Design button located in the Diagram window's toolbar.
Ignore the four critical warning messages.
Click the OK button.
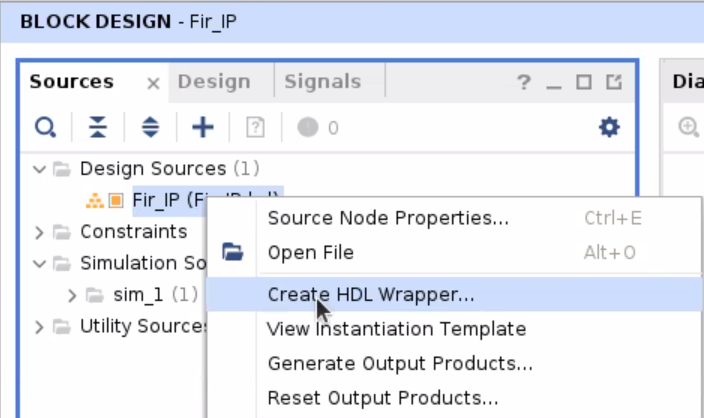
Right-click the design file under Sources and click Create HDL Wrapper.
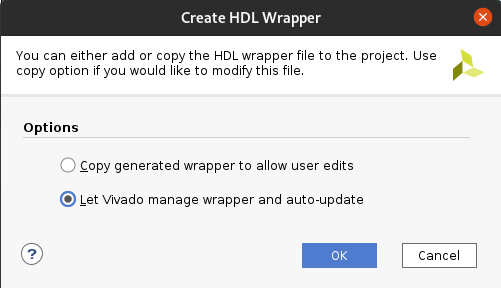
Select the Let Vivado manage wrapper and auto-update option and click the OK button.
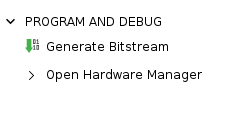
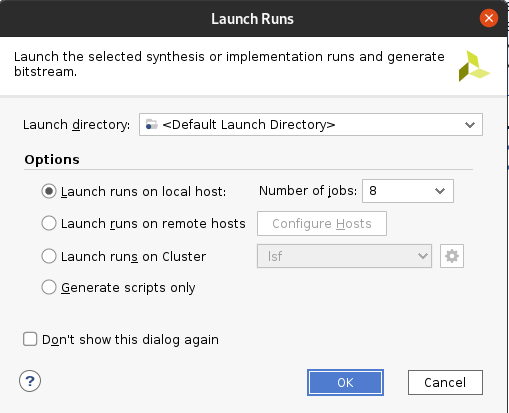
In the Flow Navigator window, click the Generate Bitstream button located under PROGRAM AND DEBUG.
Click the OK button.
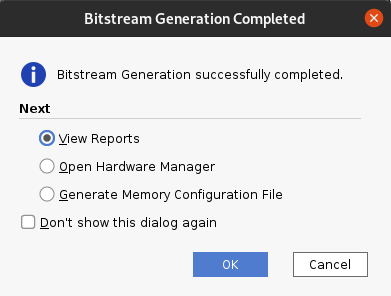
This will take some time. Eventually you will be met with a window like this:
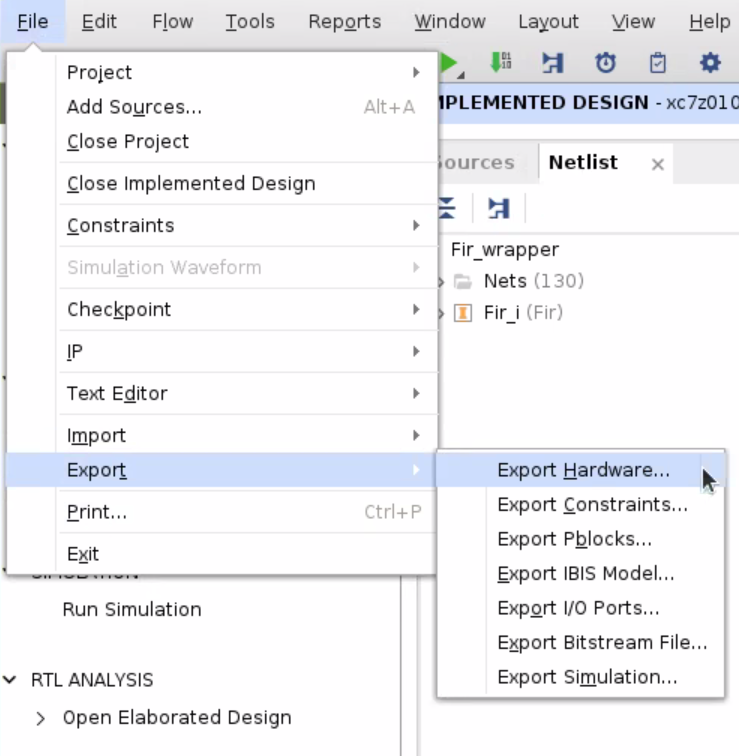
Click File --> Export --> Export Hardware.
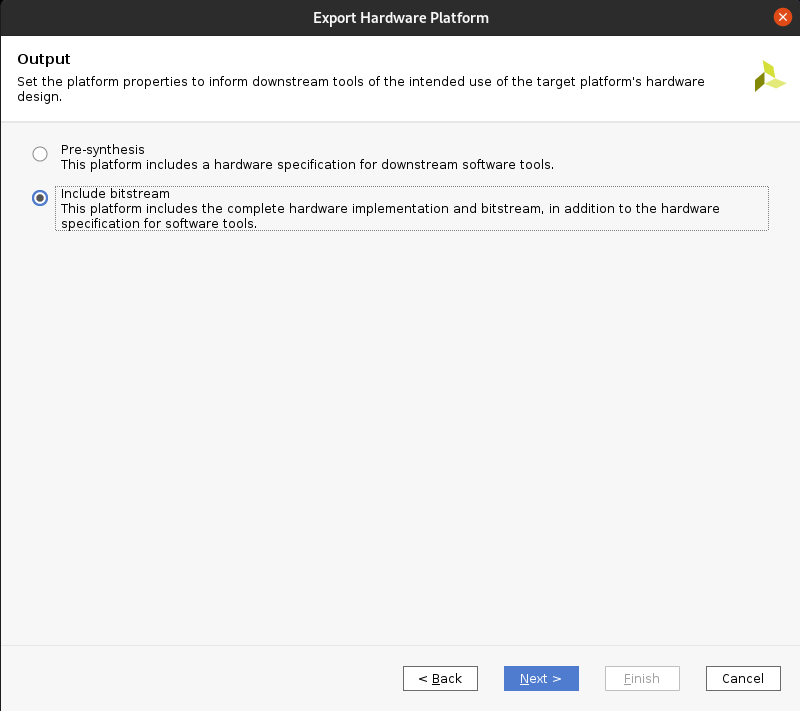
Choose the Include bitstream option and click the Next button.
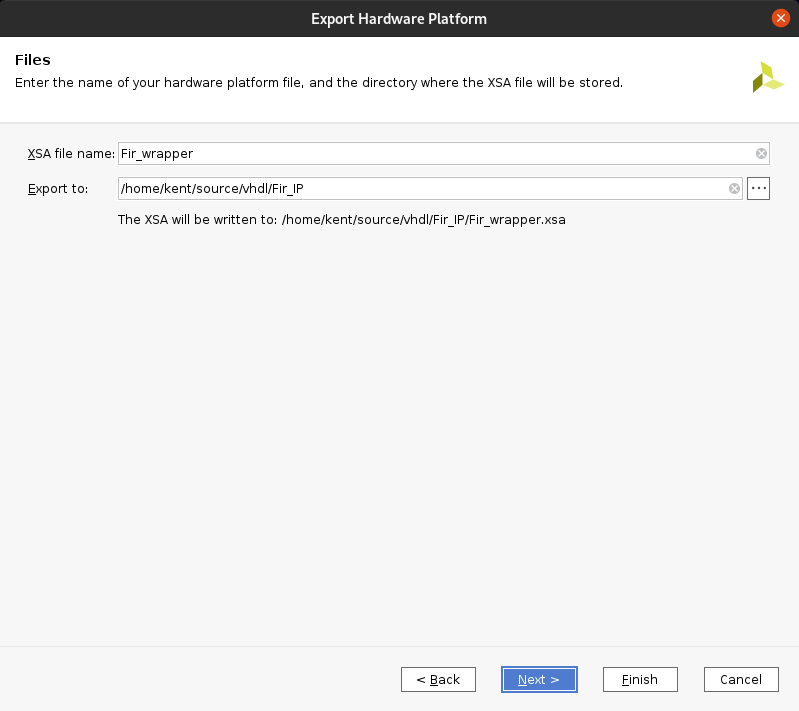
Choose a suitable XSA file name and location. In the final window, click the Finish button.
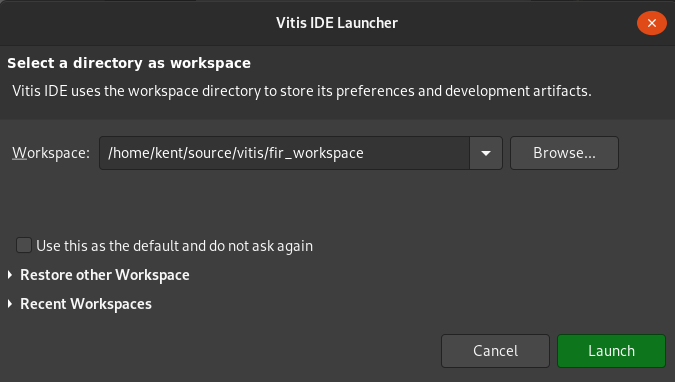
Start Vitis IDE and choose a suitable location for your workspace.
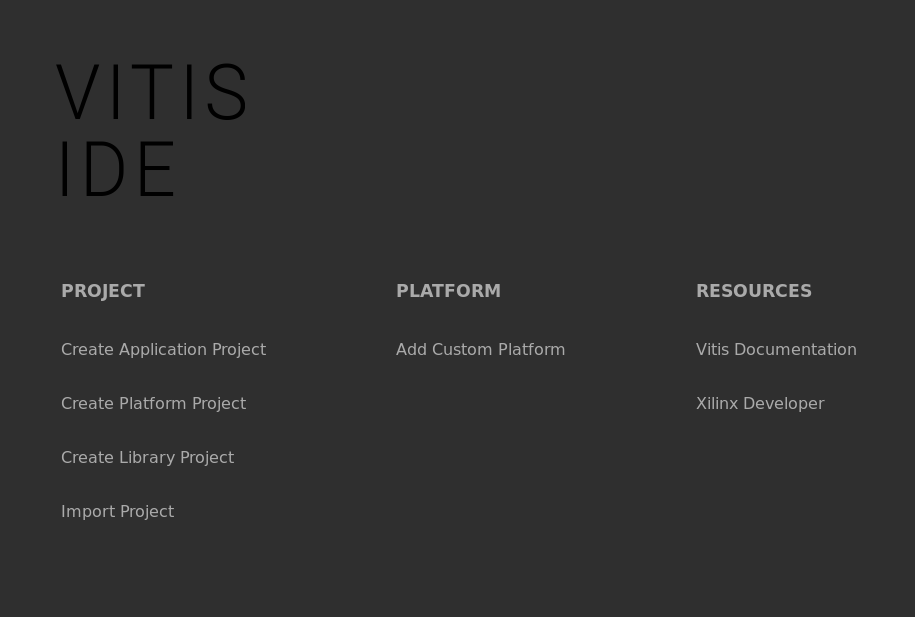
When met by the welcome screen, choose Create Platform Project.
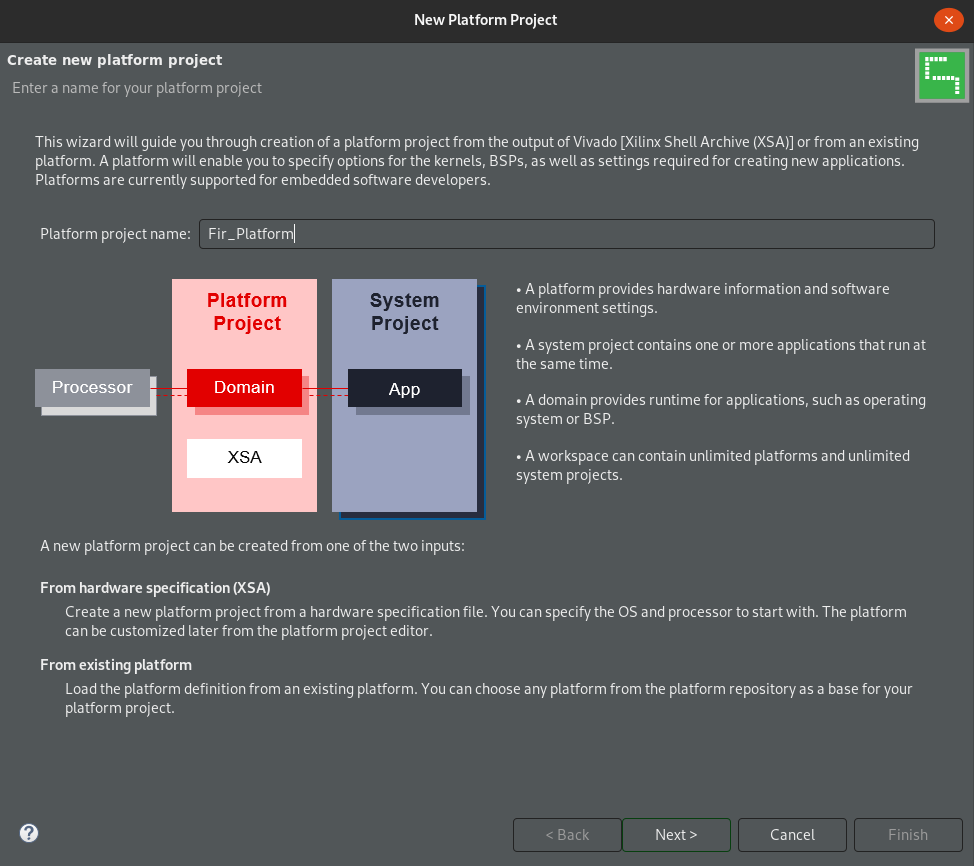
Choose a suitable platform project name and click Next.
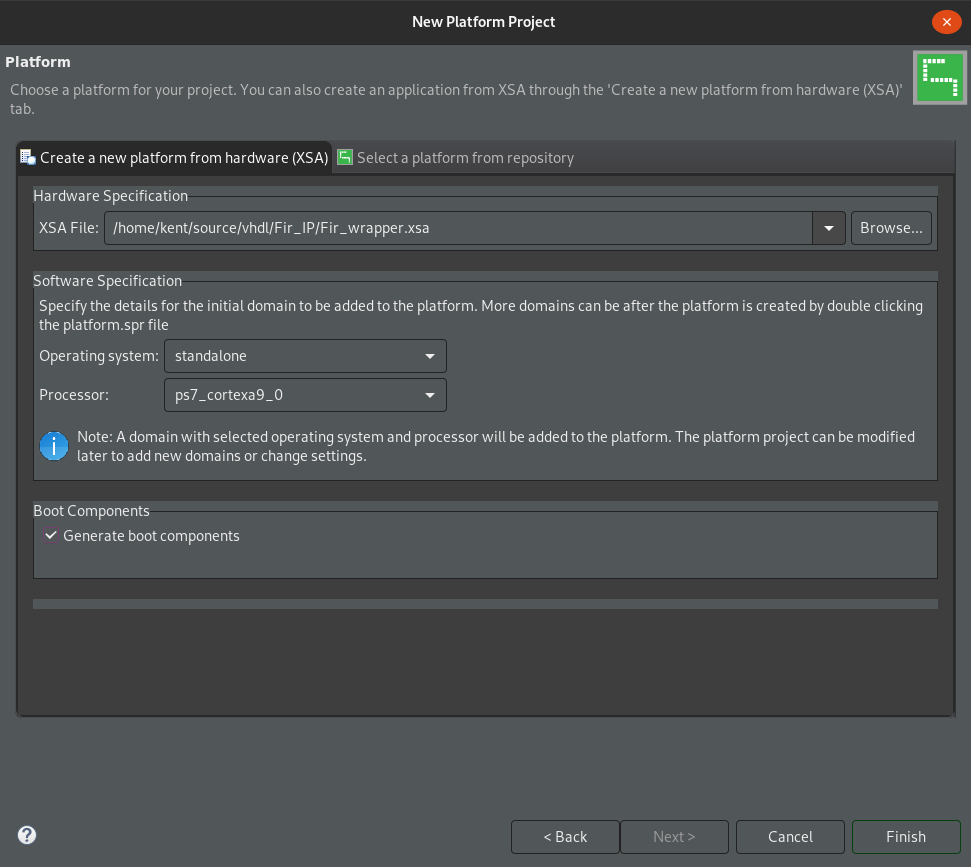
Under Hardware Spesification click Browse and select the XSA file that we created in step 2.4.
Ensure that the Software Specification section matches the image below, and click Finish.
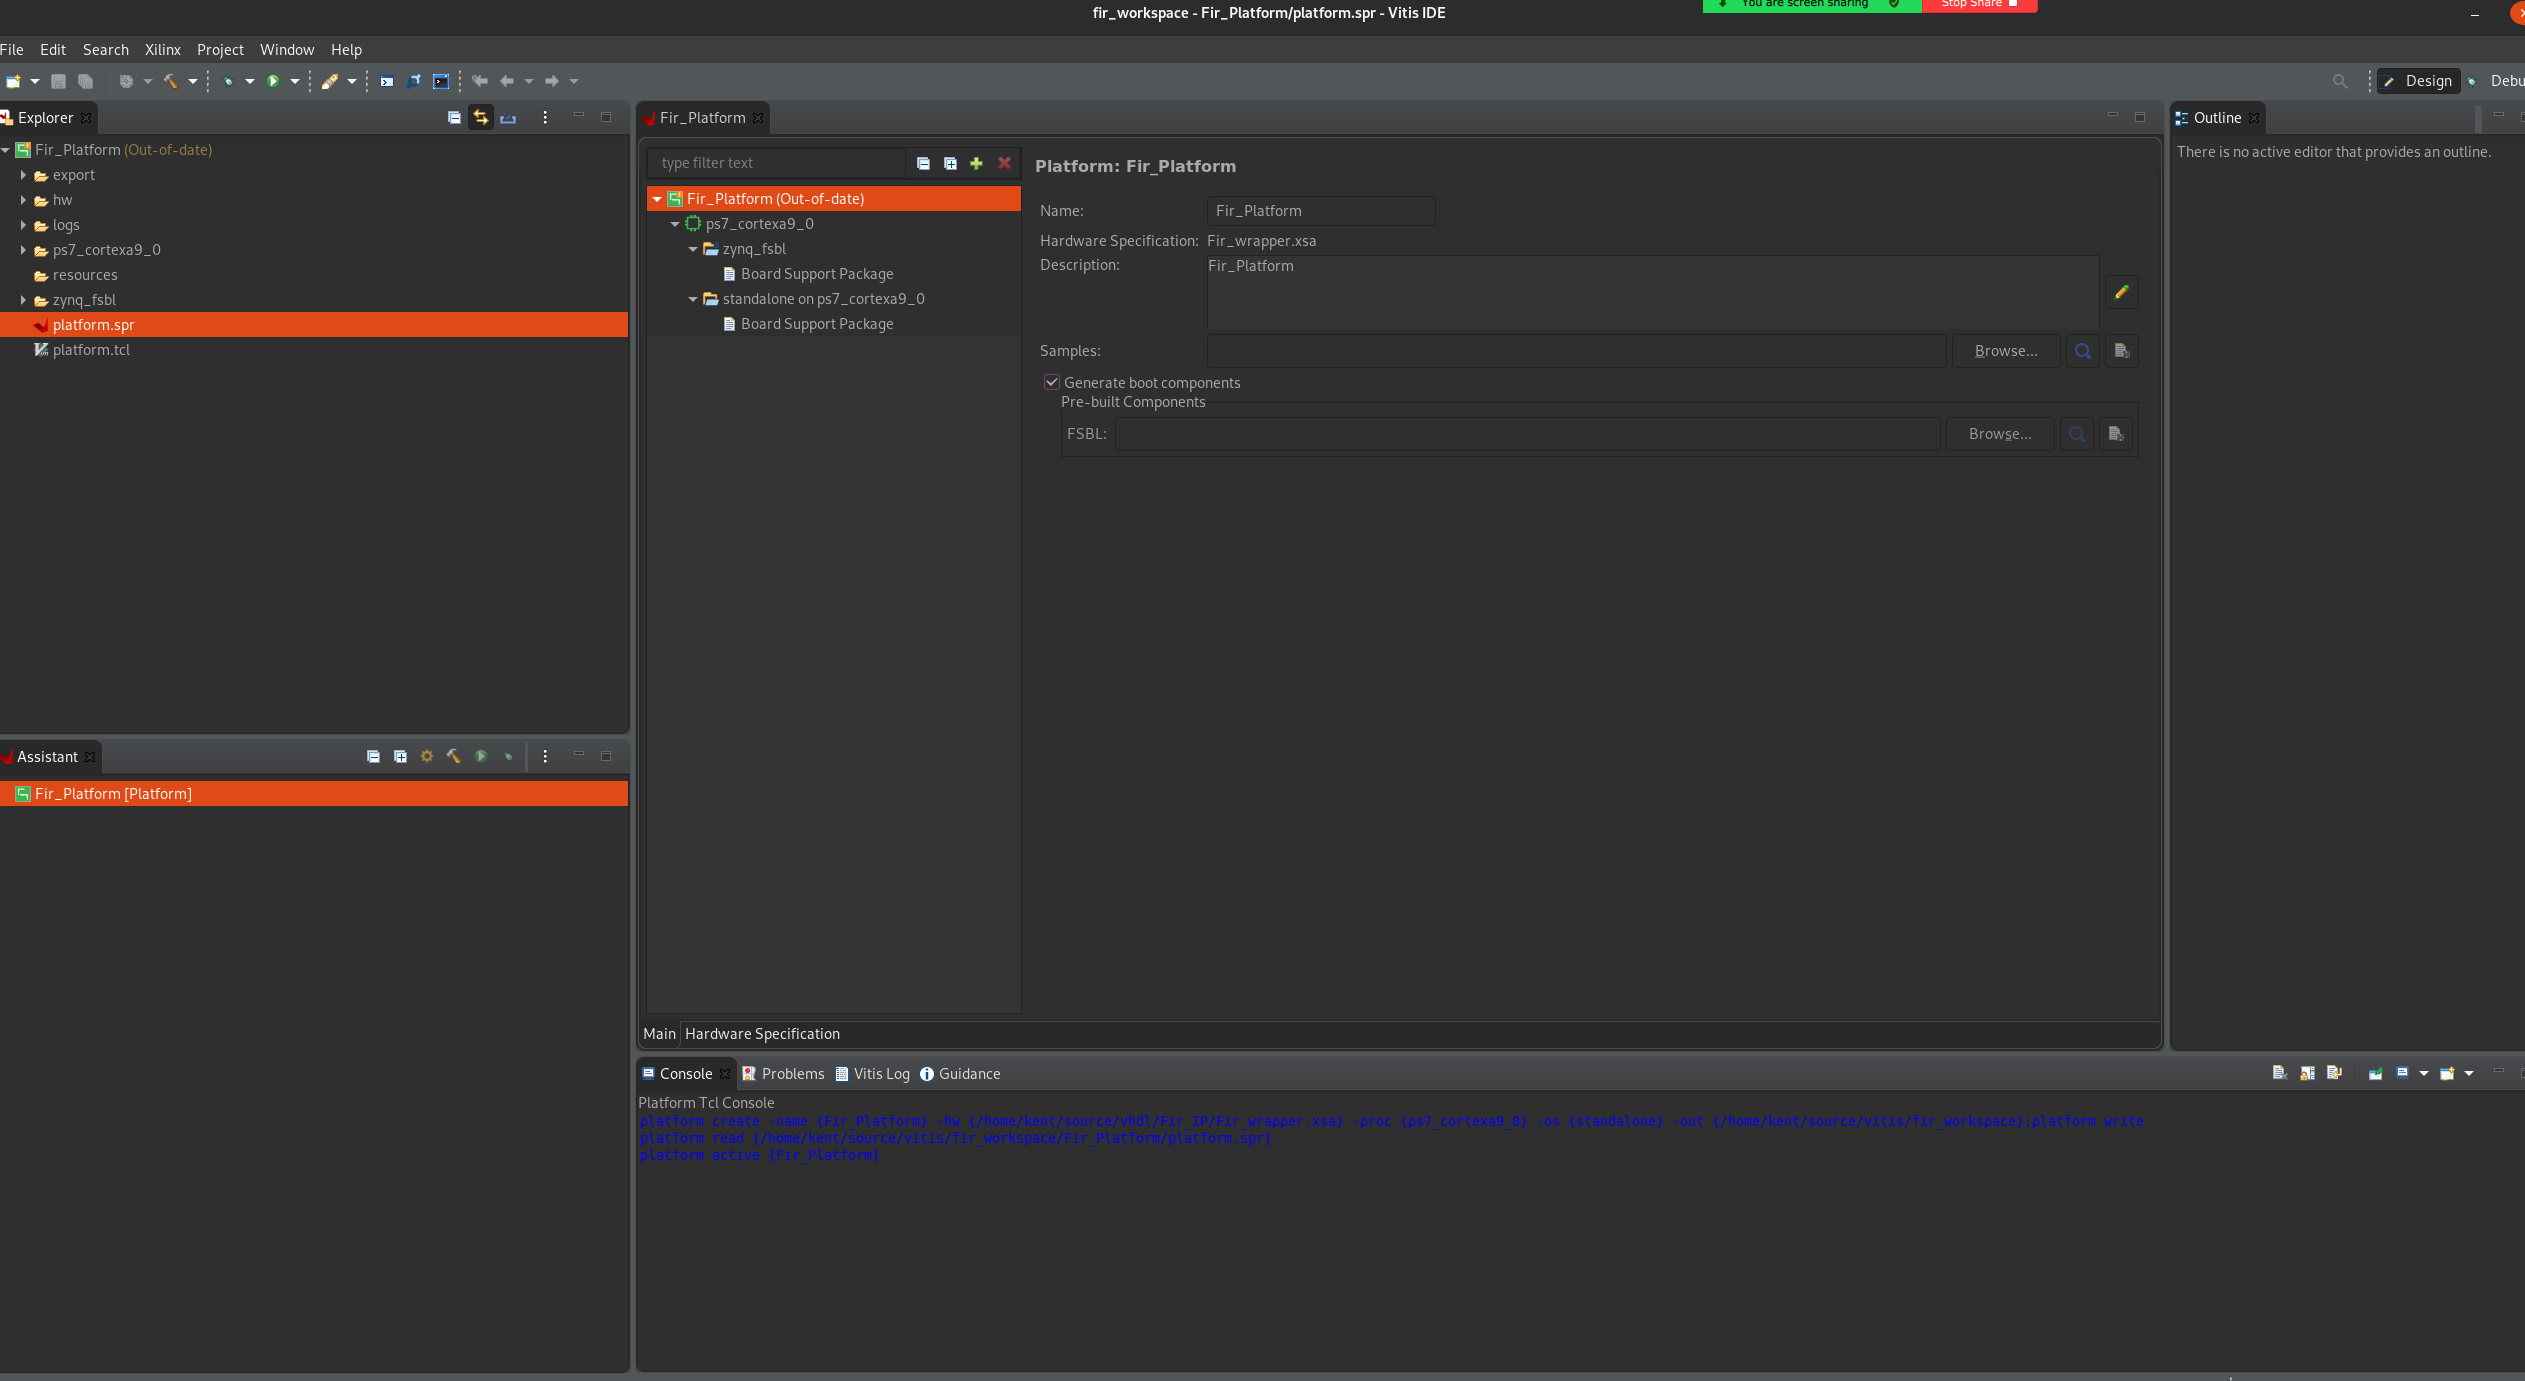
After the project has been generated, you will be met with this window.
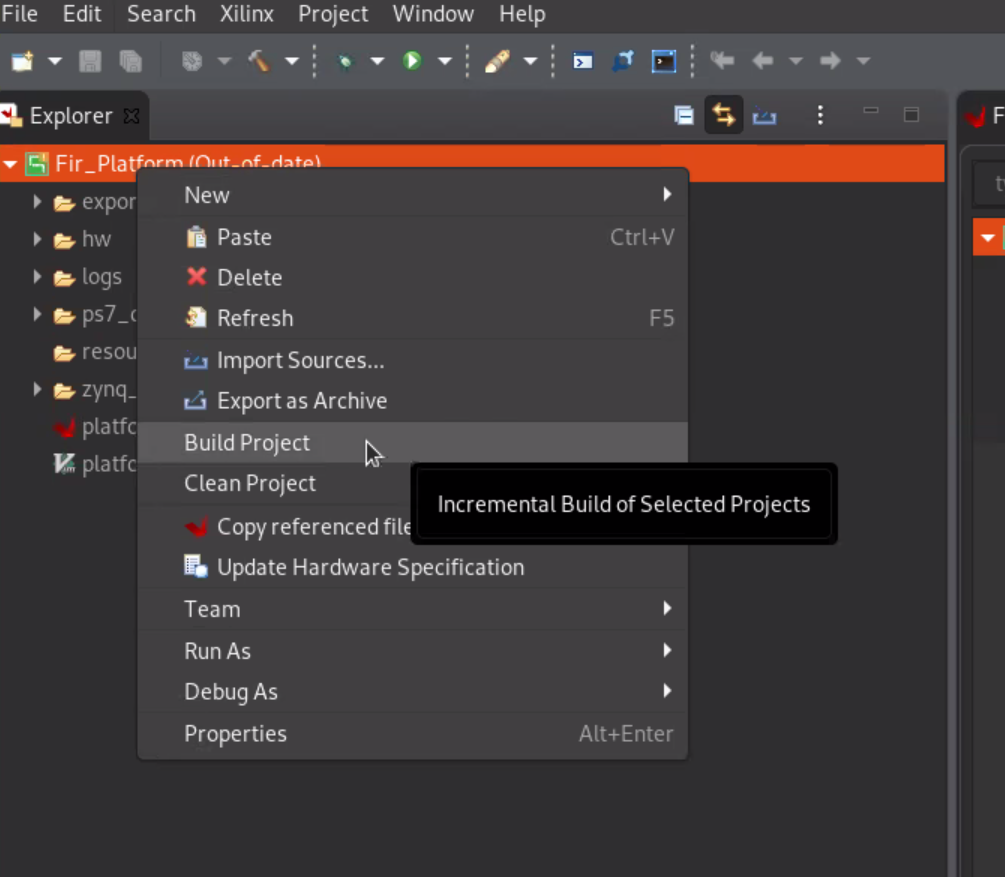
In the Explorer window on the left, right-click the platform project, and click Build Project.
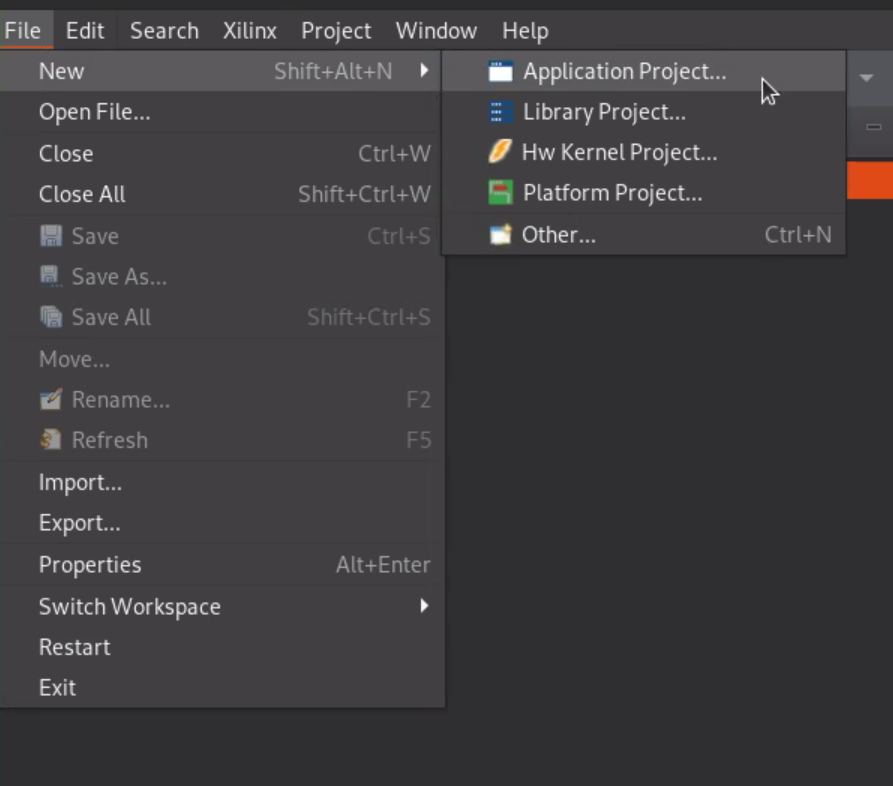
Create the Application Project. Click File --> New --> Application Project.
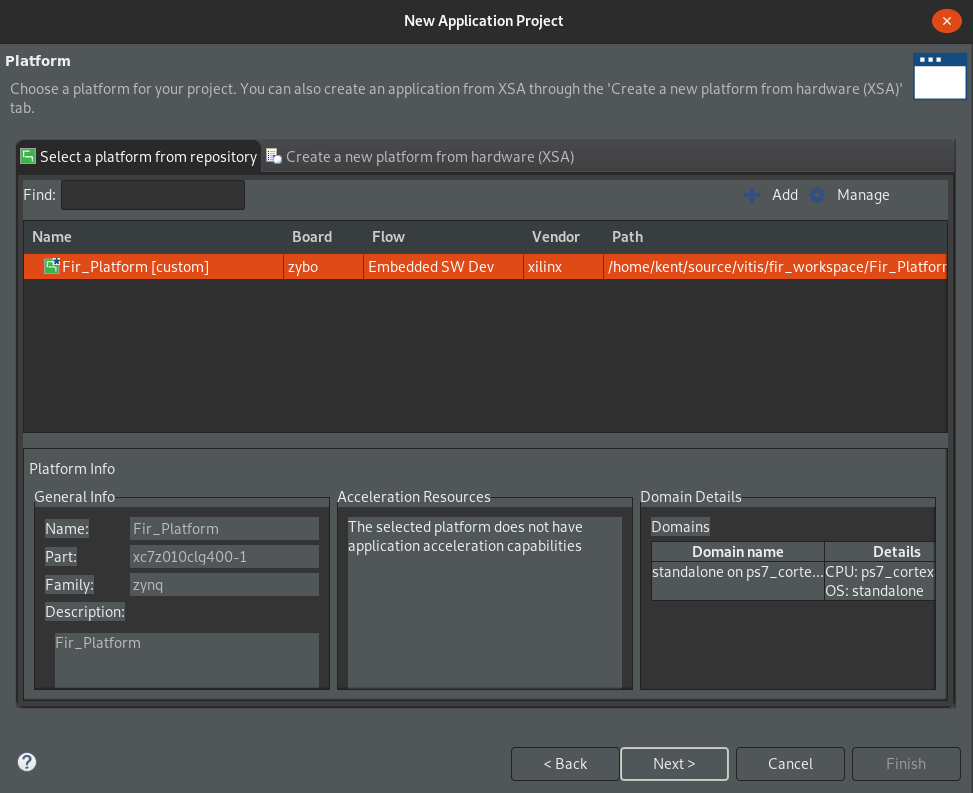
Select the platform you created previously and click Next.
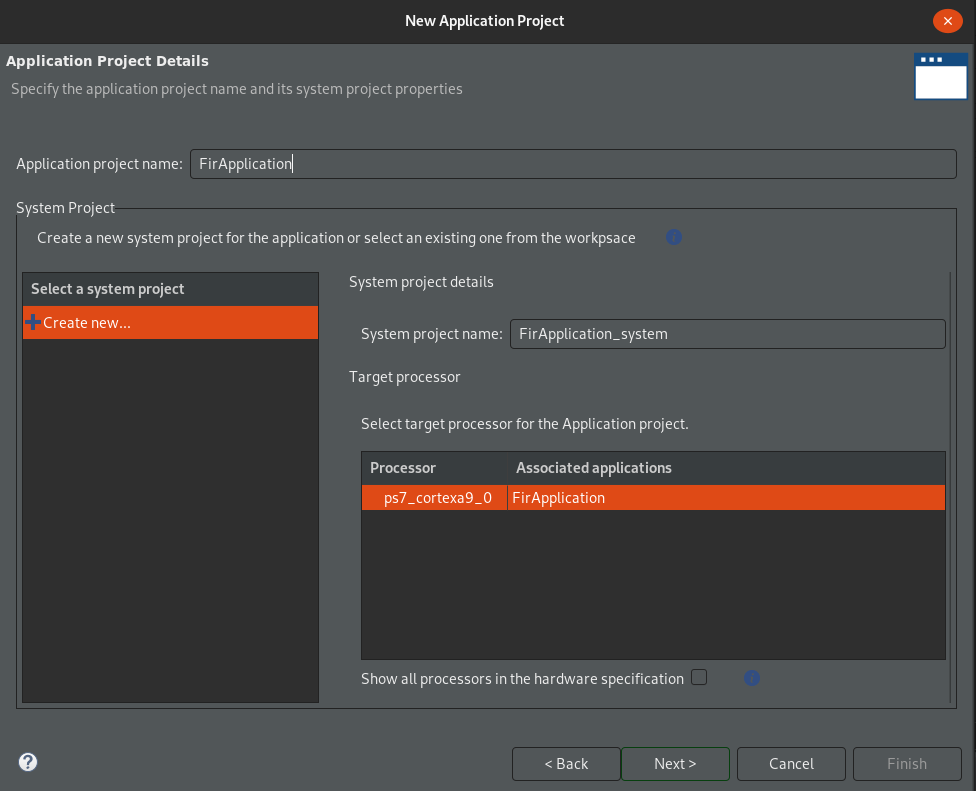
Give the Application Project a suitable name and click Next.
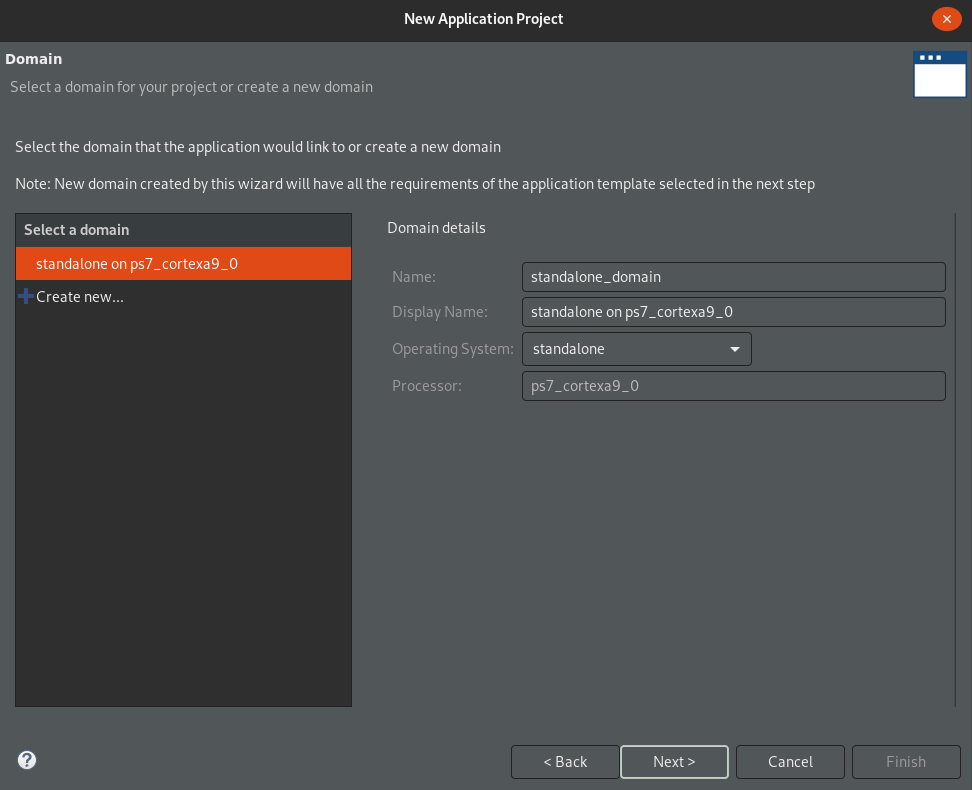
Click Next.
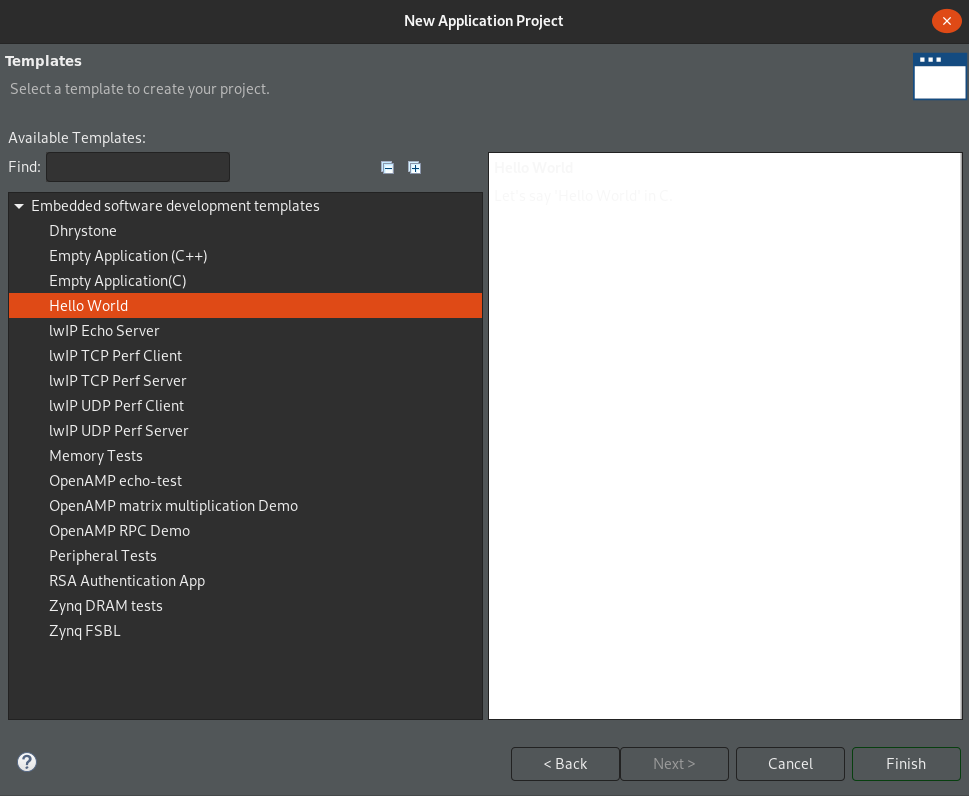
Select the Hello World template and click Finish.
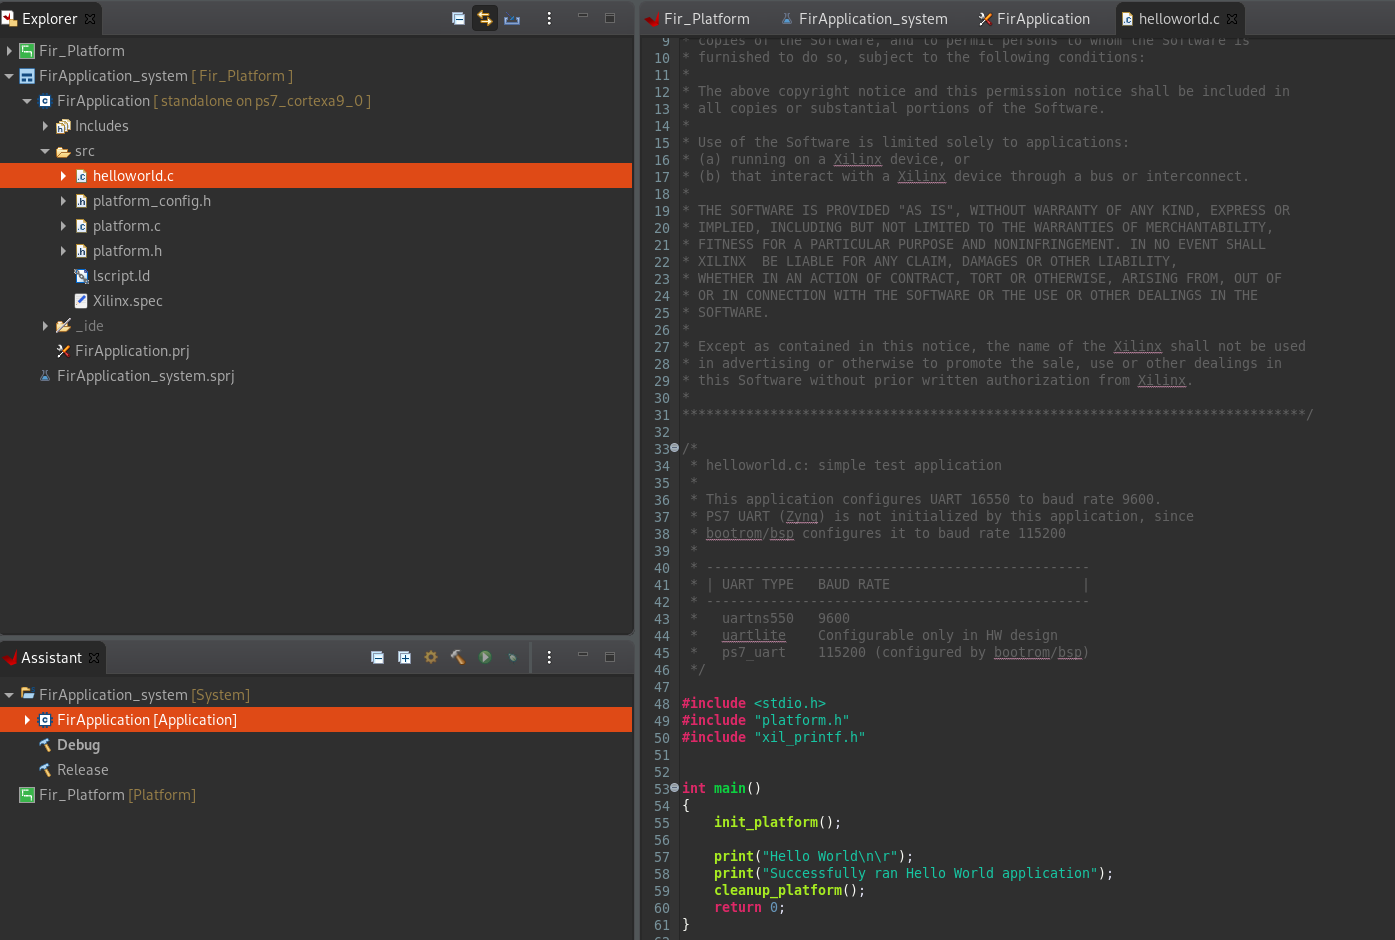
You will now be met by the generated Application Project. It should look something like this:
The source code can be found here:
Swap the file content of helloworld.c with src/main.c from the Git repository.
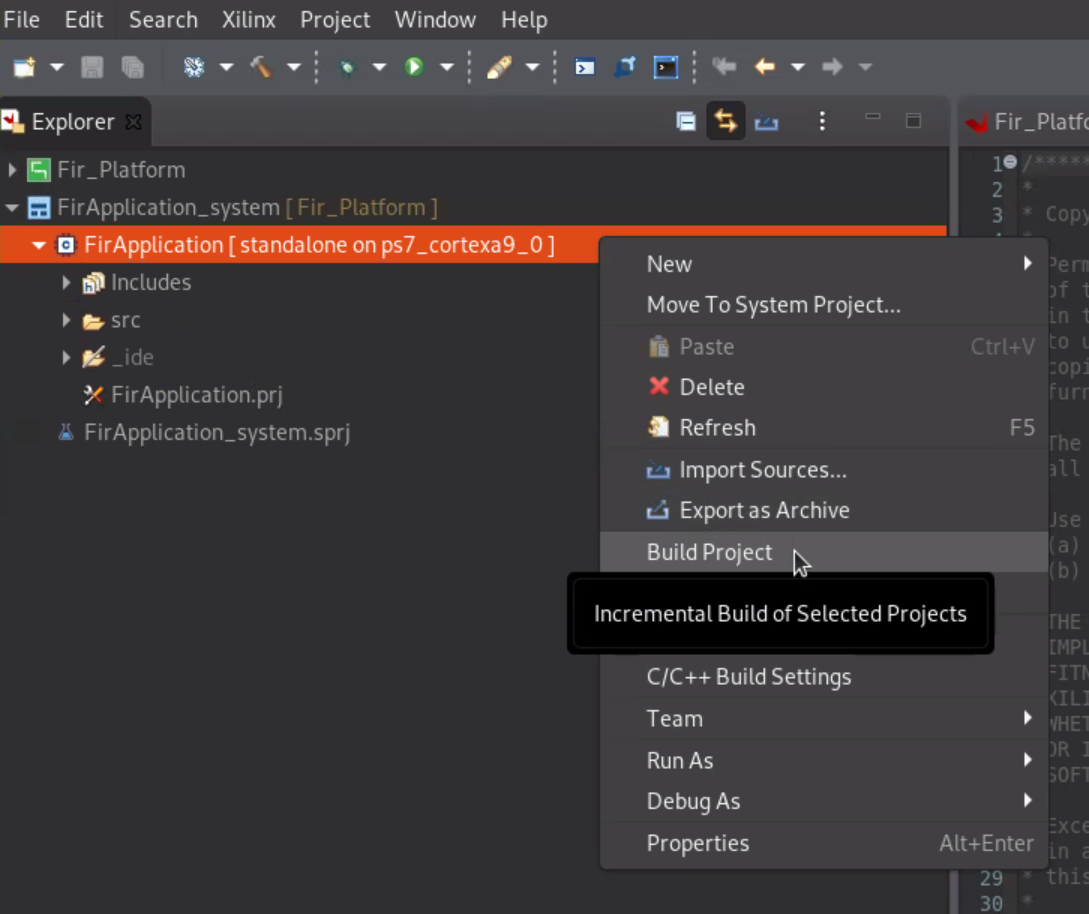
In the Explorer window, right-click your application and choose Build Project.
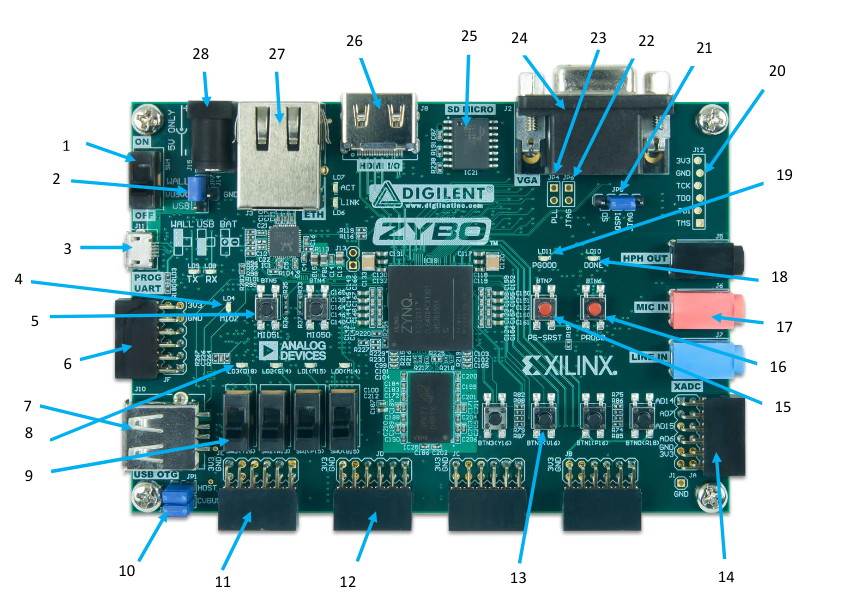
Remember to set the boot mode jumper (21 in the Figure) to JTAG mode (to the far right).
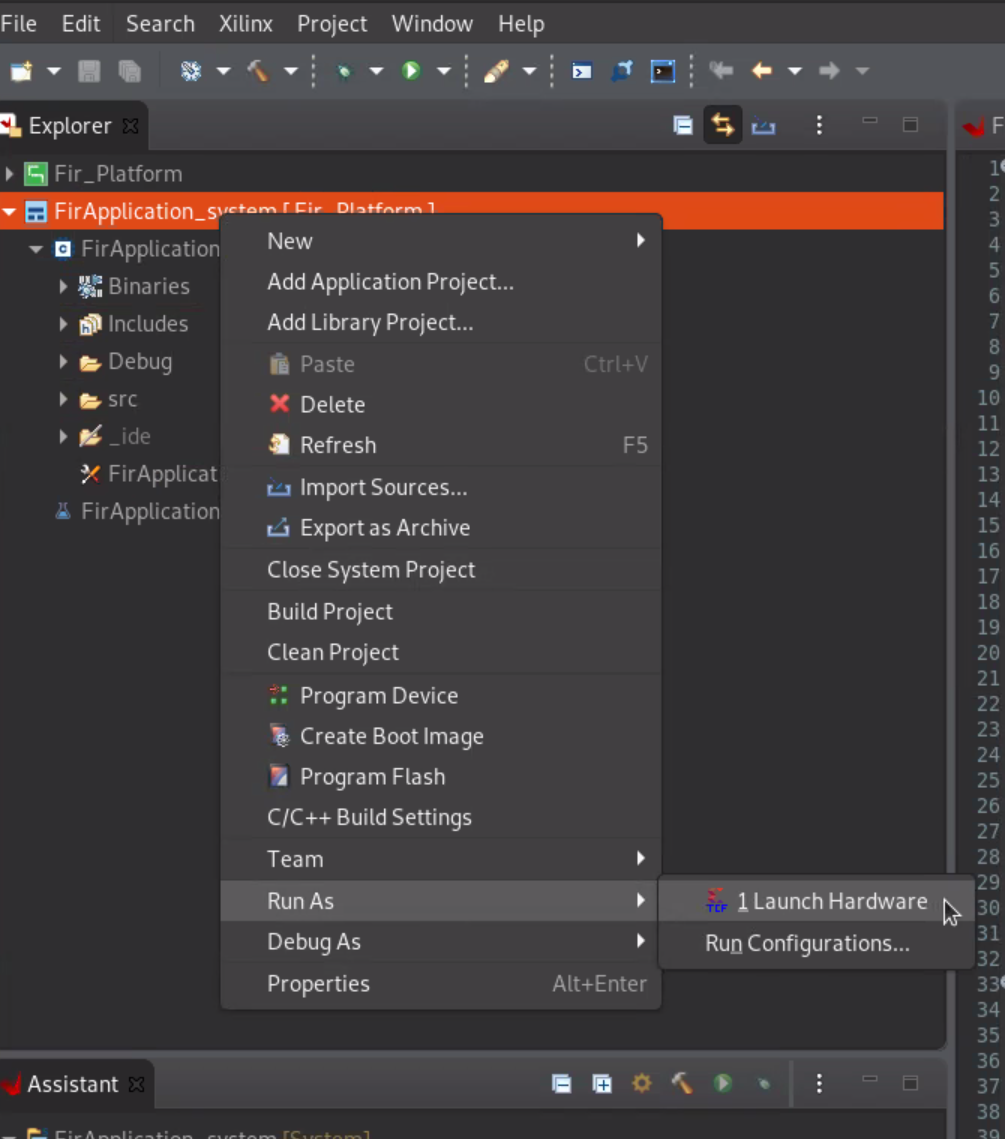
Then right-click your application again and choose Run As --> Launch Hardware.
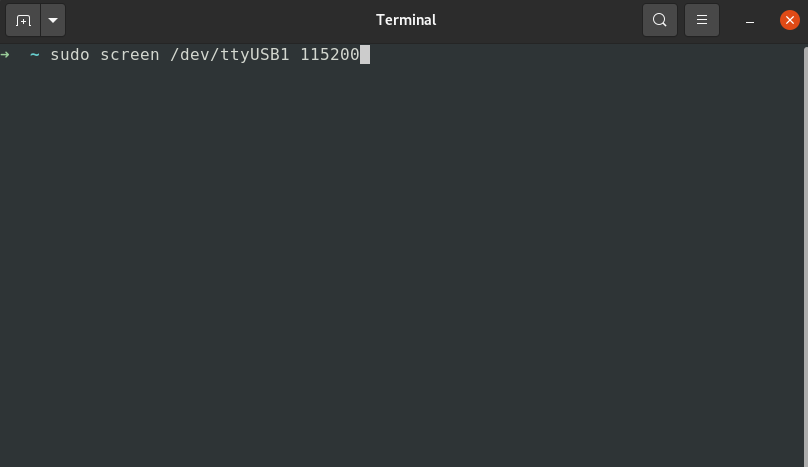
Use a serial communication tool (screen, PuTTY) to interact with your application running on the Zybo.
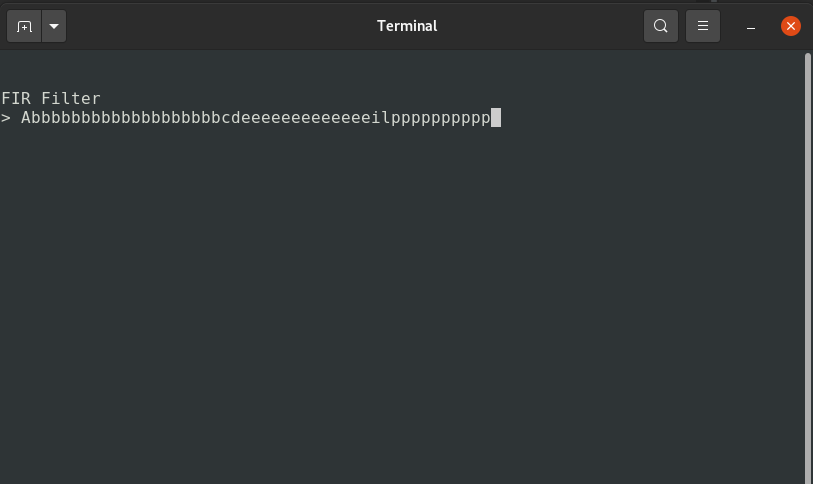
It should look something like this:
At all times it should print out the moving average of the three last entered characters.
For instance, entering the sequence a b c repeatedly, should result in only b's as output as this will
be the current moving average.
See section 4 in the Vitis High-Level Synthesis User Guide for more information about the AXI4-Lite slave C drivers.
