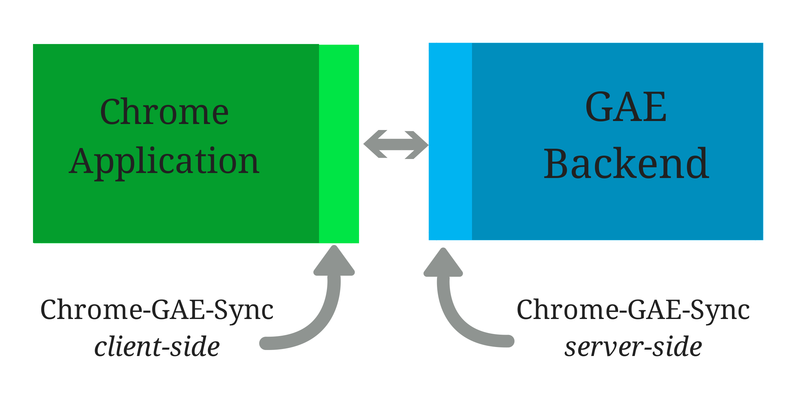
I realized that a lot of Chrome developers, including me, struggle to store their app data online and there is no quick and easy way to solve this problem. The open source project chrome-gae-sync is a result of that.

Supercharge your Chrome applications with a ready-to-use powerful Google App Engine backend.
We happen to spend so much time in coding and testing data storage and fetching operations. Will it not be great if we get something to plug in and be able to access the Chrome app in the same state from anywhere as that of where we had left it?
You can be more productive in building the functionality of the app by using this project in your app.
Just do some simple configurations and plug this project into yours. Using OAuth 2.0, your Chrome app will connect to Google App Engine and access its data.
Go to https://appengine.google.com and create a new application (Enter application identifier, title and create it). I will use chrome-gae-sync as my application identifier in this documentation.
TODO : Add More details
Go to https://console.developers.google.com and click on the GAE application identifier you created above.
2.1. Enable Google+ API
Go to APIs & AUTH > APIs and enable Google+ API. Once done you will see Google+ API at the top with status ON (ON button is displayed in green).
2.2. Generate Client IDs
Go to APIs & AUTH > Credentials. Here you will need to create two Client IDs.
2.2.1 Client ID for Web application
- Click on Create new Client ID.
- Select Web application as Application Type.
- In the textbox labeled as Authorized Javascript Origins, enter appspot URL of your application.
Note : In this case we entered http://chrome-gae-sync.appspot.com, which is the deployment URL and http://localhost:8888 for local testing.
- Click on Create Client ID.
Note : You can enter multiple URLs. Authorized Redirect URI will get updated accordingly.
2.2.2 Client ID for Chrome application
- Again click on Create new Client ID.
- Select Installed application as Application Type.
- Under Installed Application Type select Chrome Application.
- Enter Application ID for your Chrome Application.
- Click on Create Client ID.
Note : We can even revisit the project later and edit details.
2.3. Consent Screen
Select Email Address, enter Product Name and click Save. You can also enter optional fields like home page url, logo etc.
3.1. Add/update the following in your manifest.json file:
"permissions": ["identity"],
"oauth2": {
    "client_id": "580486400136-3cthtr07f028k1f2cbfrt8ddbvhta0kv.apps.googleusercontent.com",
    "scopes": ["https://www.googleapis.com/auth/userinfo.email"]
}
Use the client ID you generated in section 2.2 above (for chrome application).
3.2. Publish your chrome application to web store (with the modified manifest file). This is mandatory to get the OAuth flow working (even locally).
3.3. Get chrome app key and update manifest.json again.
TODO : Add More details
TODO
- Google App Engine : appengine.google.com
- Google Developers Console : https://console.developers.google.com
- Chrome Developer Dashboard : https://chrome.google.com/webstore/developer/dashboard
- Chrome GAE Sync : https://github.com/AnujaK/chrome-gae-sync
- Google Cloud Endpoints : https://developers.google.com/appengine/docs/java/endpoints/
- OAuth2 in Chrome : https://developer.chrome.com/apps/app_identity
- BootSimply Blog : http://bootsimply.blogspot.in/2014/08/open-source-project.html
You're interested in contributing to chrome-gae-sync? AWESOME. Here are the basic steps:
- Make sure you have a GitHub Account
- Fork it from here : https://github.com/AnujaK/chrome-gae-sync
- Clone your fork
- Make your changes
- Make sure everything is working fine
- Format your code (see below)
- Submit a pull request
- Forking a repo - https://help.github.com/articles/fork-a-repo
- Creating a pull request - https://help.github.com/articles/creating-a-pull-request
- Syncing a fork - https://help.github.com/articles/syncing-a-fork
Version 1.0 is coming soon.
Copyright 2014 Anuja Ranjan Kumar ([email protected])
Licensed under Apache License, Version 2.0