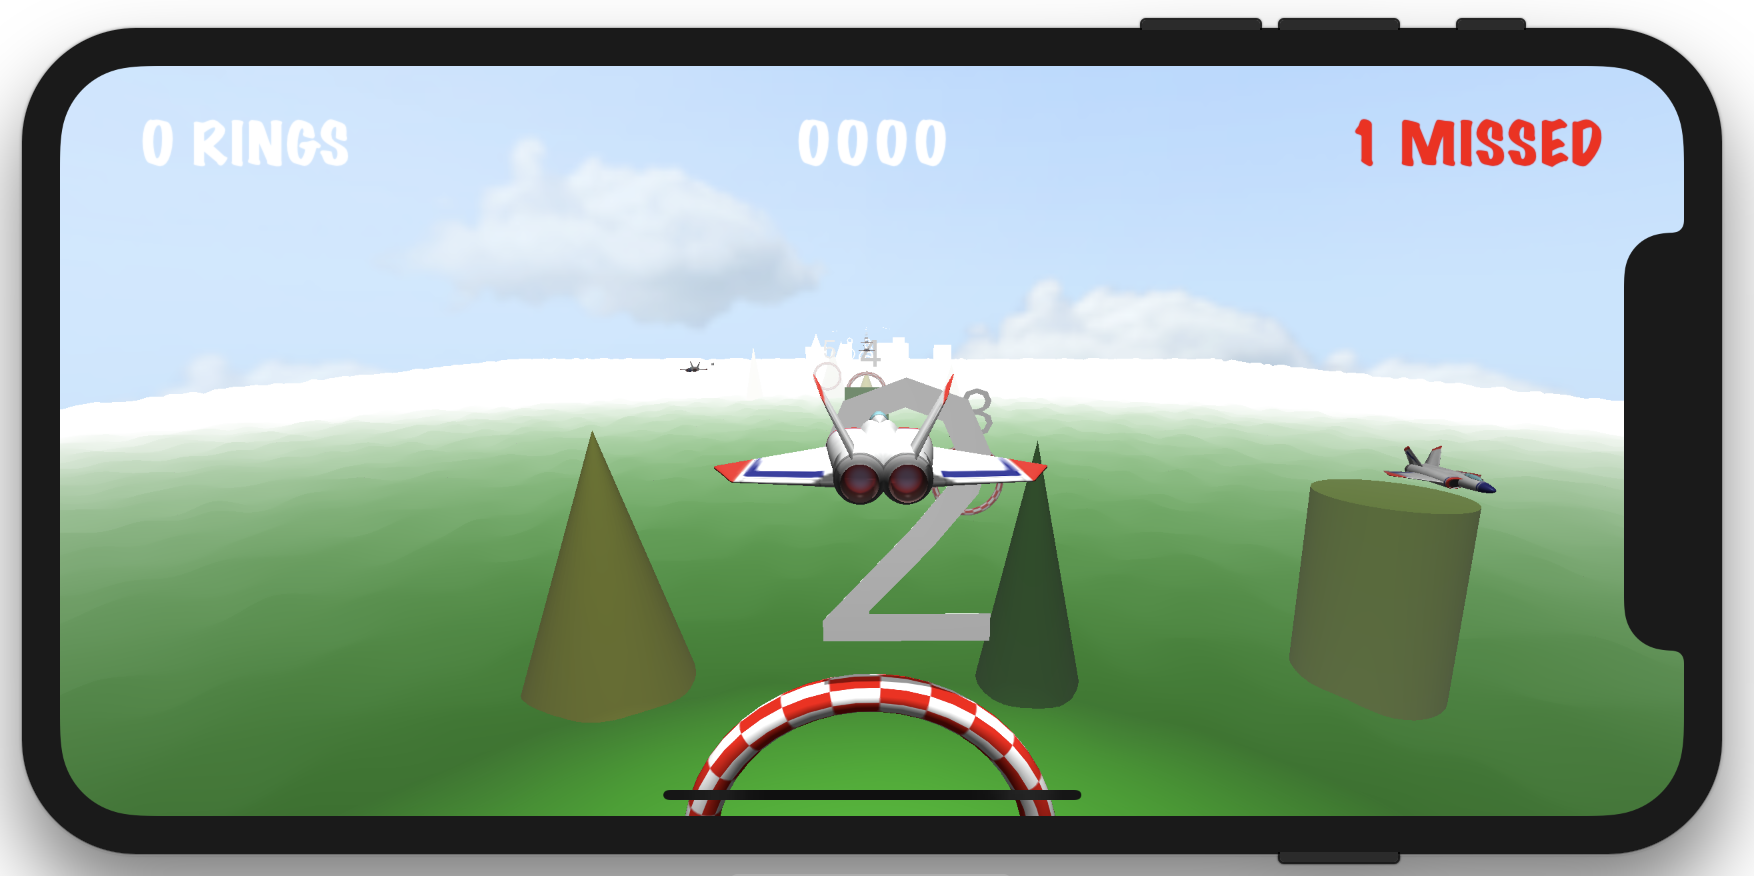
This code is part of my SceneKit Tutorial Serie: From Zero to Hero.
- Part 1 - Building a Terrain
- Part 2 - Create a real player game object
- Part 3 - Add life to your terrain
- Part 4 - Implement a Game Loop
- Part 5 - Fly smoothly with CoreMotion
- Part 6 - Finish the game (The missing parts)
- Part 7 - ARKit: Play in your environment
- Part 8 - Multiplatform: Our game on macOS
- Part 9 - tvOS: A great gaming platform
- Part 10 - Advanced SceneKit (Ways to improve)
Remarks:
- Code is now updated to be Swift 4 compliant
- It's imortant to know that the code is not intented to learn Swift, but to understand learning game development concepts
- Therefore some things (like unwrapping optionals) are just here to make things simpler
This tutorial is a companion work I do parallel on the development of my next upcoming 3D Game which uses just SceneKit and it's written entirely with Swift 4.
It's not for the absolute beginner or novice, because I assume things like Swift notation, trigonometric know-how etc. On the other hand you don't have to learn all at the begin. Like the terrain class RBTerrain. You can use it just like it is and read the code later again when you have more know-how. The most important is that you understand the principles.
It's important for me to start directly with a good and solid base which can be used for real games later. So please don't create a project using the Xcode Project wizard but start directly with the Source on GitHub. Also I don't want to build a step by step tutorial which shows each line, but always cover a chapter of the Game and introduce a new component and show the how and why :)
Important: Feel free to use this code in every way you want, but please consider also to give esomething back to the community.
I don't own the license rights for the assets used in this tutorials, so before you use them for something else then self-learning, please check by yourself the license behind or even better replace it with your own art. Thank you!


