30-second Slideshows for Hackers. http://jdan.github.io/cleaver/
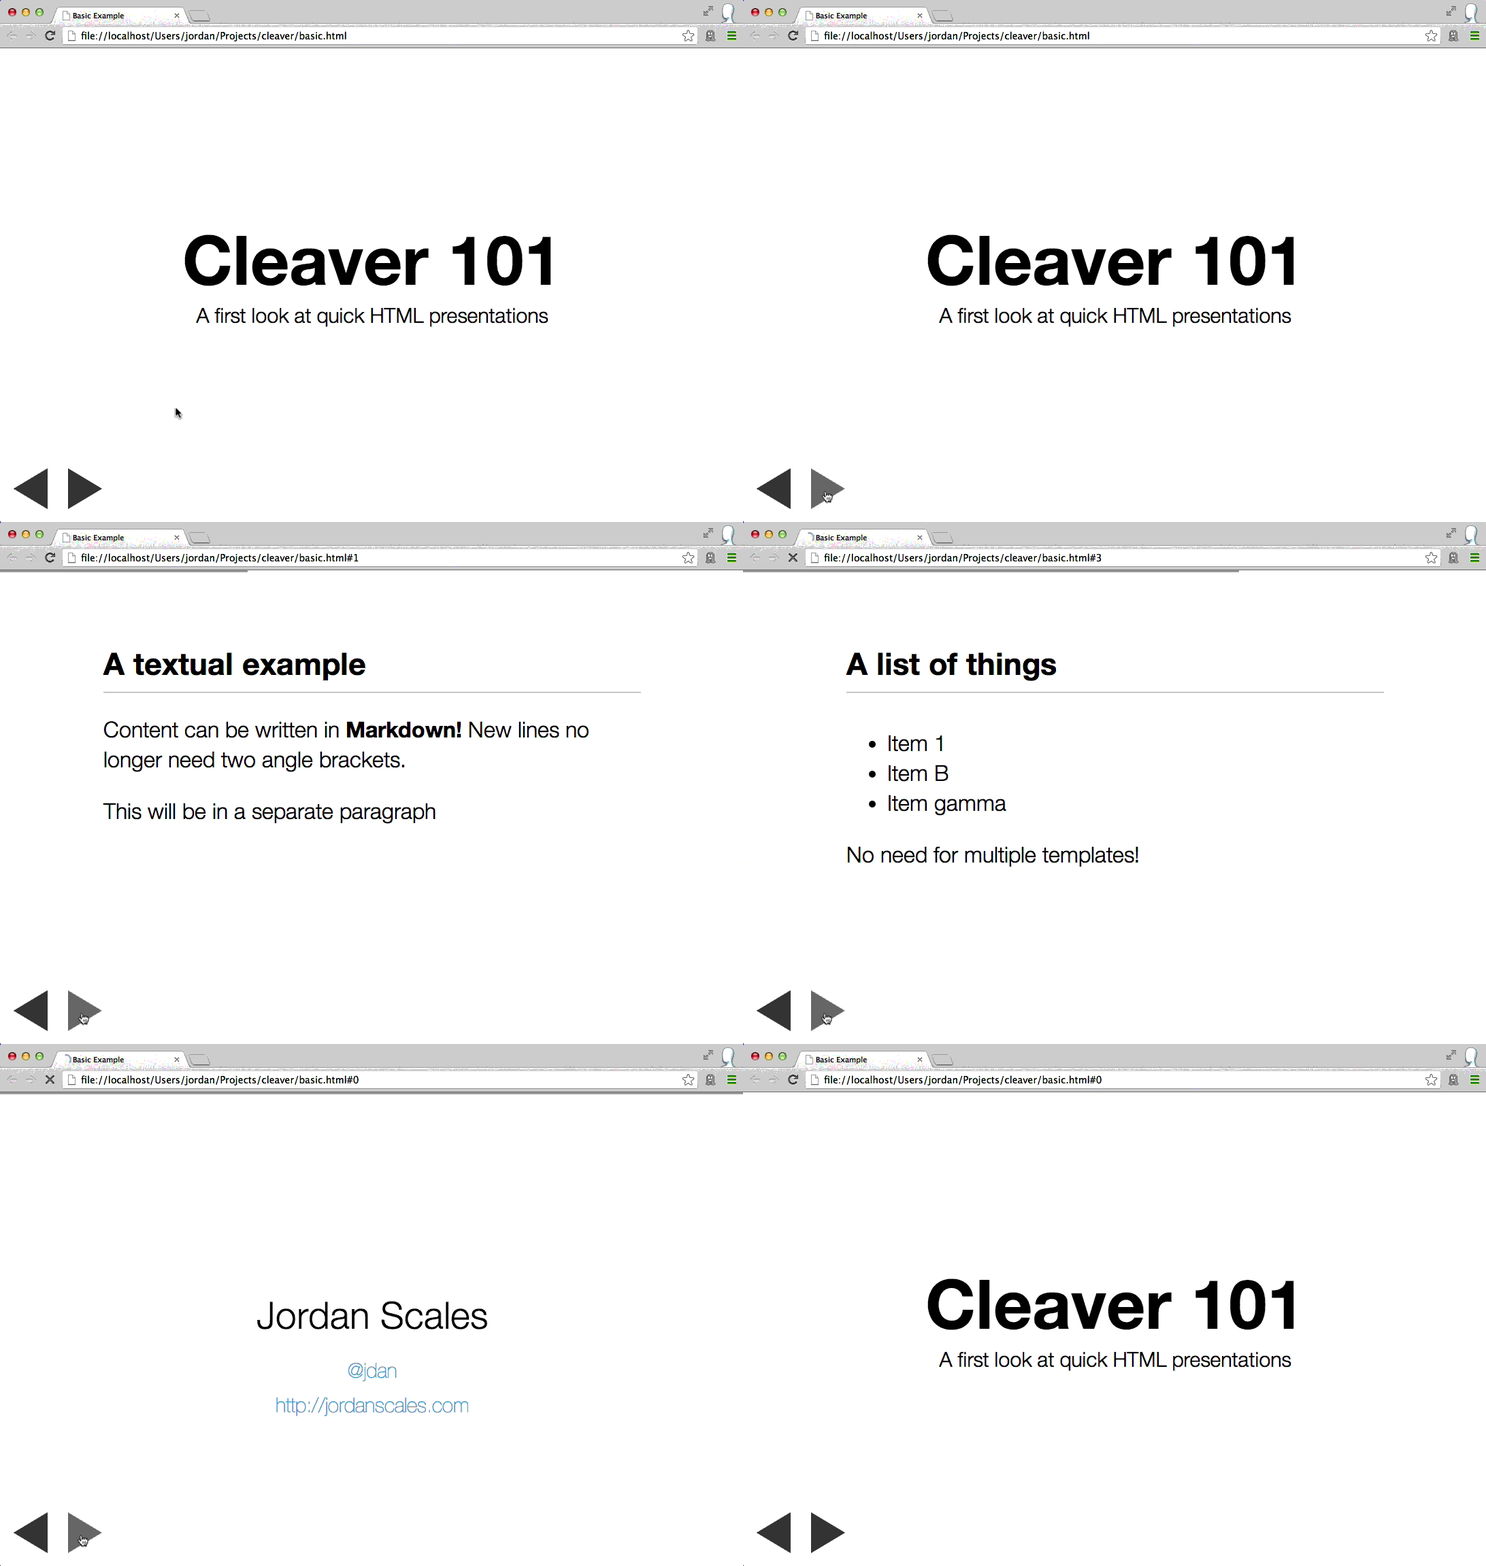
Cleaver turns this:
title: Basic Example
author:
  name: "Jordan Scales"
  twitter: "@jdan"
  url: "http://jordanscales.com"
output: basic.html
controls: true

--

# Cleaver 101
## A first look at quick HTML presentations

--

### A textual example

Content can be written in **Markdown!** New lines no longer need two angle brackets.

This will be in a separate paragraph

--

### A list of things

* Item 1
* Item B
* Item gamma

No need for multiple templates!
Into this:
Get it on NPM:
npm install -g cleaver
And run it like so:
cleaver path/to/something.md

# to recompile on changes:
# cleaver watch path/to/something.mdCleaver is a one-stop shop for generating HTML presentations in record time. Using some spiced up markdown, you can produce good-looking, interactive presentations without writing any code or placing a measly textbox.
All you need to do is write some blocks of markdown, separated by --
on its own line and include metadata at the top.
Cleaver also looks great on mobile.
Let's walk through the above example piece by piece.
title: Basic Example
author:
  name: "Jordan Scales"
  twitter: "@jdan"
  url: "http://jordanscales.com"
output: basic.html
controls: true
The first section of any cleaver document is the metadata. Currently cleaver supports the following fields.
Ordinary Users
- title: The title of the slideshow
- author
- name: Your full name
- url: A url to your website
- twitter: Your twitter handle
- style: An optional stylesheet to load
- output: A location to save the rendered document (default: FILENAME-cleaver.html)
- controls: Option whether or not arrow buttons should be included (default: true)
- agenda: Option whether or not to insert an agenda slide (similar to a table of contents) after the title (default: false)
- encoding: A specified content encoding (default: utf-8)
- progress: Option whether or not to display a small progress bar at the top of the page (default: true)
Power Users
- template: Location of the template used to render the slides (default: default.mustache)
- layout: Location of the layout template used to render everything (default: layout.mustache)
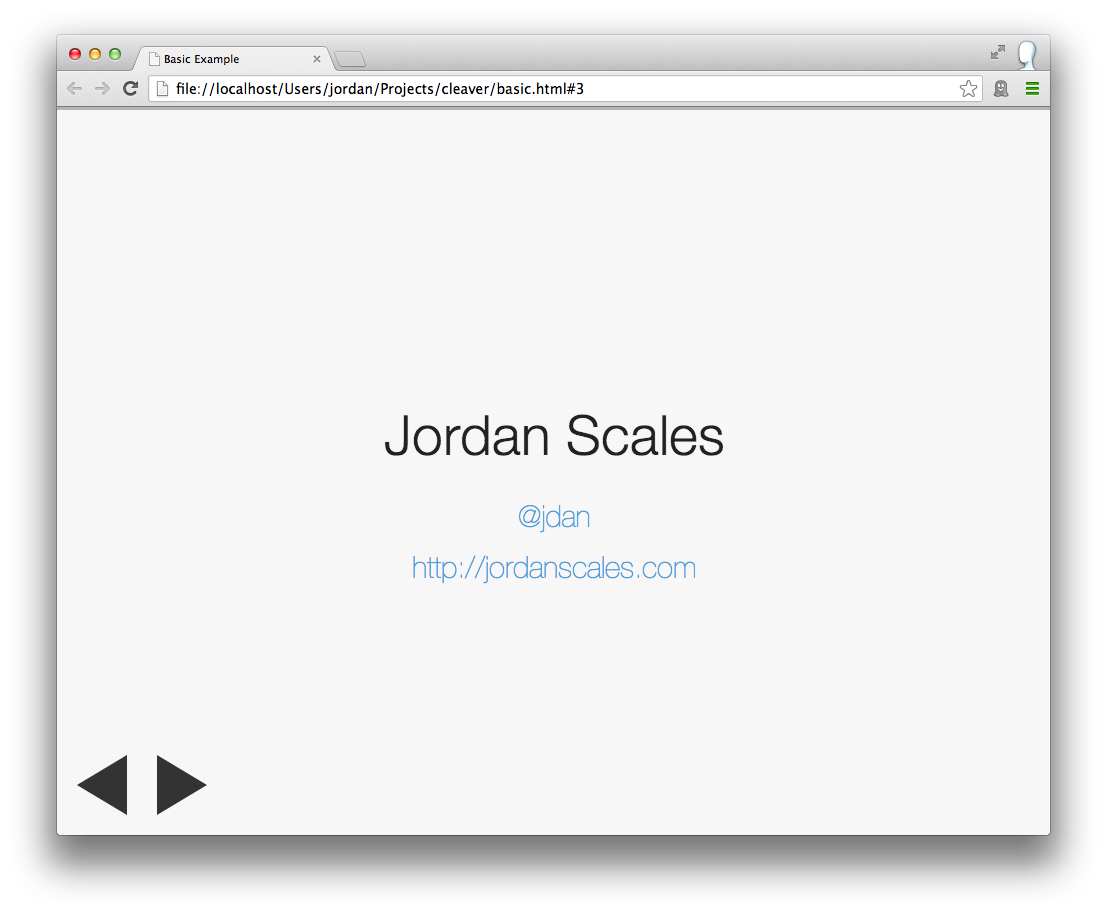
If author is included, the following slide will be automatically inserted at the end of your presentation:
# Cleaver 101
## A first look at quick HTML presentations
h1 and h2 elements (prefaced with # and ## respectively), will automatically include padding to render a title slide.
### A list of things

* Item 1
* Item B
* Item gamma

No need for multiple templates!
Since slides are written in Markdown, you can include things like lists, images, and arbitrary HTML.
h3 tags (prefaced ###) are automatically given a bottom border to
represent a slide title.
To navigate the slideshow:
- reverse: H, J, LEFT, DOWN, and Backspace
- forward: K, L, ENTER, UP, RIGHT, and Space
Or click the buttons
By default, cleaver slides are rendered in the following template:
{{#progress}}
  <div class="progress">
    <div class="progress-bar"></div>
  </div>
{{/progress}}

<div id="wrapper">
  {{#slides}}
    <section class="slide">{{{.}}}</section>
  {{/slides}}
</div>
{{#controls}}
  <div class="controls">
    <div class="arrow prev"></div>
    <div class="arrow next"></div>
  </div>
{{/controls}}

<script type="text/javascript">
  {{{navigation}}}
</script>
Power users may wish to render into custom templates. To do so, simply copy the above file somewhere, make some changes, and specify the template like so:
title: Basic Example
output: basic.html
template: example.mustache
You can also replace the entire layout (<head> tags and all) with the layout option. Use
layout.mustache as
an example to note what fields you should include in your custom layout.
- Fork it
- Clone it
- Install dependencies (
npm install) - Checkout a release branch (
git checkout -b feature/cool-wordart) - Make changes, commit, and push
- Open a pull request!
With <3,
@jdan
--

