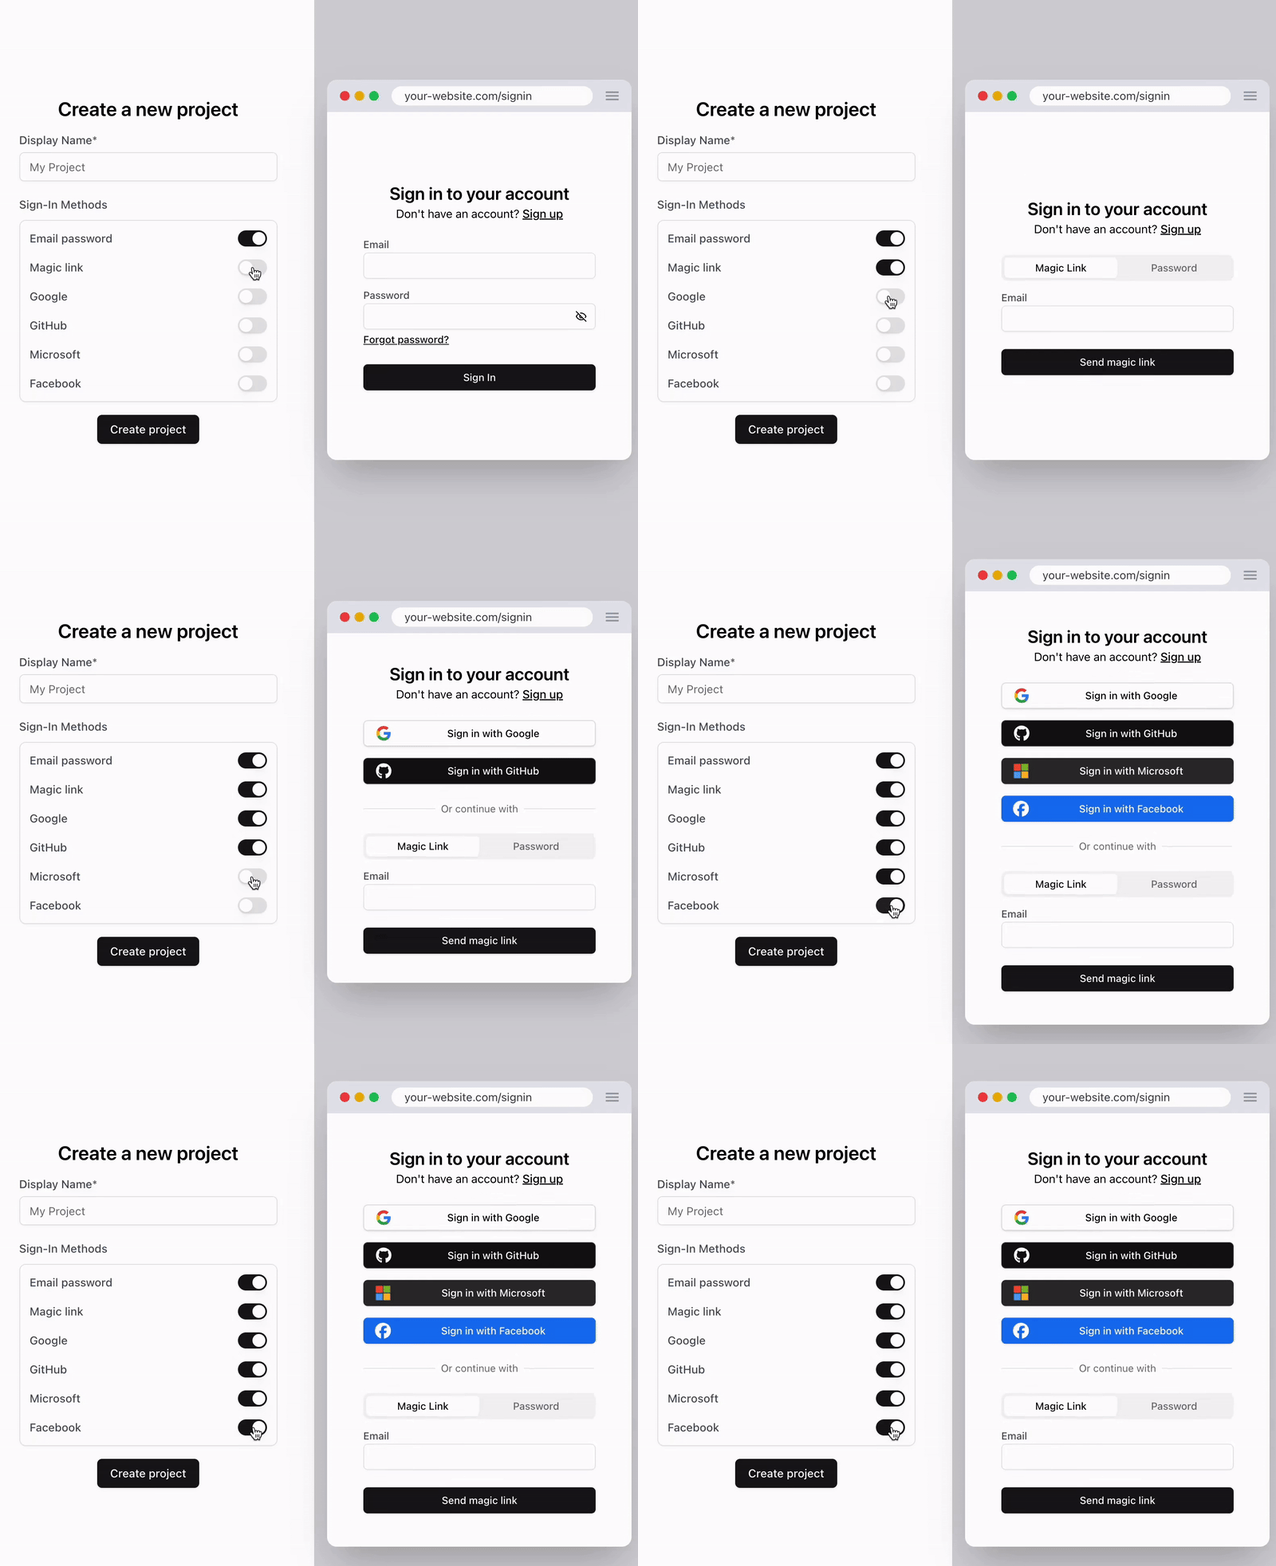
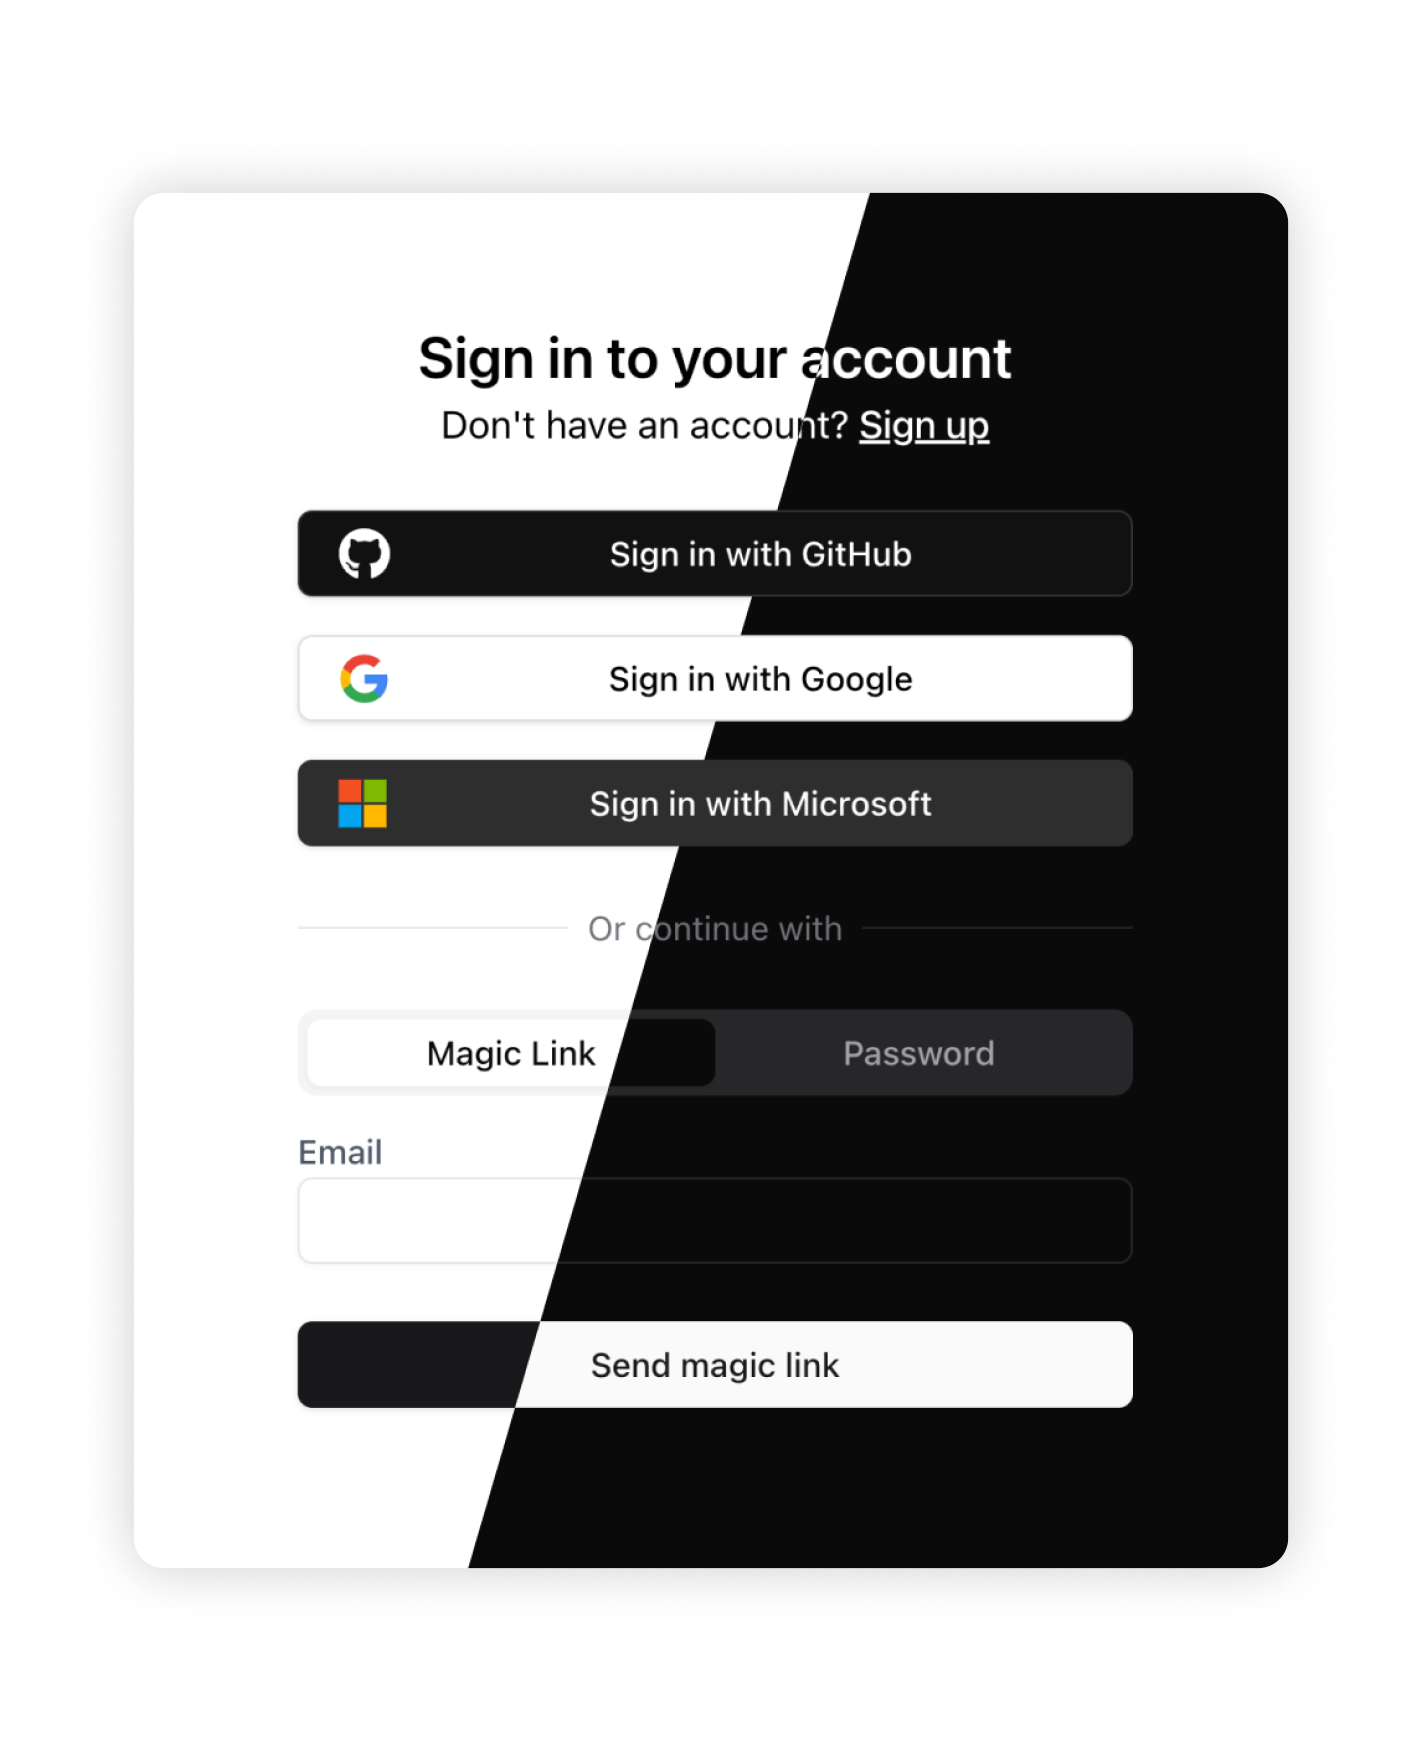
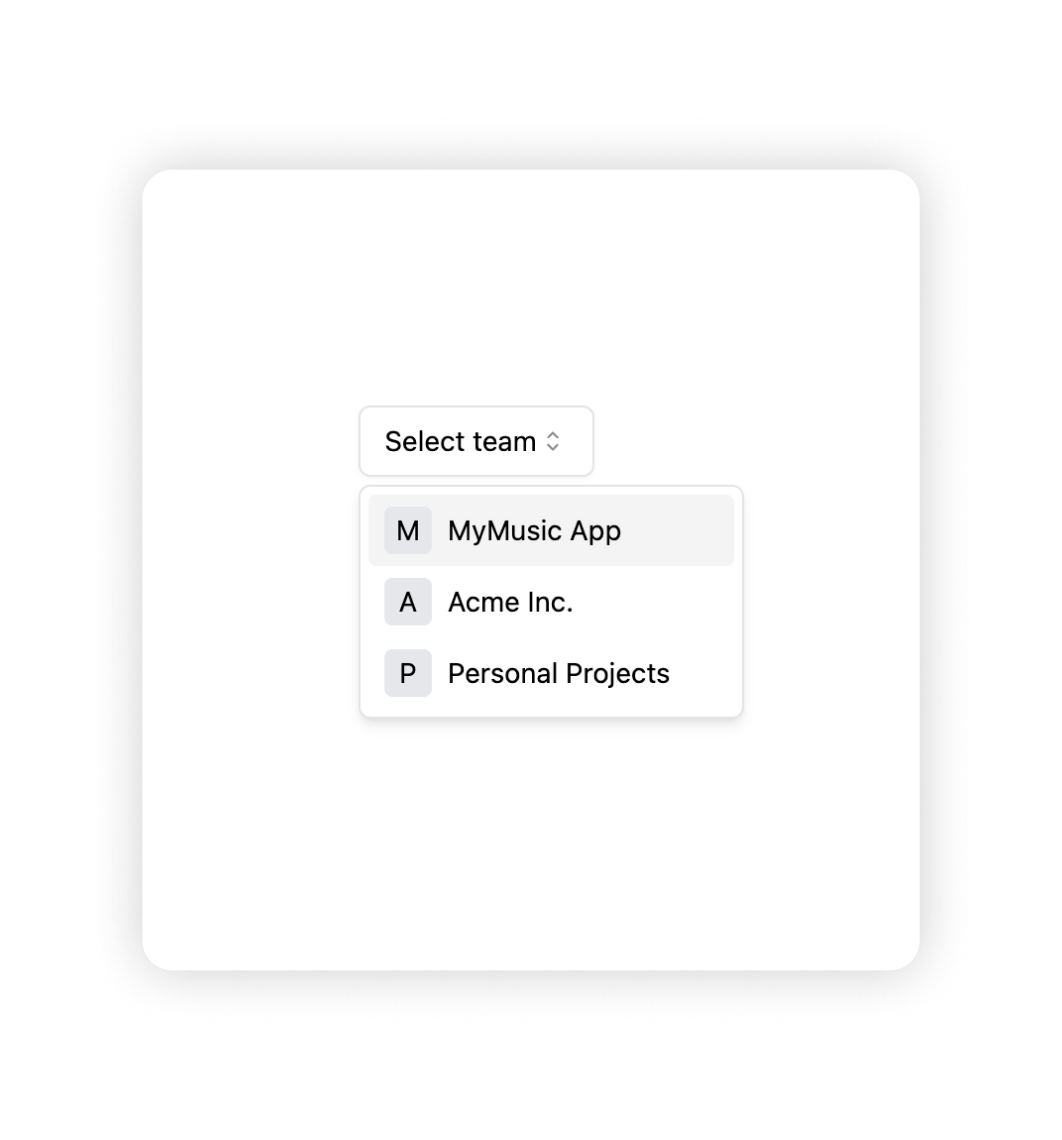
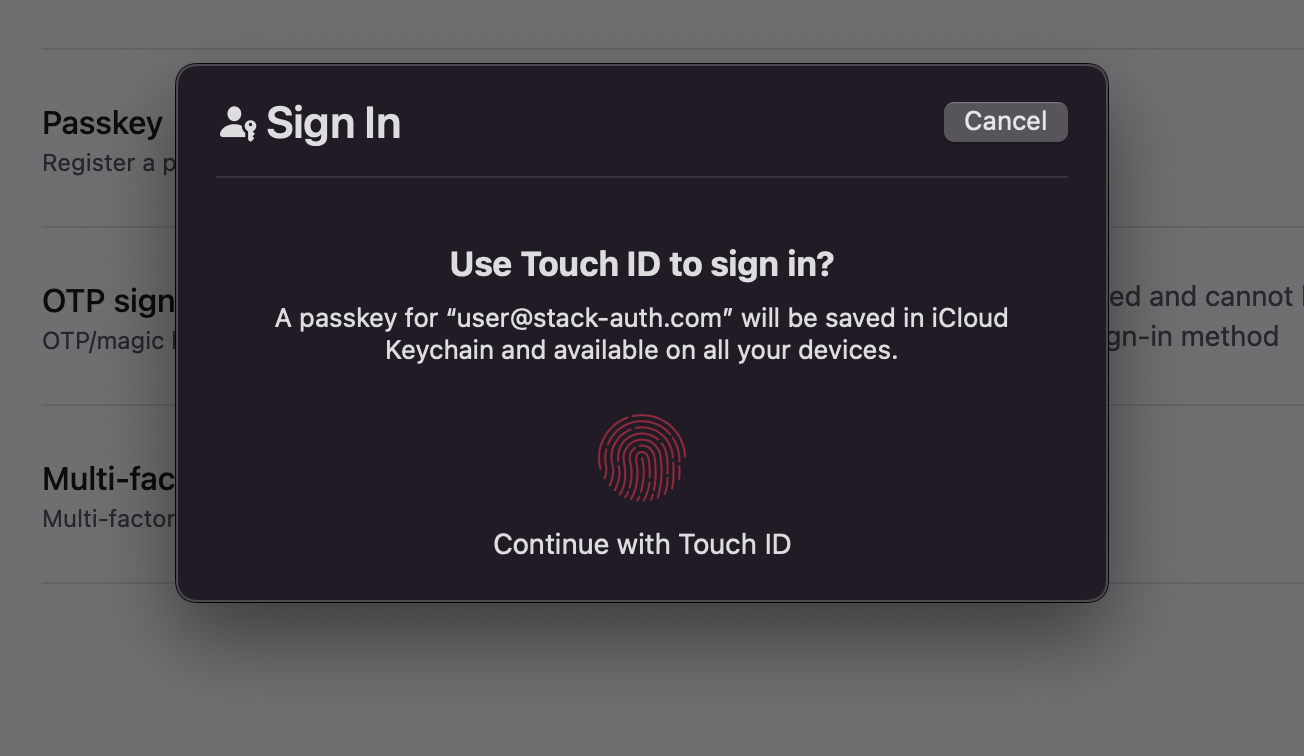
Stack Auth is a managed user authentication solution. It is developer-friendly and fully open-source (licensed under MIT and AGPL).
Stack gets you started in just five minutes, after which you'll be ready to use all of its features as you grow your project. Our managed service is completely optional and you can export your user data and self-host, for free, at any time.
We support Next.js frontends, along with any backend that can use our REST API. Check out our setup guide to get started.
- How is this different from X?
- ✨ Features
- 📦 Installation & Setup
- 🌱 Some community projects built with Stack
- 🏗 Development & Contribution
- ❤ Contributors
Ask yourself about X:
- Is
Xopen-source? - Is
Xdeveloper-friendly, well-documented, and lets you get started in minutes? - Besides authentication, does
Xalso do authorization and user management (see feature list below)?
If you answered "no" to any of these questions, then that's how Stack Auth is different from X.
To get notified first when we add new features, please subscribe to our newsletter.
- Run Stack’s installation wizard with the following command:
npx @stackframe/init-stack@latest
- Then, create an account on the Stack Auth dashboard, create a new project with an API key, and copy its environment variables into the .env.local file of your Next.js project:
NEXT_PUBLIC_STACK_PROJECT_ID=<your-project-id> NEXT_PUBLIC_STACK_PUBLISHABLE_CLIENT_KEY=<your-publishable-client-key> STACK_SECRET_SERVER_KEY=<your-secret-server-key> - That's it! You can run your app with
npm run devand go to http://localhost:3000/handler/signup to see the sign-up page. You can also check out the account settings page at http://localhost:3000/handler/account-settings.
Check out the documentation for a more detailed guide.
Have your own? Happy to feature it if you create a PR or message us on Discord.
- Stack Example by career-tokens
- Stack Demo by the Stack team
- Stack E-Commerce Example by the Stack team
This is for you if you want to contribute to the Stack project or run the Stack dashboard locally.
Important: Please read the contribution guidelines carefully and join our Discord if you'd like to help.
- Node v20
- pnpm v9
- Docker
Pre-populated .env files for the setup below are available and used by default in .env.development in each of the packages. (Note: If you're creating a production build (eg. with pnpm run build), you must supply the environment variables manually.)
In a new terminal:
pnpm install

# Run build to build everything once
pnpm run build:dev

# reset & start the dependencies (DB, Inbucket, etc.) as Docker containers, seeding the DB with the Prisma schema
pnpm run start-deps
# pnpm run restart-deps
# pnpm run stop-deps

# Start the dev server
pnpm run dev
# For systems with limited resources, you can run a minimal development setup with just the backend and dashboard
# pnpm run dev:basic

# In a different terminal, run tests in watch mode
pnpm run test
You can now open the dev launchpad at http://localhost:8100. From there, you can navigate to the dashboard at http://localhost:8101, API on port 8102, demo on port 8103, docs on port 8104, Inbucket (e-mails) on port 8105, and Prisma Studio on port 8106. See the dev launchpad for a list of all running services.
Your IDE may show an error on all @stackframe/XYZ imports. To fix this, simply restart the TypeScript language server; for example, in VSCode you can open the command palette (Ctrl+Shift+P) and run Developer: Reload Window or TypeScript: Restart TS server.
You can also open Prisma Studio to see the database interface and edit data directly:
pnpm run prisma studioIf you make changes to the Prisma schema, you need to run the following command to create a migration:
pnpm run prisma migrate devStoria trained an AI on our codebase that can answer questions about using and contributing to Stack.
  graph TB
      Website[Your Website]
      User((User))
      Admin((Admin))
      subgraph "Stack Auth System"
          Dashboard[Stack Dashboard<br/>/apps/dashboard]
          Backend[Stack API Backend<br/>/apps/backend]
          Database[(PostgreSQL Database)]
          EmailService[Email Service<br/>Inbucket]
          WebhookService[Webhook Service<br/>Svix]
          StackSDK[Client SDK<br/>/packages/stack]
          subgraph Shared
              StackUI[Stack UI<br/>/packages/stack-ui]
              StackShared[Stack Shared<br/>/packages/stack-shared]
              StackEmails[Stack Emails<br/>/packages/stack-emails]
          end
      end
      Admin --> Dashboard
      User --> Website
      Website --> StackSDK
      Backend --> Database
      Backend --> EmailService
      Backend --> WebhookService
      Dashboard --> Shared
      Dashboard --> StackSDK
      StackSDK --HTTP Requests--> Backend
      StackSDK --> Shared
      Backend --> Shared
      classDef container fill:#1168bd,stroke:#0b4884,color:#ffffff
      classDef database fill:#2b78e4,stroke:#1a4d91,color:#ffffff
      classDef external fill:#999999,stroke:#666666,color:#ffffff
      classDef deprecated stroke-dasharray: 5 5
      class Dashboard,Backend,EmailService,WebhookService,Website container
      class Database database
Thanks to CodeViz for generating the diagram!

