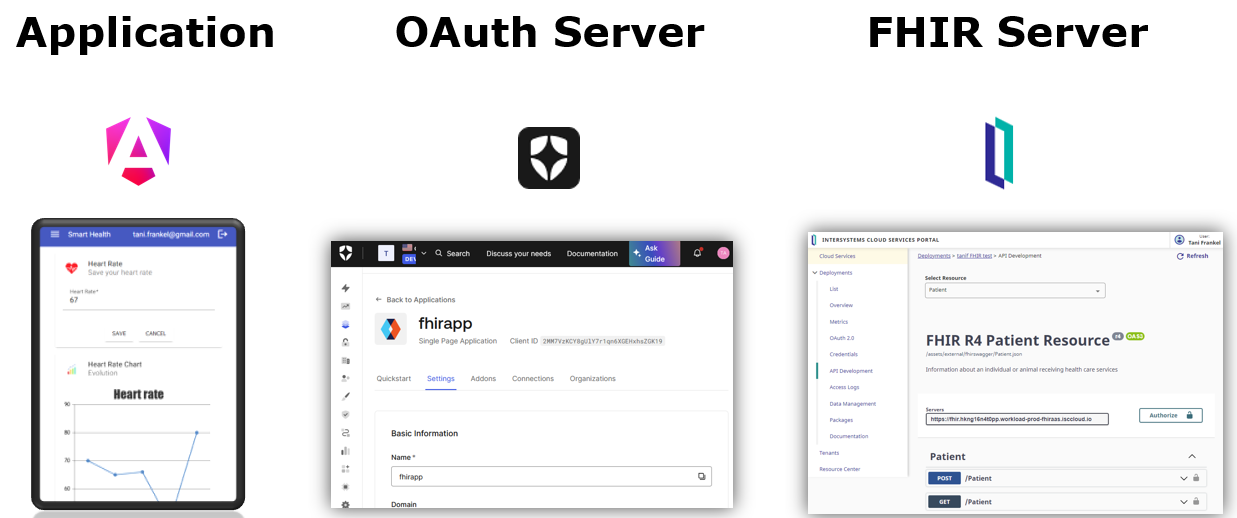
This project is an example of configuration and use of InterSystems FHIR Server and capabilities to build a SMART on FHIR application.
The project is made out of three parts -
- An application (built with Angular)
- An OAuth Server (auth0 by Okta)
- A FHIR Server (InterSystems Cloud FHIR Server)
What will you find in this project?
Angular application to use as a front-end, configured to login using an Auth0 account.
Before running the container:
Quite naturally we need a FHIR Server.
In this hands-on exercise we'll use the InterSystems Cloud FHIR Server.
In the SMART Day landing page initial steps you might have already created the server, just in case, make sure you fired off the deployment creation as this will take several minutes.
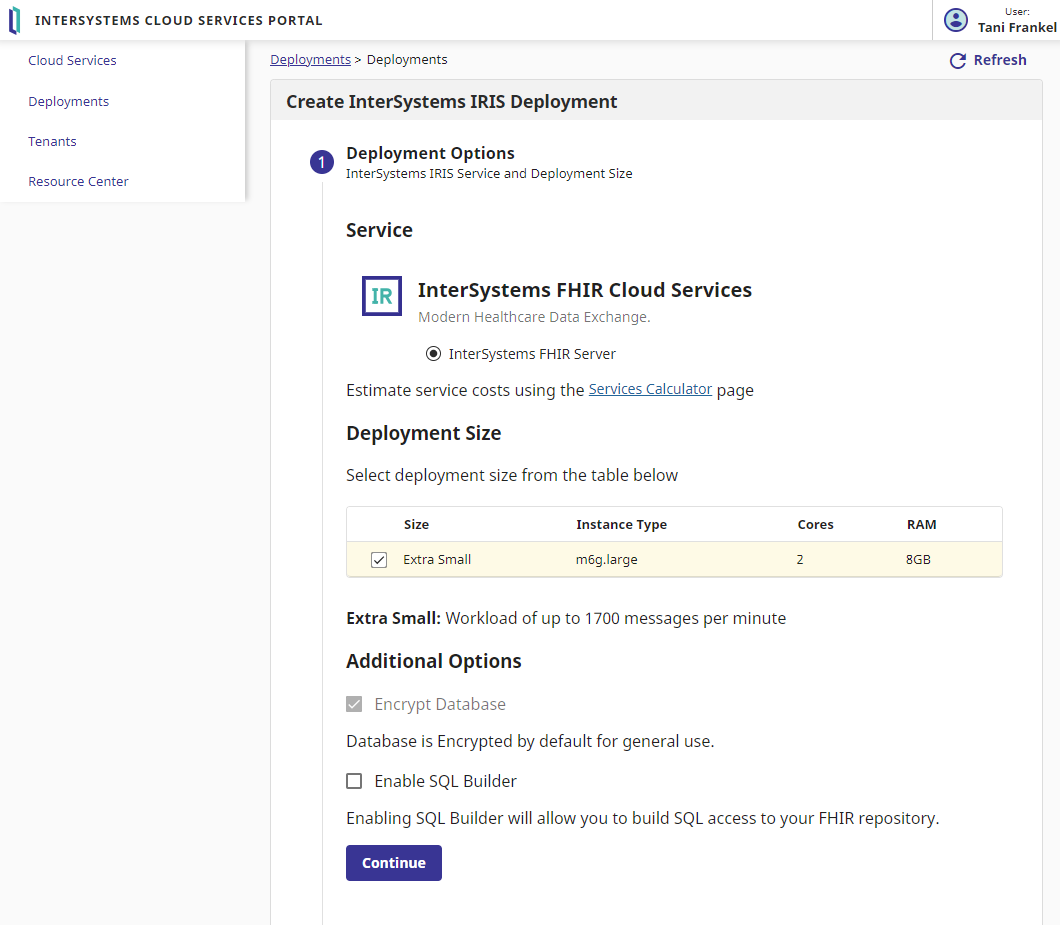
The landing page included basic steps, with screenshots, but just to make sure, here are a some more screenshots in case you need further guidance for these steps:
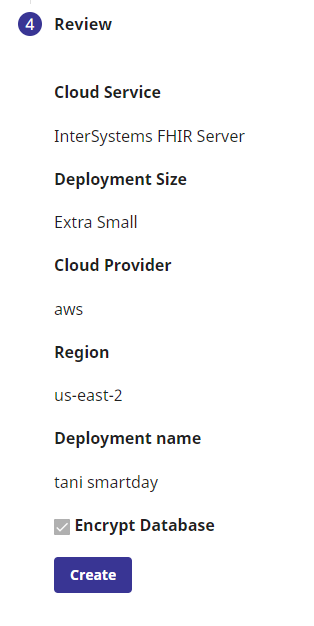
You'll only have one Service to "choose" from - the InterSystems FHIR Server
Also only one Deployment Size (for this exercise) - Extra Small
Under the Additional Options - Encrypt Database is set, and you do not need to check the Enable SQL Builder option (not covered in this exercise)
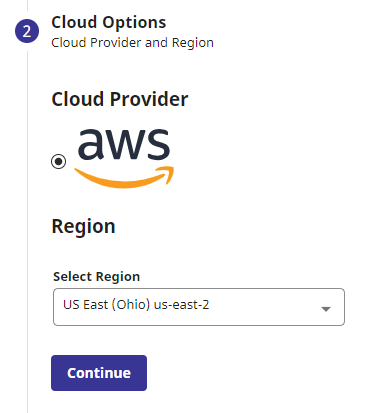
Under Cloud Options you can see the Cloud Provider is already AWS, and for the region you can leave the default USE East Ohio (us-east-2).
(If you want you can browse down the drop-down list and see we also have Israel Tel-Aviv as an optional region)
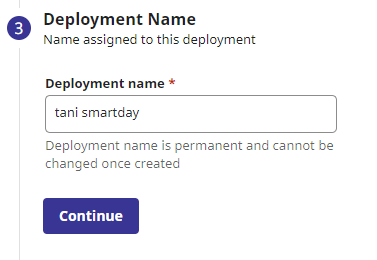
Enter in a name for your deployment (you can leave the default, some combination of your user name and date, or set some other meaningful name for you)
Review the various details and press Create
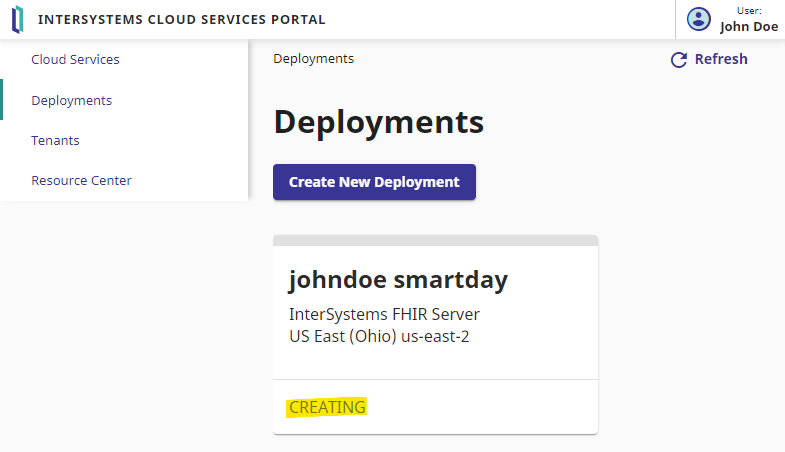
As mentioned this will take several minutes (typically could be 15 minutes or even a little more) You will see your deployment in the list of deployments, with a status of CREATING
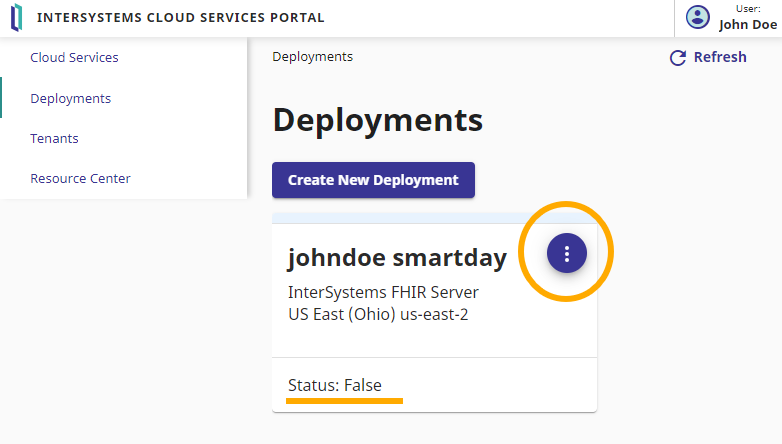
Once done the deployment listing will change a little - you'll get a little blue circle in the corner, and a status of "False" (don't worry 😉 this is an OK status in the context of the exercise environment we created for the SMART Day)
We'll come back to our FHIR Server soon, but in the meantime we'll move on to setting up our OAuth server - auth0.
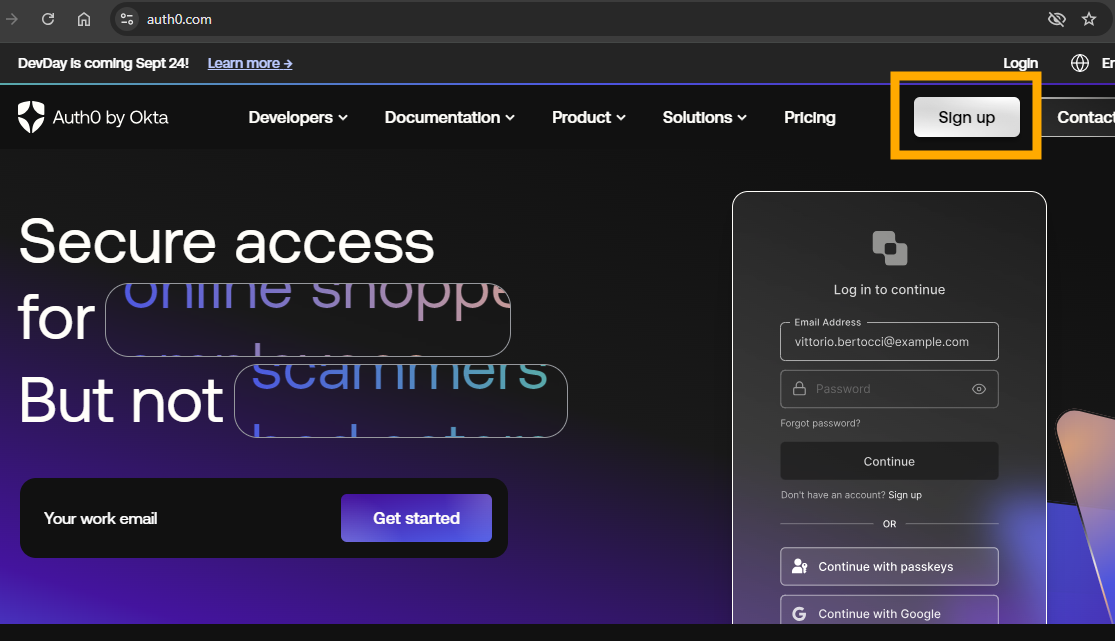
SMART On FHIR requires OAuth 2.0 as a protocol for authorization, for this example we are going to use auth0 as external Oauth2 server. To use it you should create an account from here. Your Auth0 user will be the user to access to the web application.
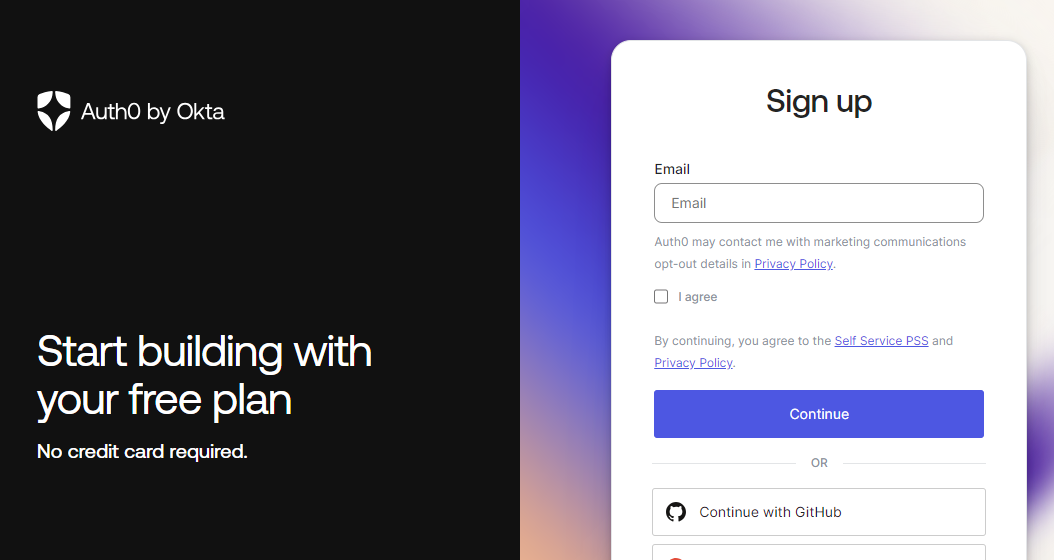
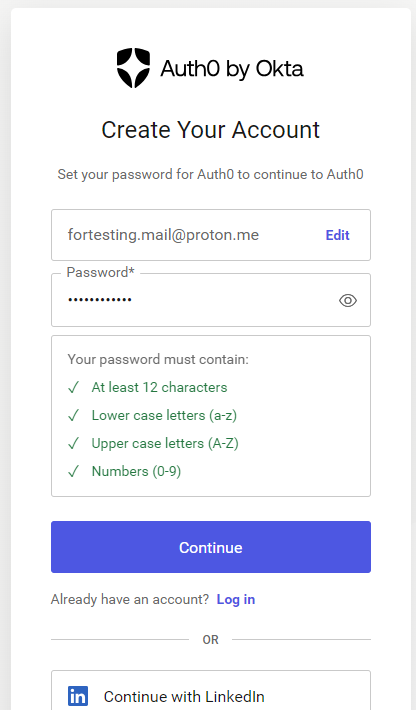
Click the Signup and register your email and password:
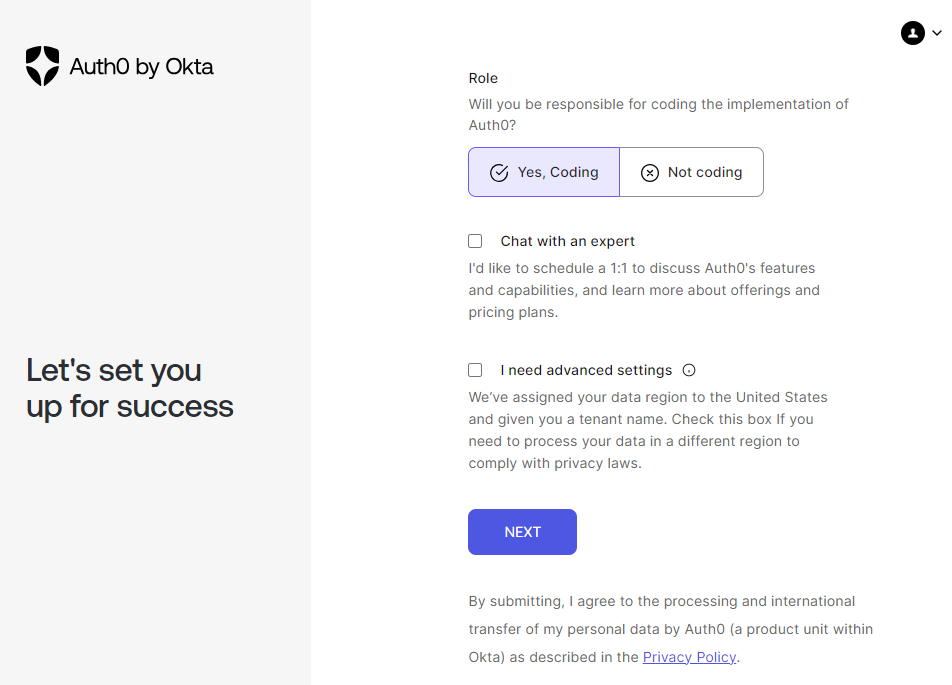
When asked you can simply choose you'll use this for Coding, but leave the checkboxes empty:
You should see a message that auth0 is setting up your tenant:
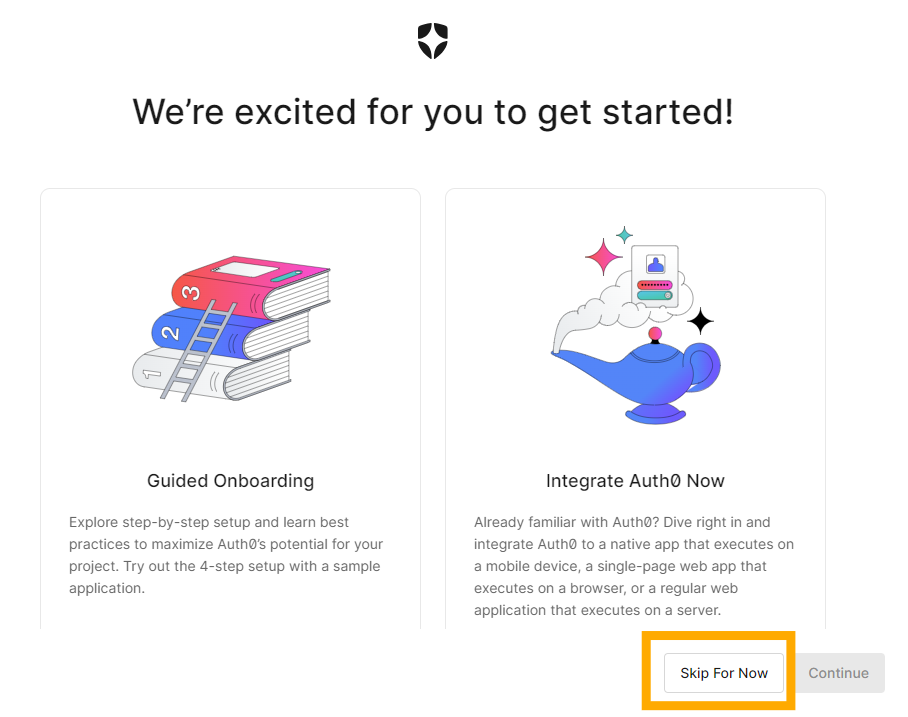
And eventually you should get a Welcome screen, which you can simply Skip.
Once you're in the first step we'll want to do is to create an application.
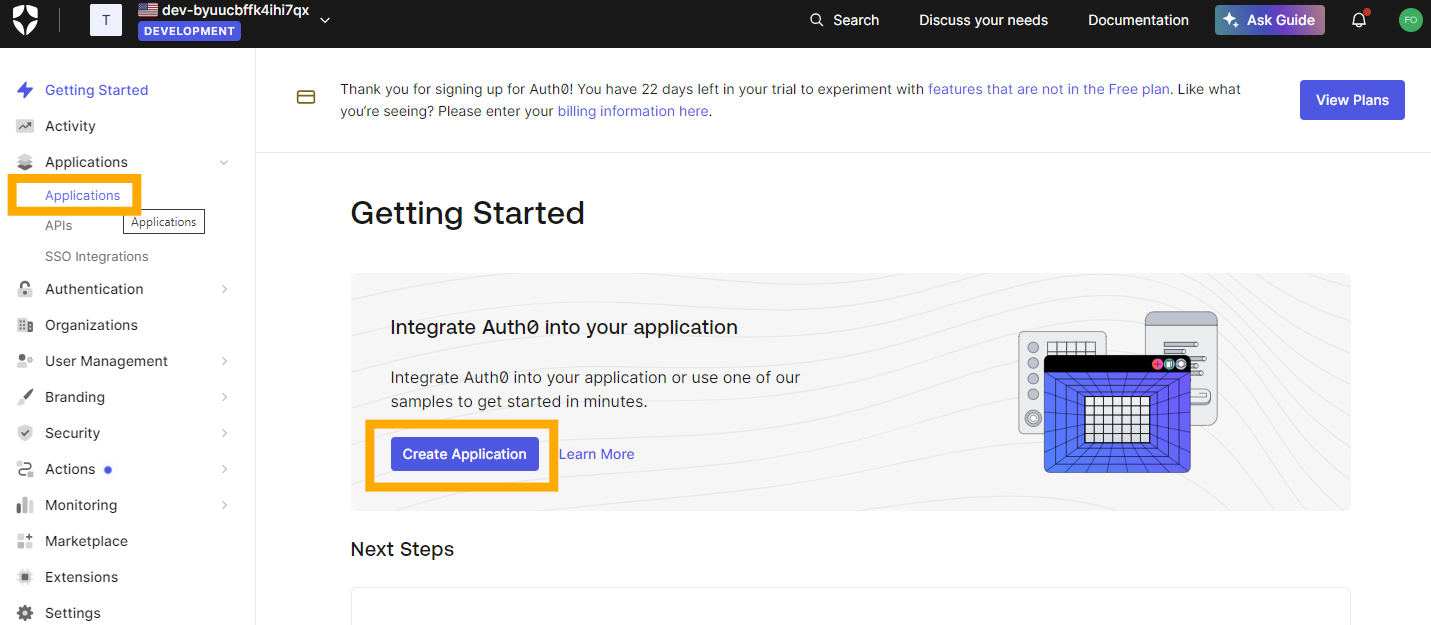
The first screen could should this option - Create Application, or you can choose Applications from the left side menu tree:
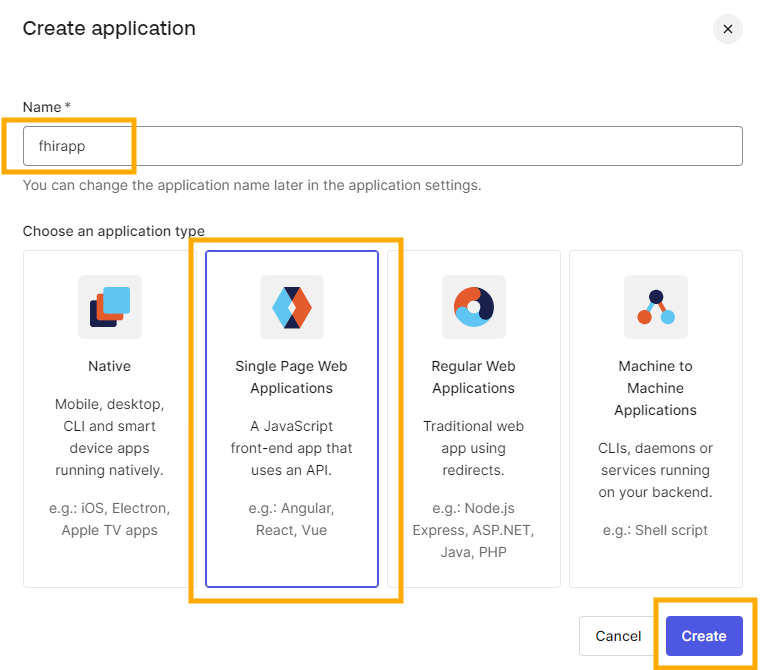
Via either way we will arrive at the Application Creation page, we will give it a name (fhirapp) and a Type - Single Page Web Application (or SPA), and simply press Create:
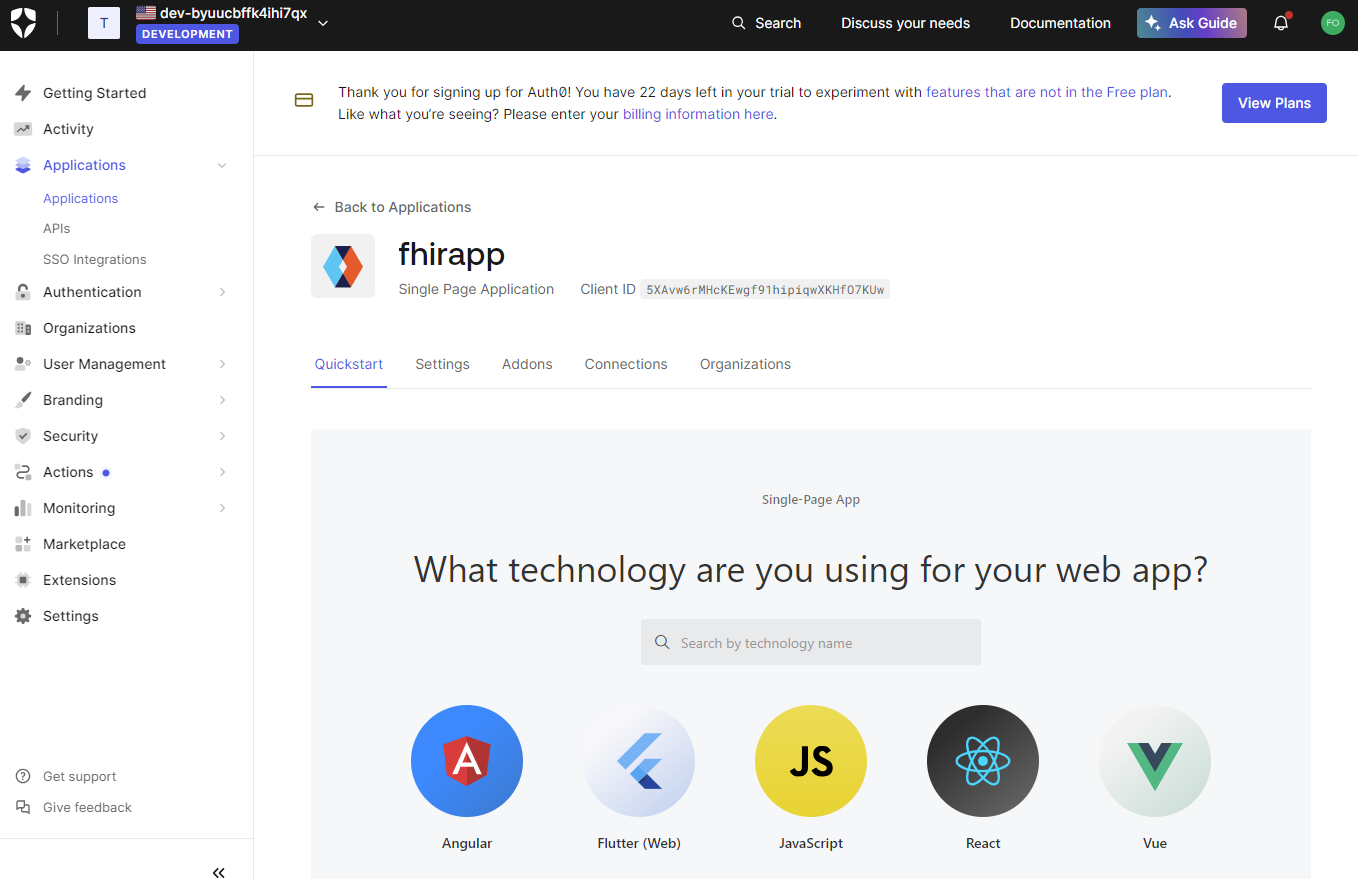
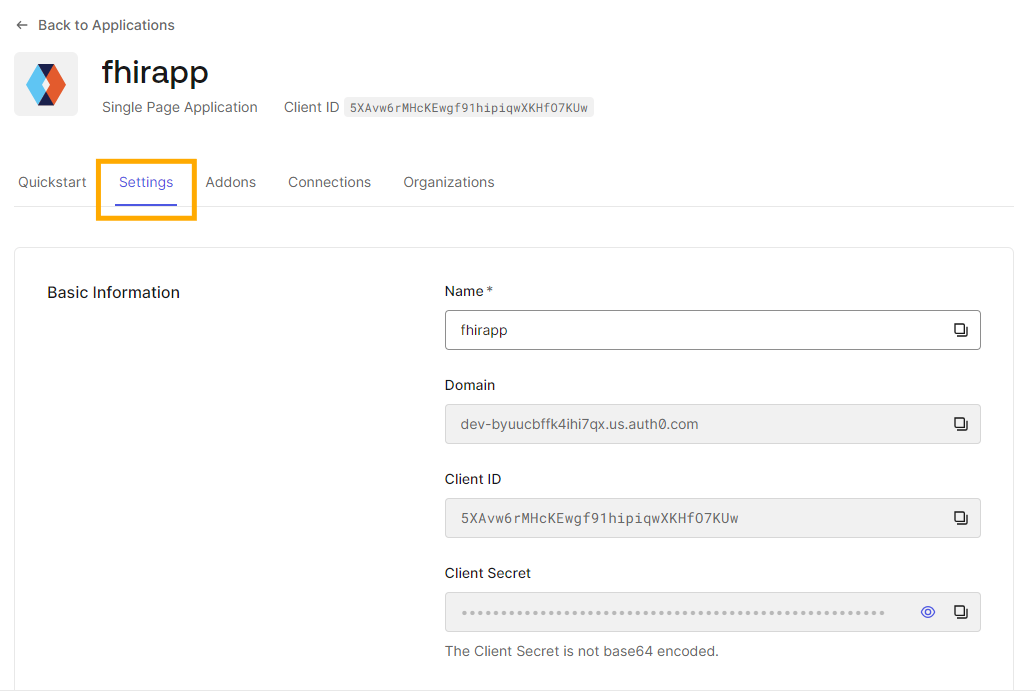
You should see now your application page:
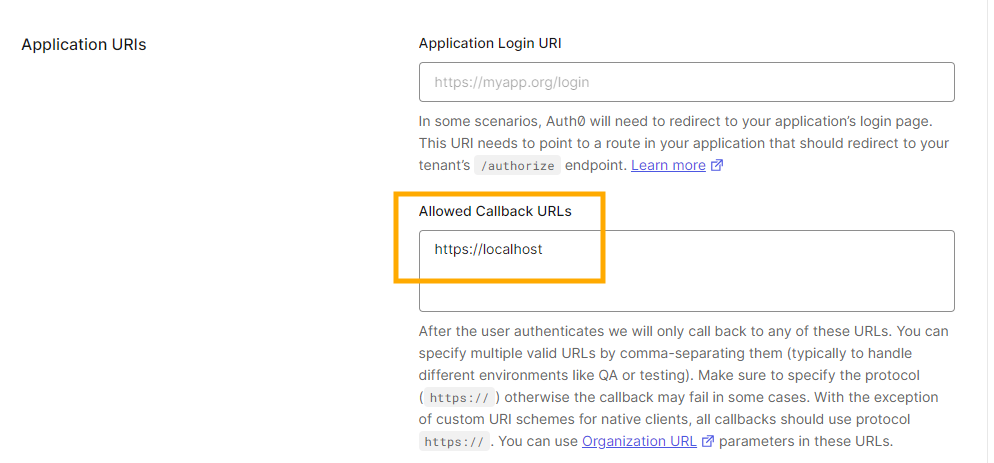
We will now want to setup some relevant URLs in our application settings:
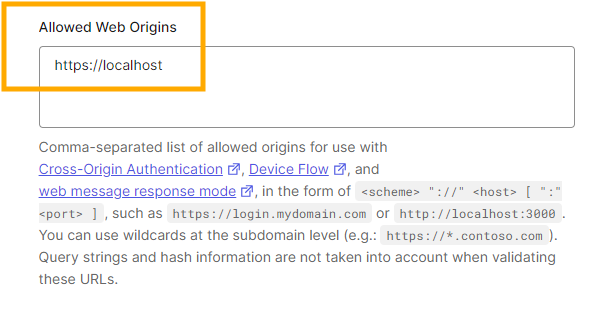
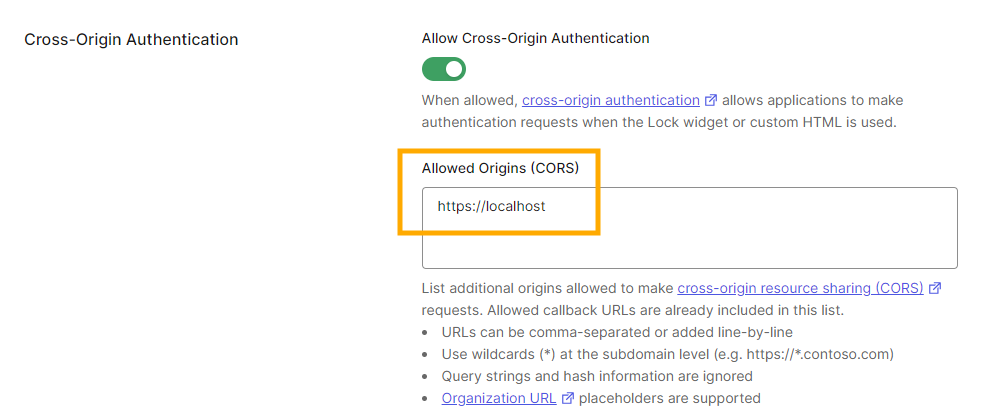
The URL we will enter in several places is:
https://localhost
(note this is https and not http)
We will enter this in the Callback URL:
In the Allowed Web Origin:
And in the Allowed Origin (CORS):
Finally simply press Save Changes in the right bottom corner:
We'll come back to our application soon, but for now we'll go and create a User for logging into our application
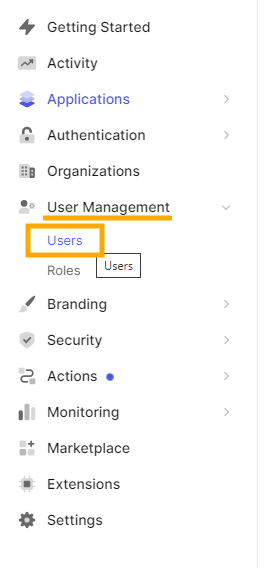
Under User Management choose Users:
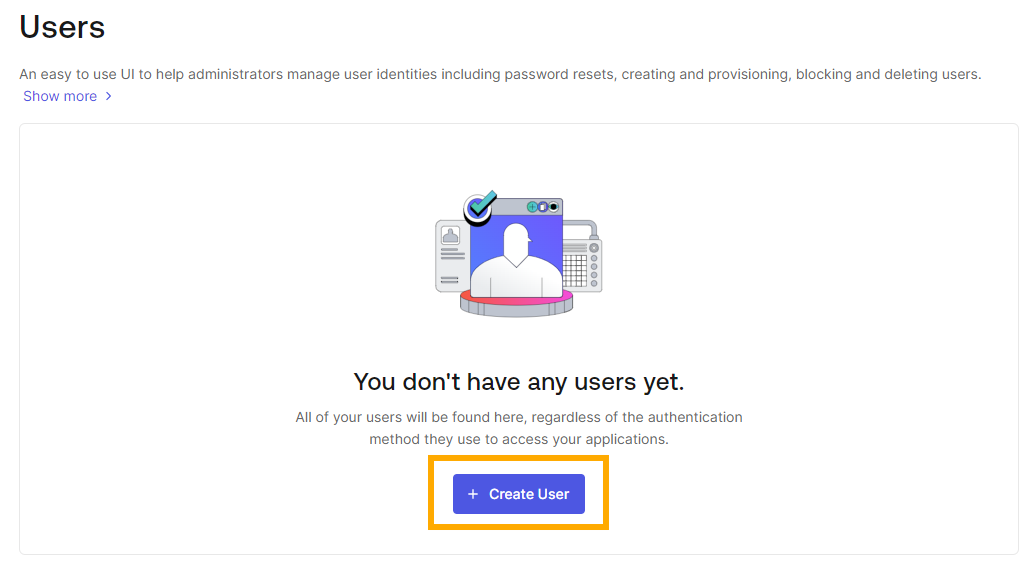
Simply press the Create User button:
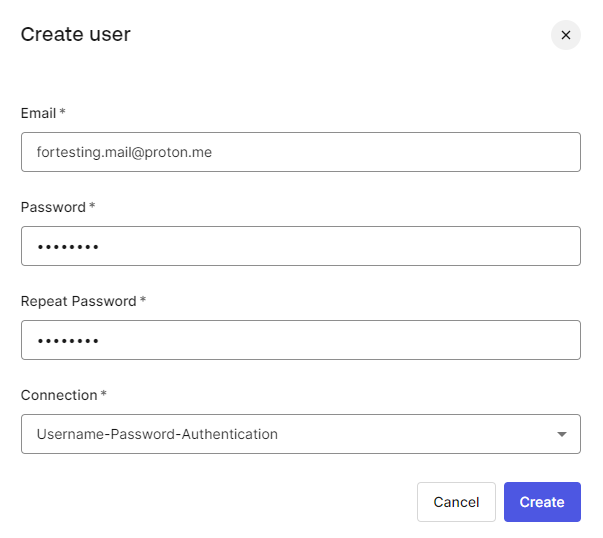
Enter in the details for the User - Email address and Password, and press Create.
Note this can be the same information you used when signing up to auth0, or something else.
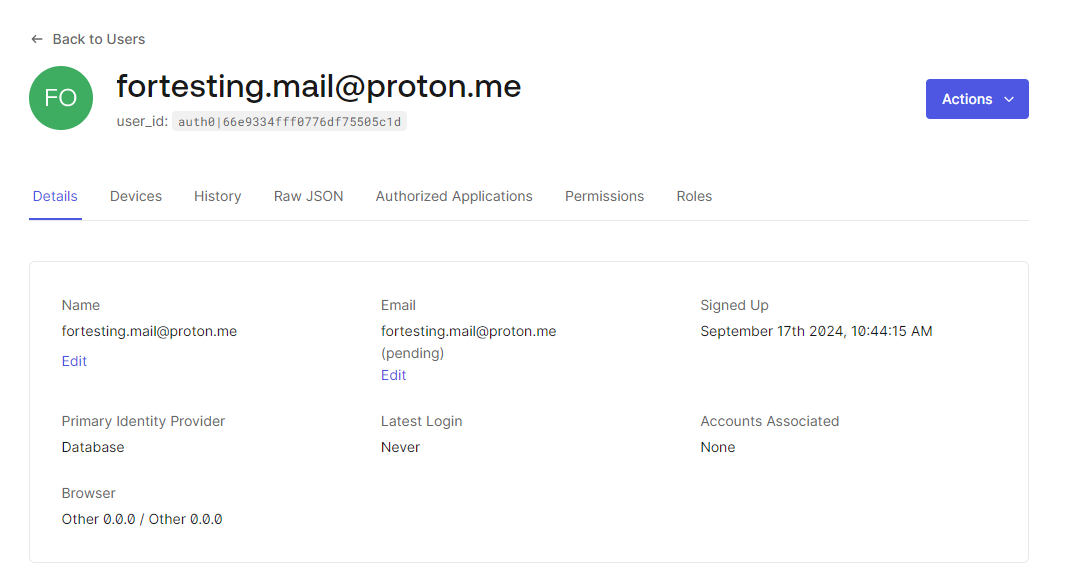
Then you should see your User's page:
We'll come back to our User later.
For now we need to make sure our Cloud FHIR Server is up and running, to grab some information from there, and do some more setup.
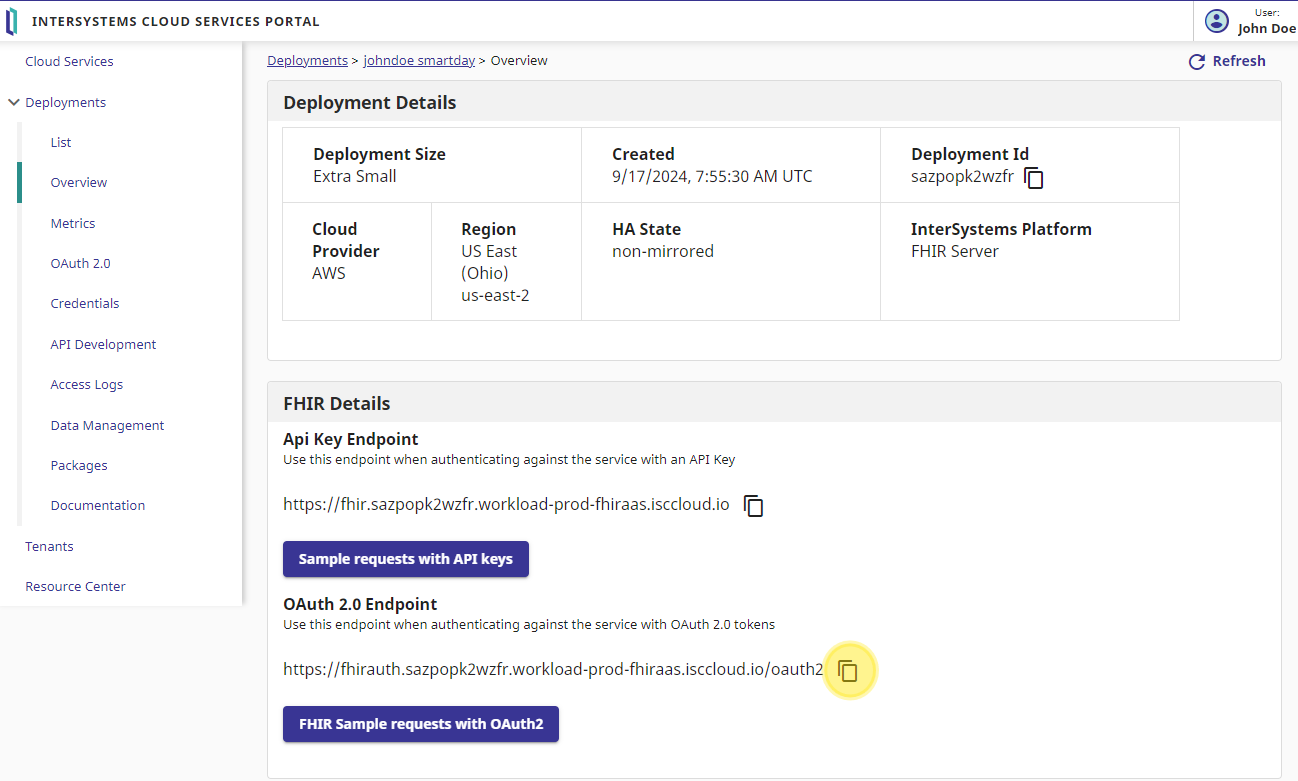
Go back to the InterSystems Cloud Services Portal, and click on your FHIR Server deployment. You should see something like this:
We need the OAuth 2.0 Endpoint to create the auth0 API, so copy the endpoint URL (you can simply click on the copy icon)
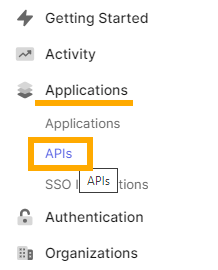
In your auth0 portal, in the left-side menu tree choose Applications and APIs:
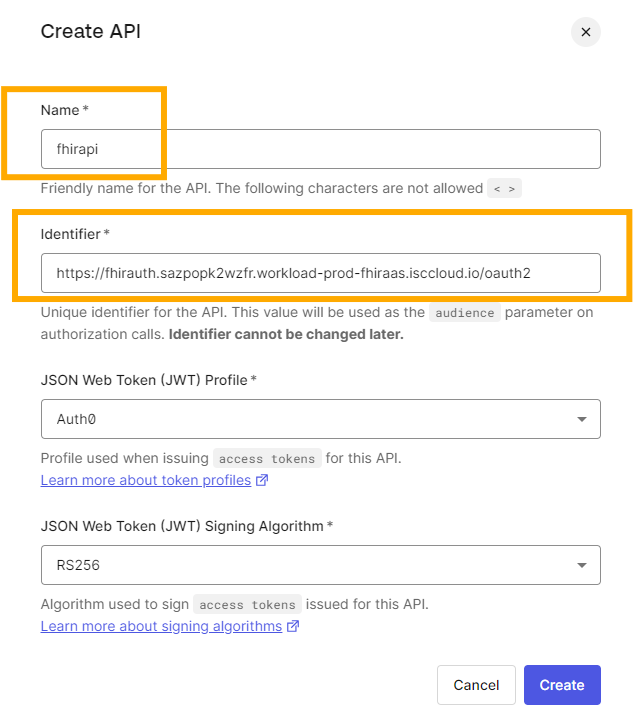
Here press the Create API button:
We will give it a name (fhirapi) and the set the Identifier (used as the audience parameter for the OAuth request) as the FHIR Server OAuth 2.0 Endpoint we previously copied, and press Create. This will look something like this:
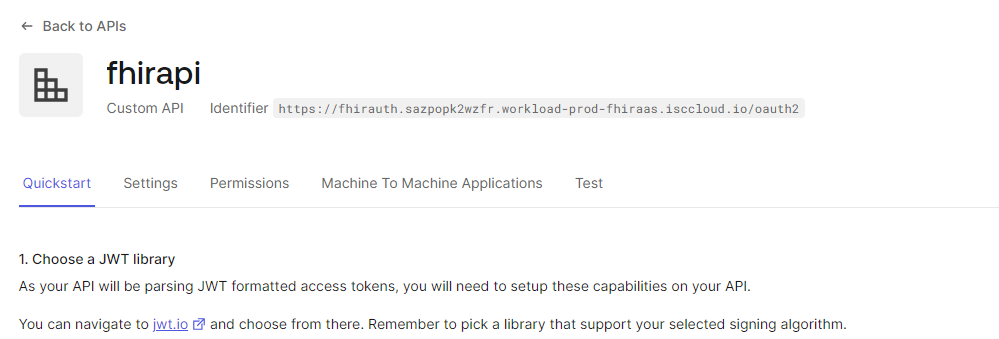
Now we have our API:
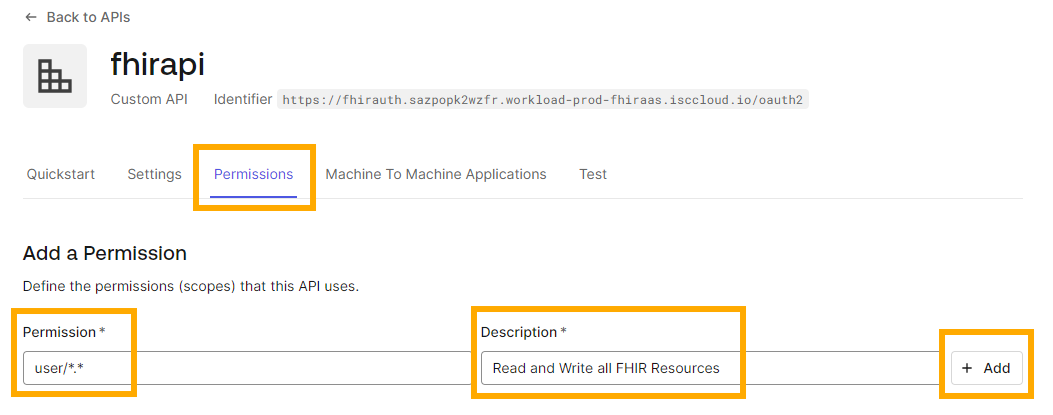
Now we'll want to set the Application Permissions.
This relates to the SMART Scope discussed.
In our case we'll set it to user/*.*, which will allow our app all permissions (read and write etc. to all Resource Types), and press the Add button:
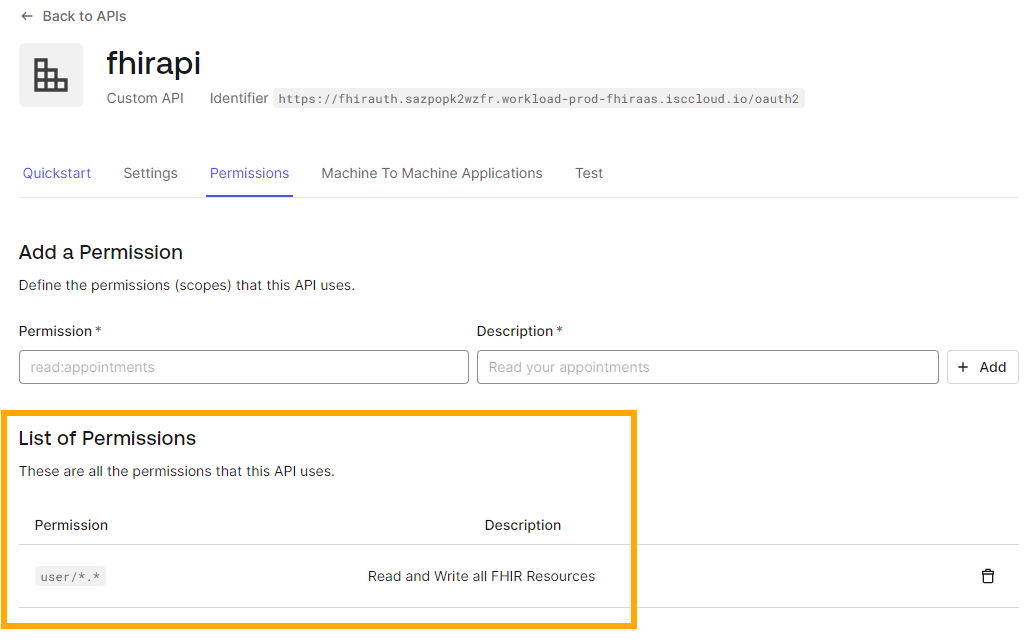
You will see your scope was added to the Permissions list:
Now we'll go back to our Application User and grant this User permissions per the API Permissions we just defined:
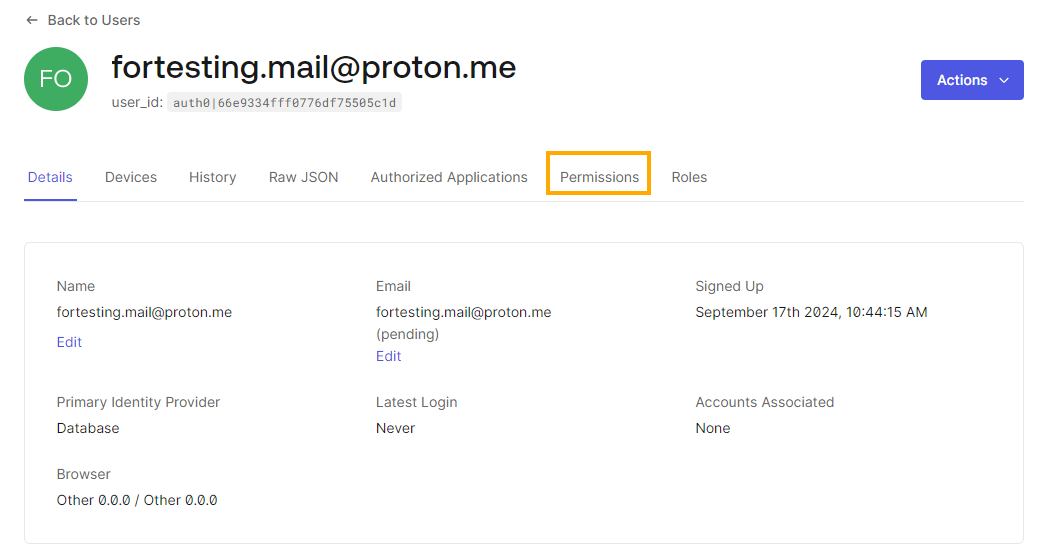
Choose the User you defined and click on the Permissions tab:
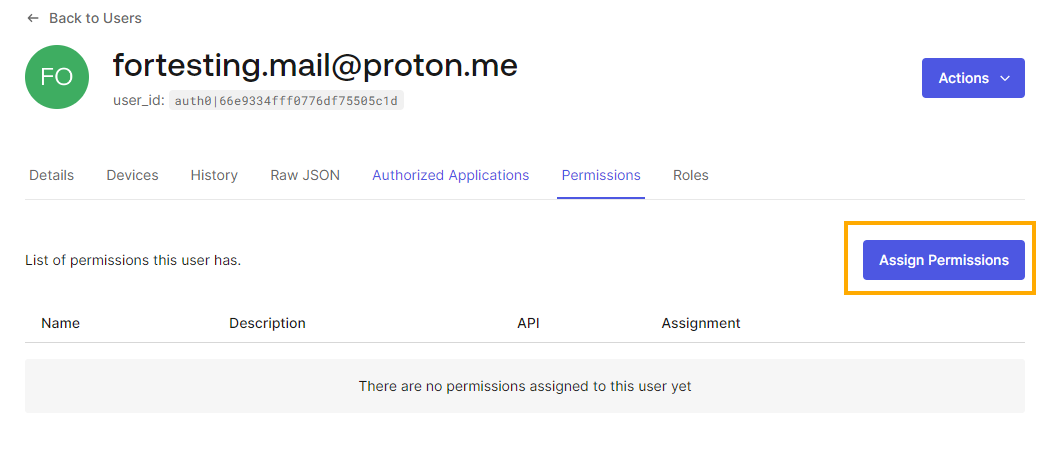
Click on the Assin Permissions button:
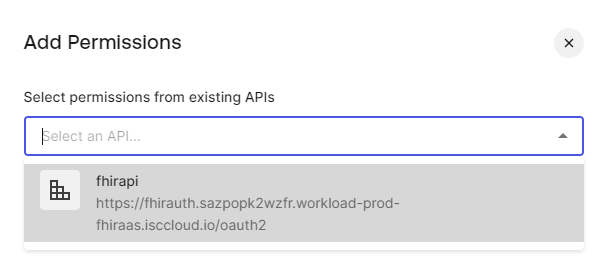
Choose the API we defined:
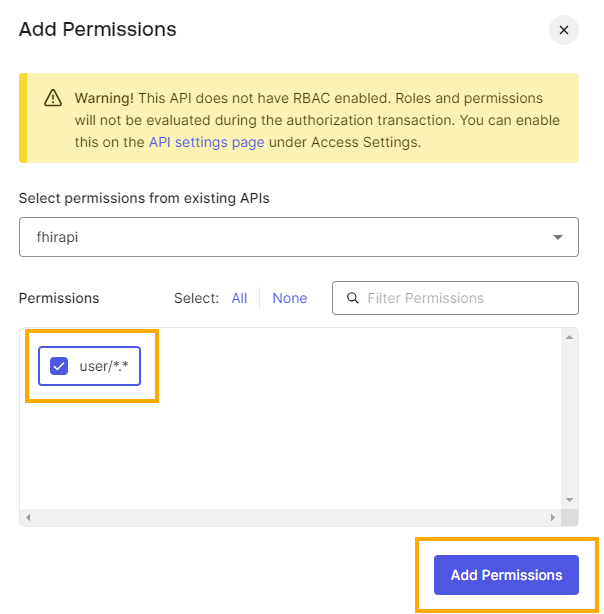
Check the Permissions (Scope) checkbox we defined, and press Add Permissions:
You'll see our User has now the Permissions:
Now we want to return back to our FHIR Server to tie it to the OAuth Server and Application we defined.
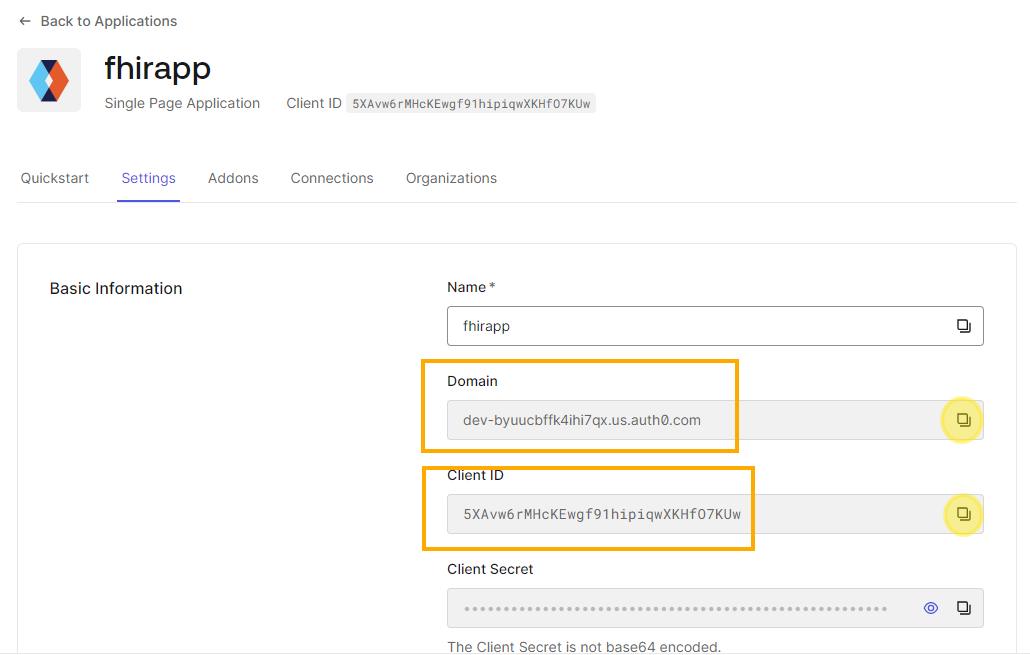
For this we'll need to grab some information from the Application we defined in auth0, specifically the Domain and the Client ID.
Go back to our Application details on auth0:
Click on the Application we defined (fhirapp) and copy aside the Domain and Client ID values:
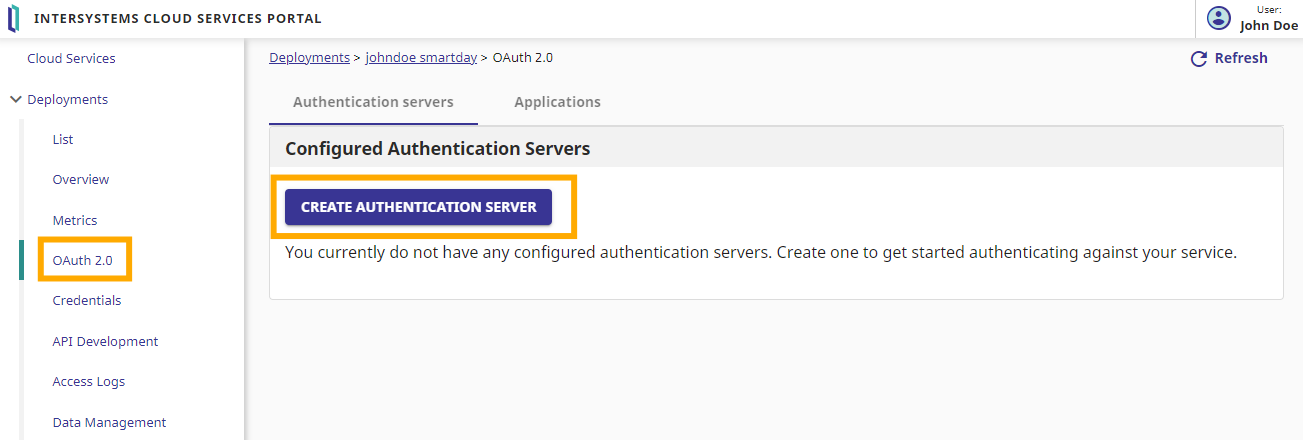
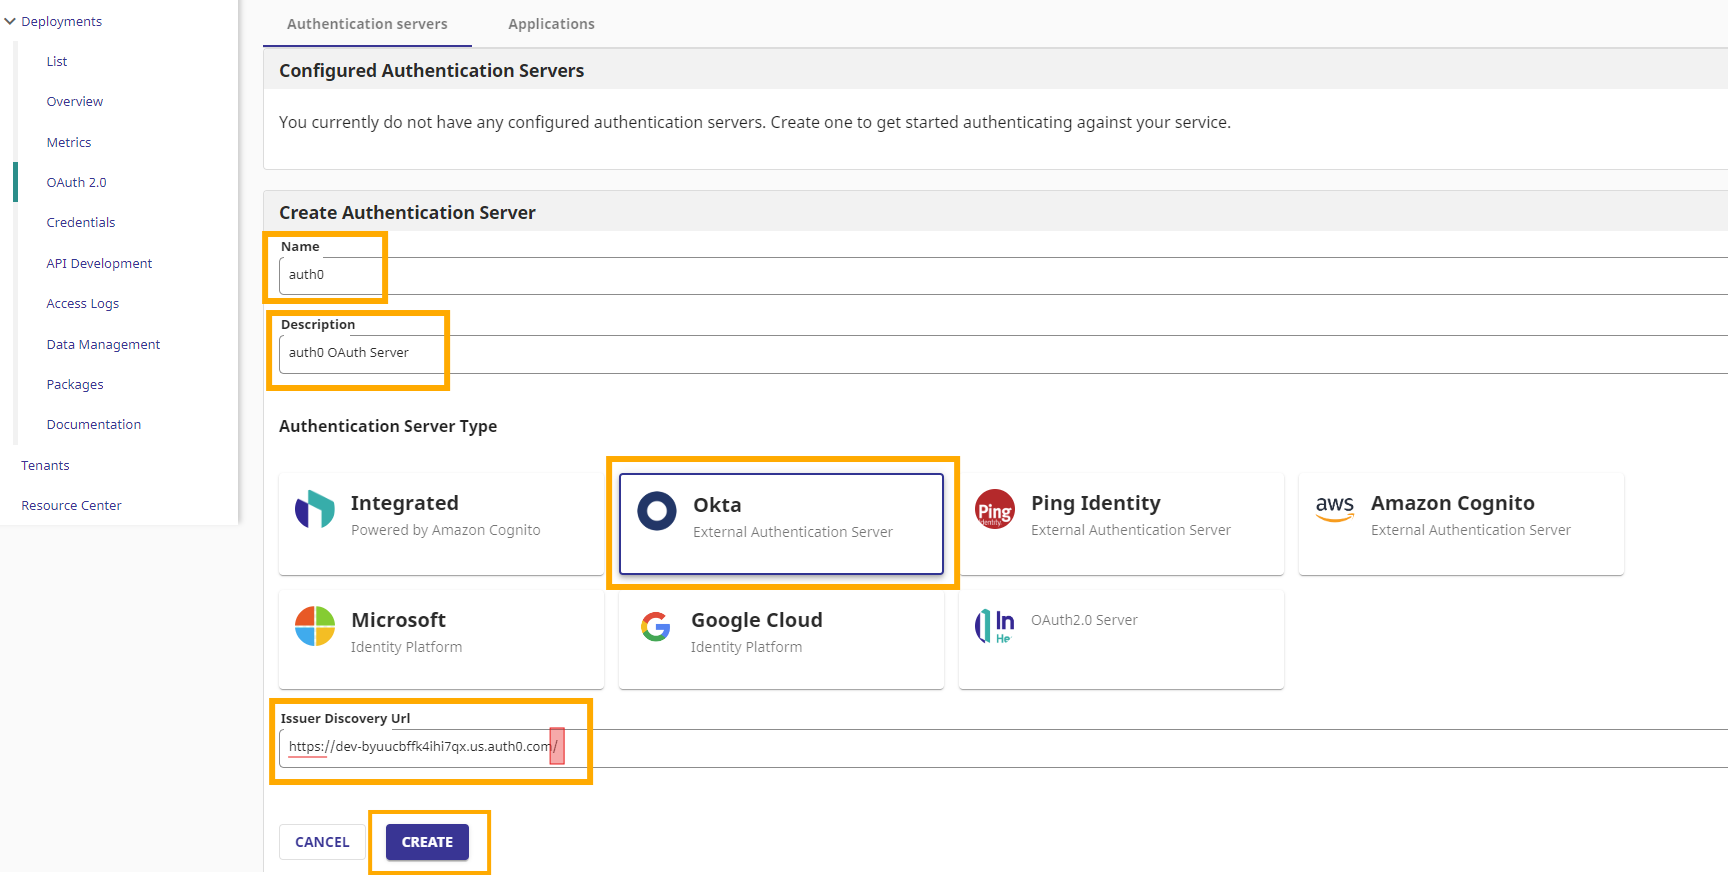
Now go back to the InterSystems Cloud Services Portal, and choose from the left-side menu OAuth 2.0 and click on the CREATE AUTHENTICATION SERVER button:
We will give it a name (auth0), a description (for example auth0 OAuth Server), we will choose a Type (in our case Okta), and set the Issuer Discovery Url - here we'll use the Domain value we took from our auth0 Application.
We will add https:// before it, and a trailing slash at the end /. (If we forget the slash we will get an error creating the server), and then press Create:
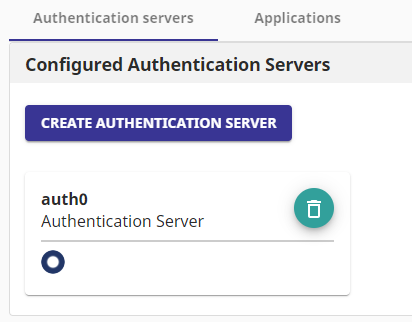
You should see the OAuth Server was added:
Now we'll go on to define the Application, on the FHIR Server side -
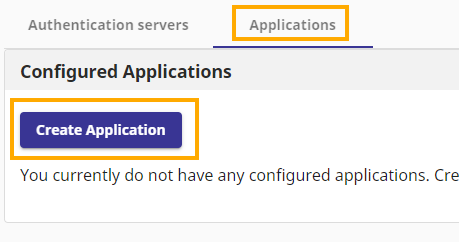
In the same OAuth 2.0 section choose Applications and click Create Application:
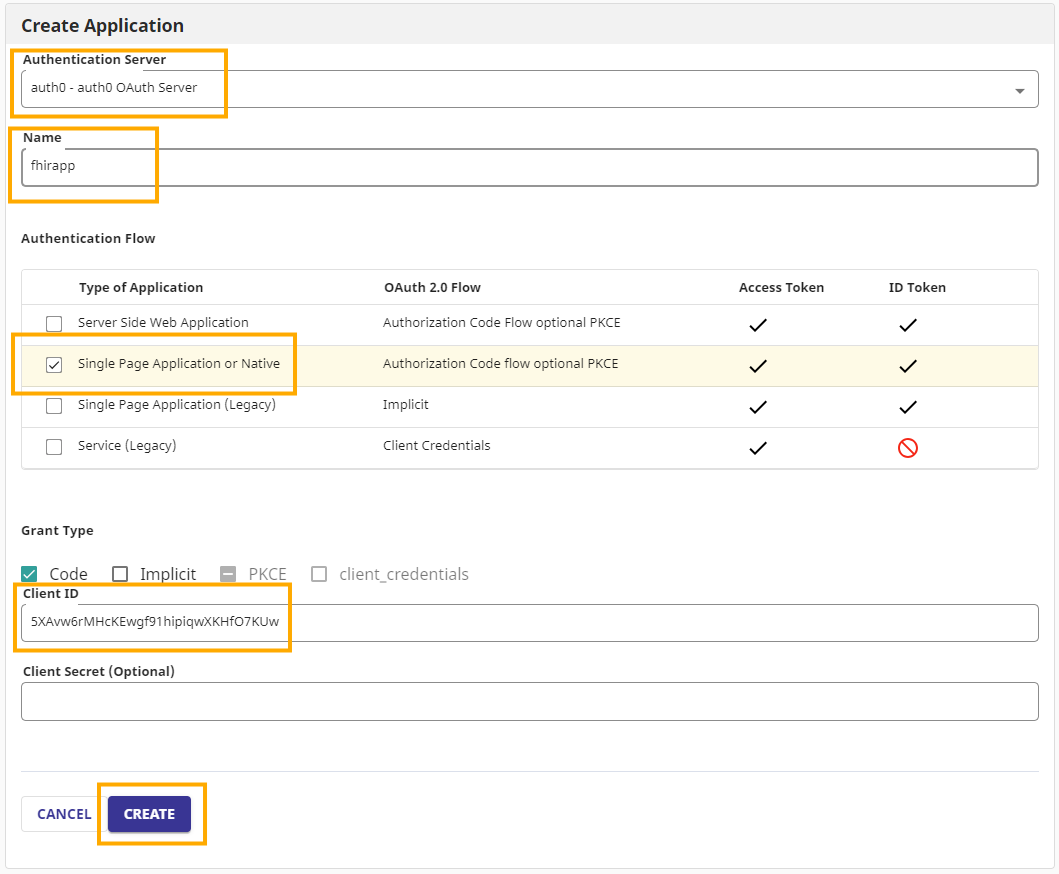
We'll choose the Auth Server we defined (auth0), provide it a name (fhirapp), choose the Authentication Flow (Single Page Application or Native), leave the Grant Type as the default, and set the Client ID to the value we copied from the auth0 Application we defined, then press CREATE.
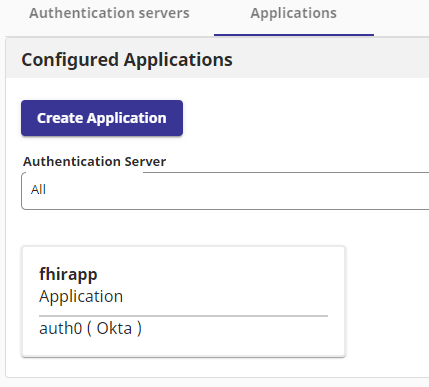
It should look something like this:
Then you should see the application was created:
The last part will be to adapt the application to the various servers and applications we defined.
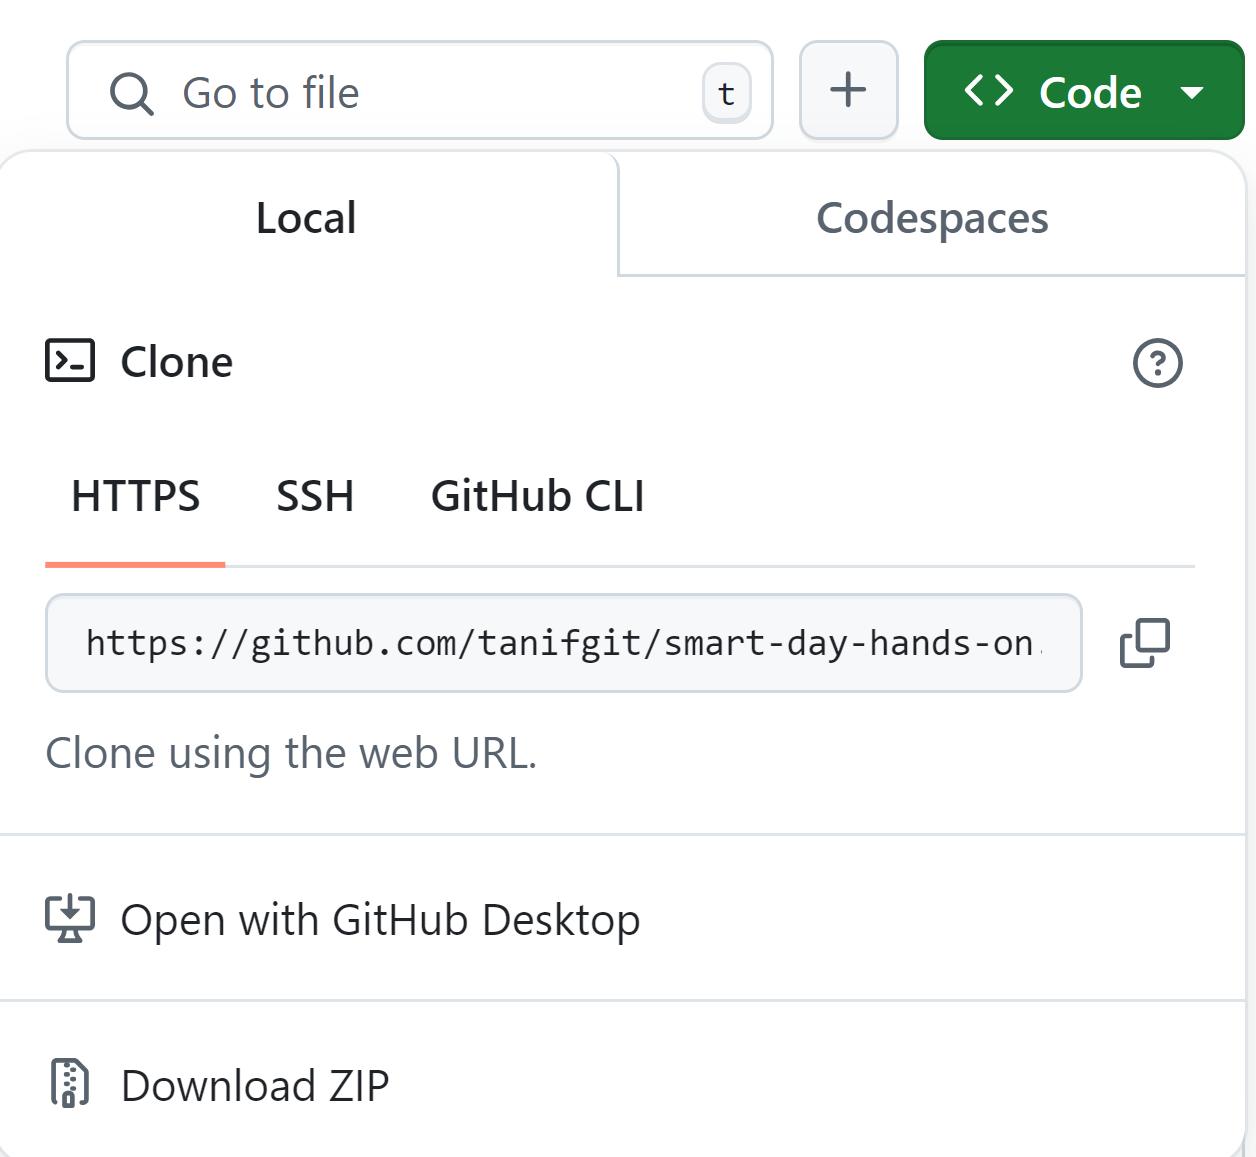
Download the GitHub repository (either via git clone or by downloading a zip):
We will need to edit 3 files that relate to settings of the services we set-up above.
You can edit them in VS Code, or any other IDE, or simply in Notepad.
These files are:
smart-ui/src/app/app.module.ts
smart-ui/proxy.config.json
smart-ui/nginx.conf
- app module
For smart-ui/src/app/app.module.ts:
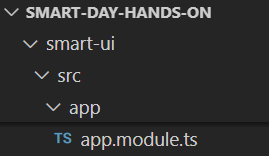
you find a section like this:
We need to set values for the xxxxx parts.
Use the value of the Domain from the auth0 Application for the Domain part, the value of the Client ID from the auth0 Application, and for the audience the FHIR Server OAuth 2.0 Endpoint (we also have it in the auth0 API audience value).
Per the samples above, this will look something like this:
Save the file
- proxy config
For smart-ui/proxy.config.json:
Again change the URL to the FHIR Server's OAuth 2.0 Endpoint, something like this:

Save the file
- nginx conf
Last we have for smart-ui/nginx.conf:
We need to change the FHIR Server references, 3 different places.
Note two have the full URL with https and the 3rd without, while all 3 don't have the /oauth2 at the end.
After your changes it should look something like this:
Save the file
Make sure your Docker Desktop is running
Make sure port 443 is not locally used (perhaps by some other web server running locally)
change into the folder where you put the GitHub repo files, the root folder, where you can see a docker-compose.yml file.
And run the following command:
docker-compose up -d --build
You will see an output of the progress of the process, for example:
Building
Eventually you should see something like this:
Running 2/2
 ✔ Network smart-day-hands-on_default Created                                                                                          0.1s
 ✔ Container smart-ui                  Started
This means the app is running, and we can launch it
Later when you want to stop the app simply run:
docker-compose down
Open a browser and browse to: https://localhost
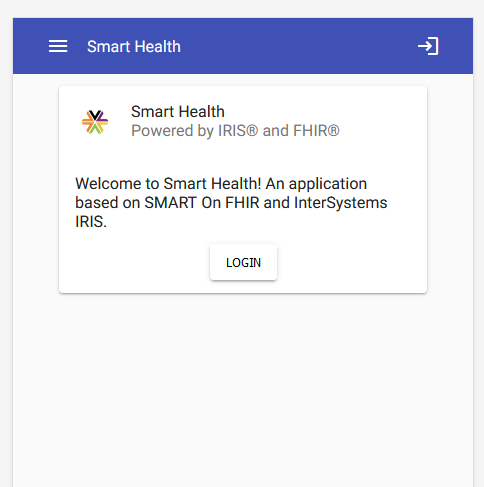
First you will get an initial page:
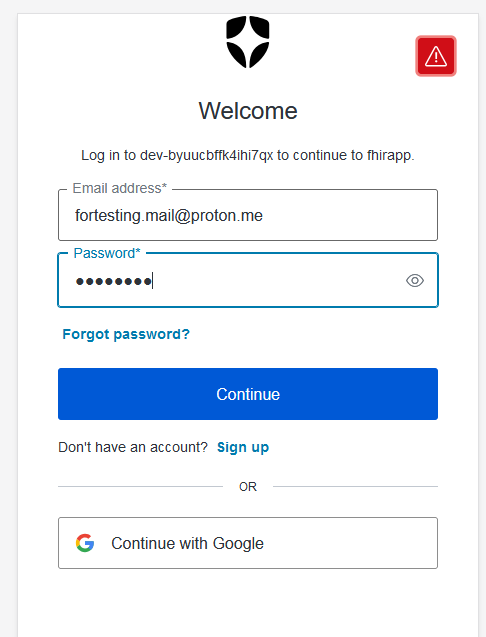
Pressing on Login will take us (redirect) to the auth0 login page.
Here we will login with the Application User we defined in auth0 (note above, this might have been a different User than the Admin User you signed up with for auth0):
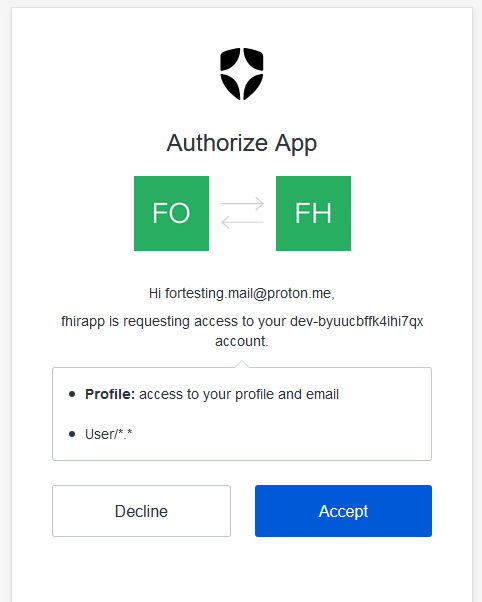
Now auth0 will ask for our approval/consent to share the info required (in this case for example the email address and of course the FHIR Resources on the FHIR server, per the Scope defined - user/.)
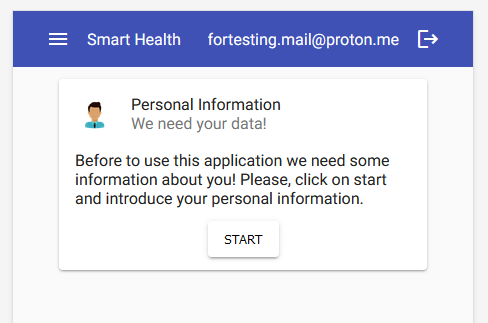
Once we approve we are in the app and see the start page.
Note behind the scenes the app got the Token from auth0 and used it to access the FHIR Server issuing a Search request for Patients with the email provided.
Since this will our first usage, no such Patient was found, so we arrive at the start page.
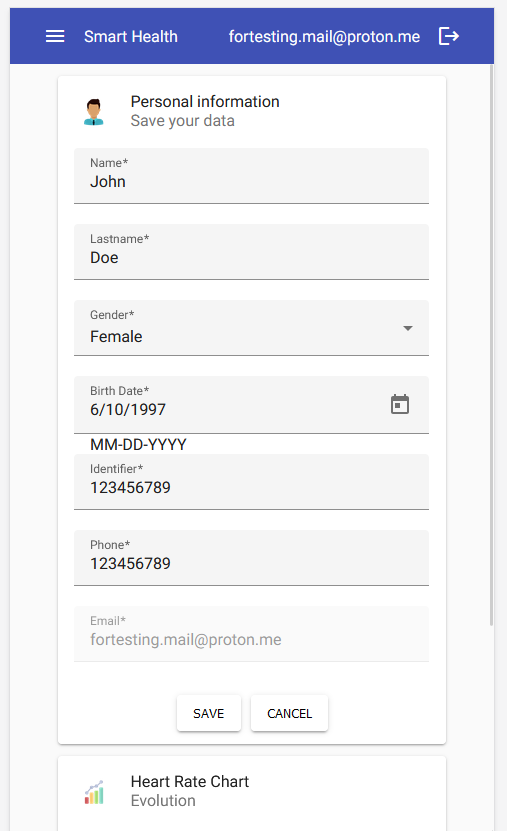
Once we press on Start will see a form to enter personal info, enter some information:
Behind the scenes when we press Save a Create FHIR request is sent to the FHIR server creating a new Patient Resource.
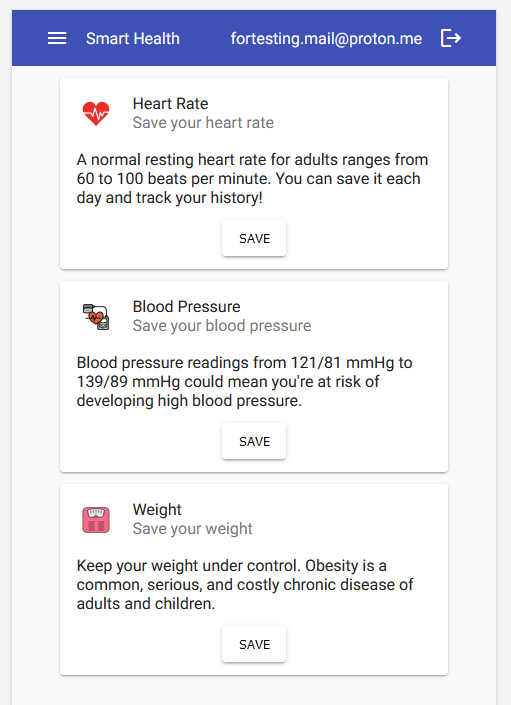
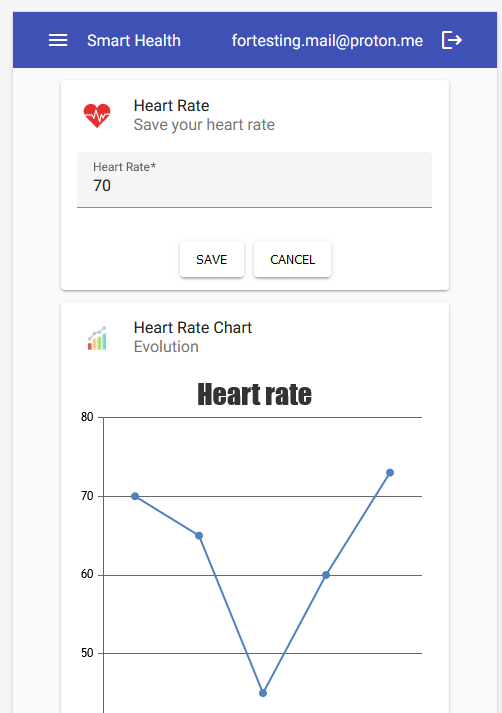
Now we arrive at the main app page, where we can enter various information - heart rate, blood pressure and weight (over time)
Choose one of the options (for example Heart Rate) and you can enter values and Save.
Each time you save a Create FHIR request is sent to the FHIR Server to create a new Observation Resource.
As well as a Search request to get all of the related Observation resources, for the relevant Patient, and it displays a graph with the values over time:
This project is based on the SMART Workshop Repo created by our colleague Luis Angel Perez Ramos. Luis's Repo included 3 containers - a local InterSystems IRIS for Health as the FHIR Server, a Web Server, an the SMART UI app. This repo simply left the smart ui part, and changed the connections to go to our Cloud Service (with related Readme updates)
