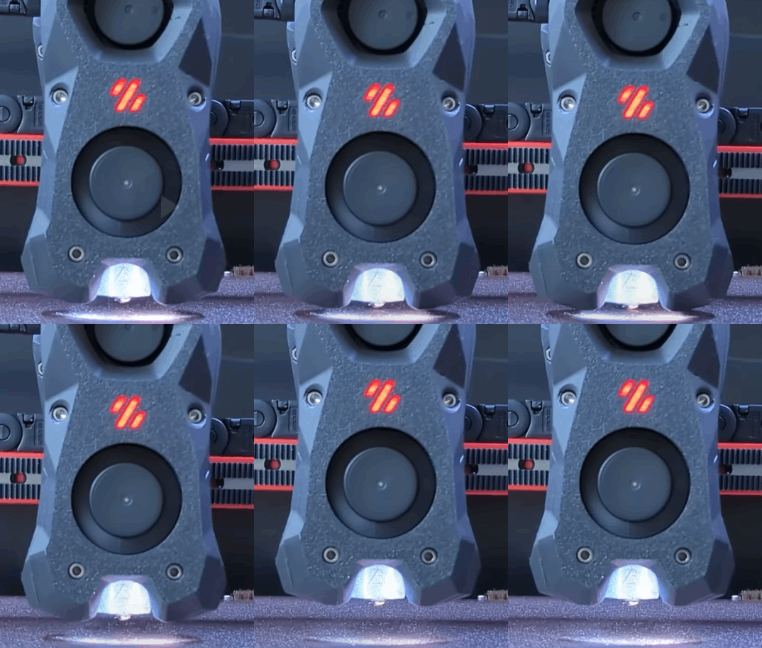
Animated image courtesy of Maple Leaf Makers , see the whole video at https://www.youtube.com/watch?v=mz5qcOZgXhI
Tap is a nozzle-based z-probe for the V2 and Trident printer designs. The entire toolhead moves to trigger an optical switch. Tap offers many advantages:
- Extreme precision 0.4μm (0.0004mm)
- Any build surface and easily change at will
- Durability via optical sensor (millions of probe cycles)
- High temperature reliability (70C to 100C)
- Simplified probe mechanics (no dock/undock macros)
- No separate Z-endstop required
- Crash protection
- Bed must be stable for probing force of 500-800 grams
- Switchwire, V1.8, Legacy, V0 beds are NOT rigid enough
- Mounts to MGN-12H X-axis
- Front mounted extruder (Clockwork2, LGX, Galileo)
- Accuracy depends on good mechanical condition
- Must have 5V at toolhead or special 24V sensor PCB
Comprehensive assembly details are available in the Manual
- Update your
printer.cfgas recommended in Tap Klipper Instructions - Test virtual Z endstop by lifting tool-head and using the
M119orquery_probecommands - Home Z.
- Heat soak your machine and run a couple
probe_accuracy samples=100to "break-in" your probe and check there's no significant trend in the result - Run a few more
probe_accuracychecks (default of 10 probes)
For well-built machines you can expect to see between 0.0000 and 0.0008 standard deviation. Where probe accuracy trends notably up/down over 100 samples, or standard deviation is outside the desired range, check that:
- Sampling is taking place at a constant temperature (cooling/heating of any part will result in drift)
- Z belts are tightened correctly and uniformly
- The magnets on your tap have been adjusted to mate correctly when Tap is in the down position (see the adjustment step in Nero3D's build guide)
- The rail is well greased, the balls are correctly seated and there's no swarf in the guides (eg from the manufacture)
- The StealthBurner is firmly attached onto the Tap carriage
- A common mistake is that the tabs on the body of the SB are pushed up under the alignment screws on the carriage to seat it in place, but then not tightened - make sure to tighten these firmly!
- The
speedparameter in the[probe]section of yourprinter.cfgis appropriate (tryspeed: 3withlift_speed: 10) - Several runs of
probe_accuracy samples=100have been run (it can take a little while to bed in the rail)
While originally intended for the klicky probe, the following probe accuracy tests may assist in further diagnosis.
- Will Tap hurt my print surface? No, probing temp is restricted to 150C. The team recommends spray coated spring steel. Users of smooth PEI may find minor burnish marks if continously probing the same spot.
- Will the hartk 2-piece PCB work with Tap? Yes, but it requires a slight modification. See discord pin.
- Can I use an optical sensor not specified in the BOM? Not recommended, the team spent considerable time validating sensors in BOM.
- Can I use micro-switch instead? Not recommended, but check here for more details: Unklicky Tap
- Can I use Tap with kinematic bed mounts? Yes, if your bed is rigid up to 800 grams of force.
- Doesn't this add a lot of weight? The team explored many designs and landed on ~50 extra grams as good trade-off between rigidity and weight.
- Why do I need this if my induction probe works fine? Tap enables a far better user experience as it eliminates most baby-stepping needed due to thermal expansion, nozzle & bed surface changes.
- Is Tap noticably more accurate than klicky? Yes.
Tap engineering is backed by data science. If you want to dive deeper check out the following resources:
