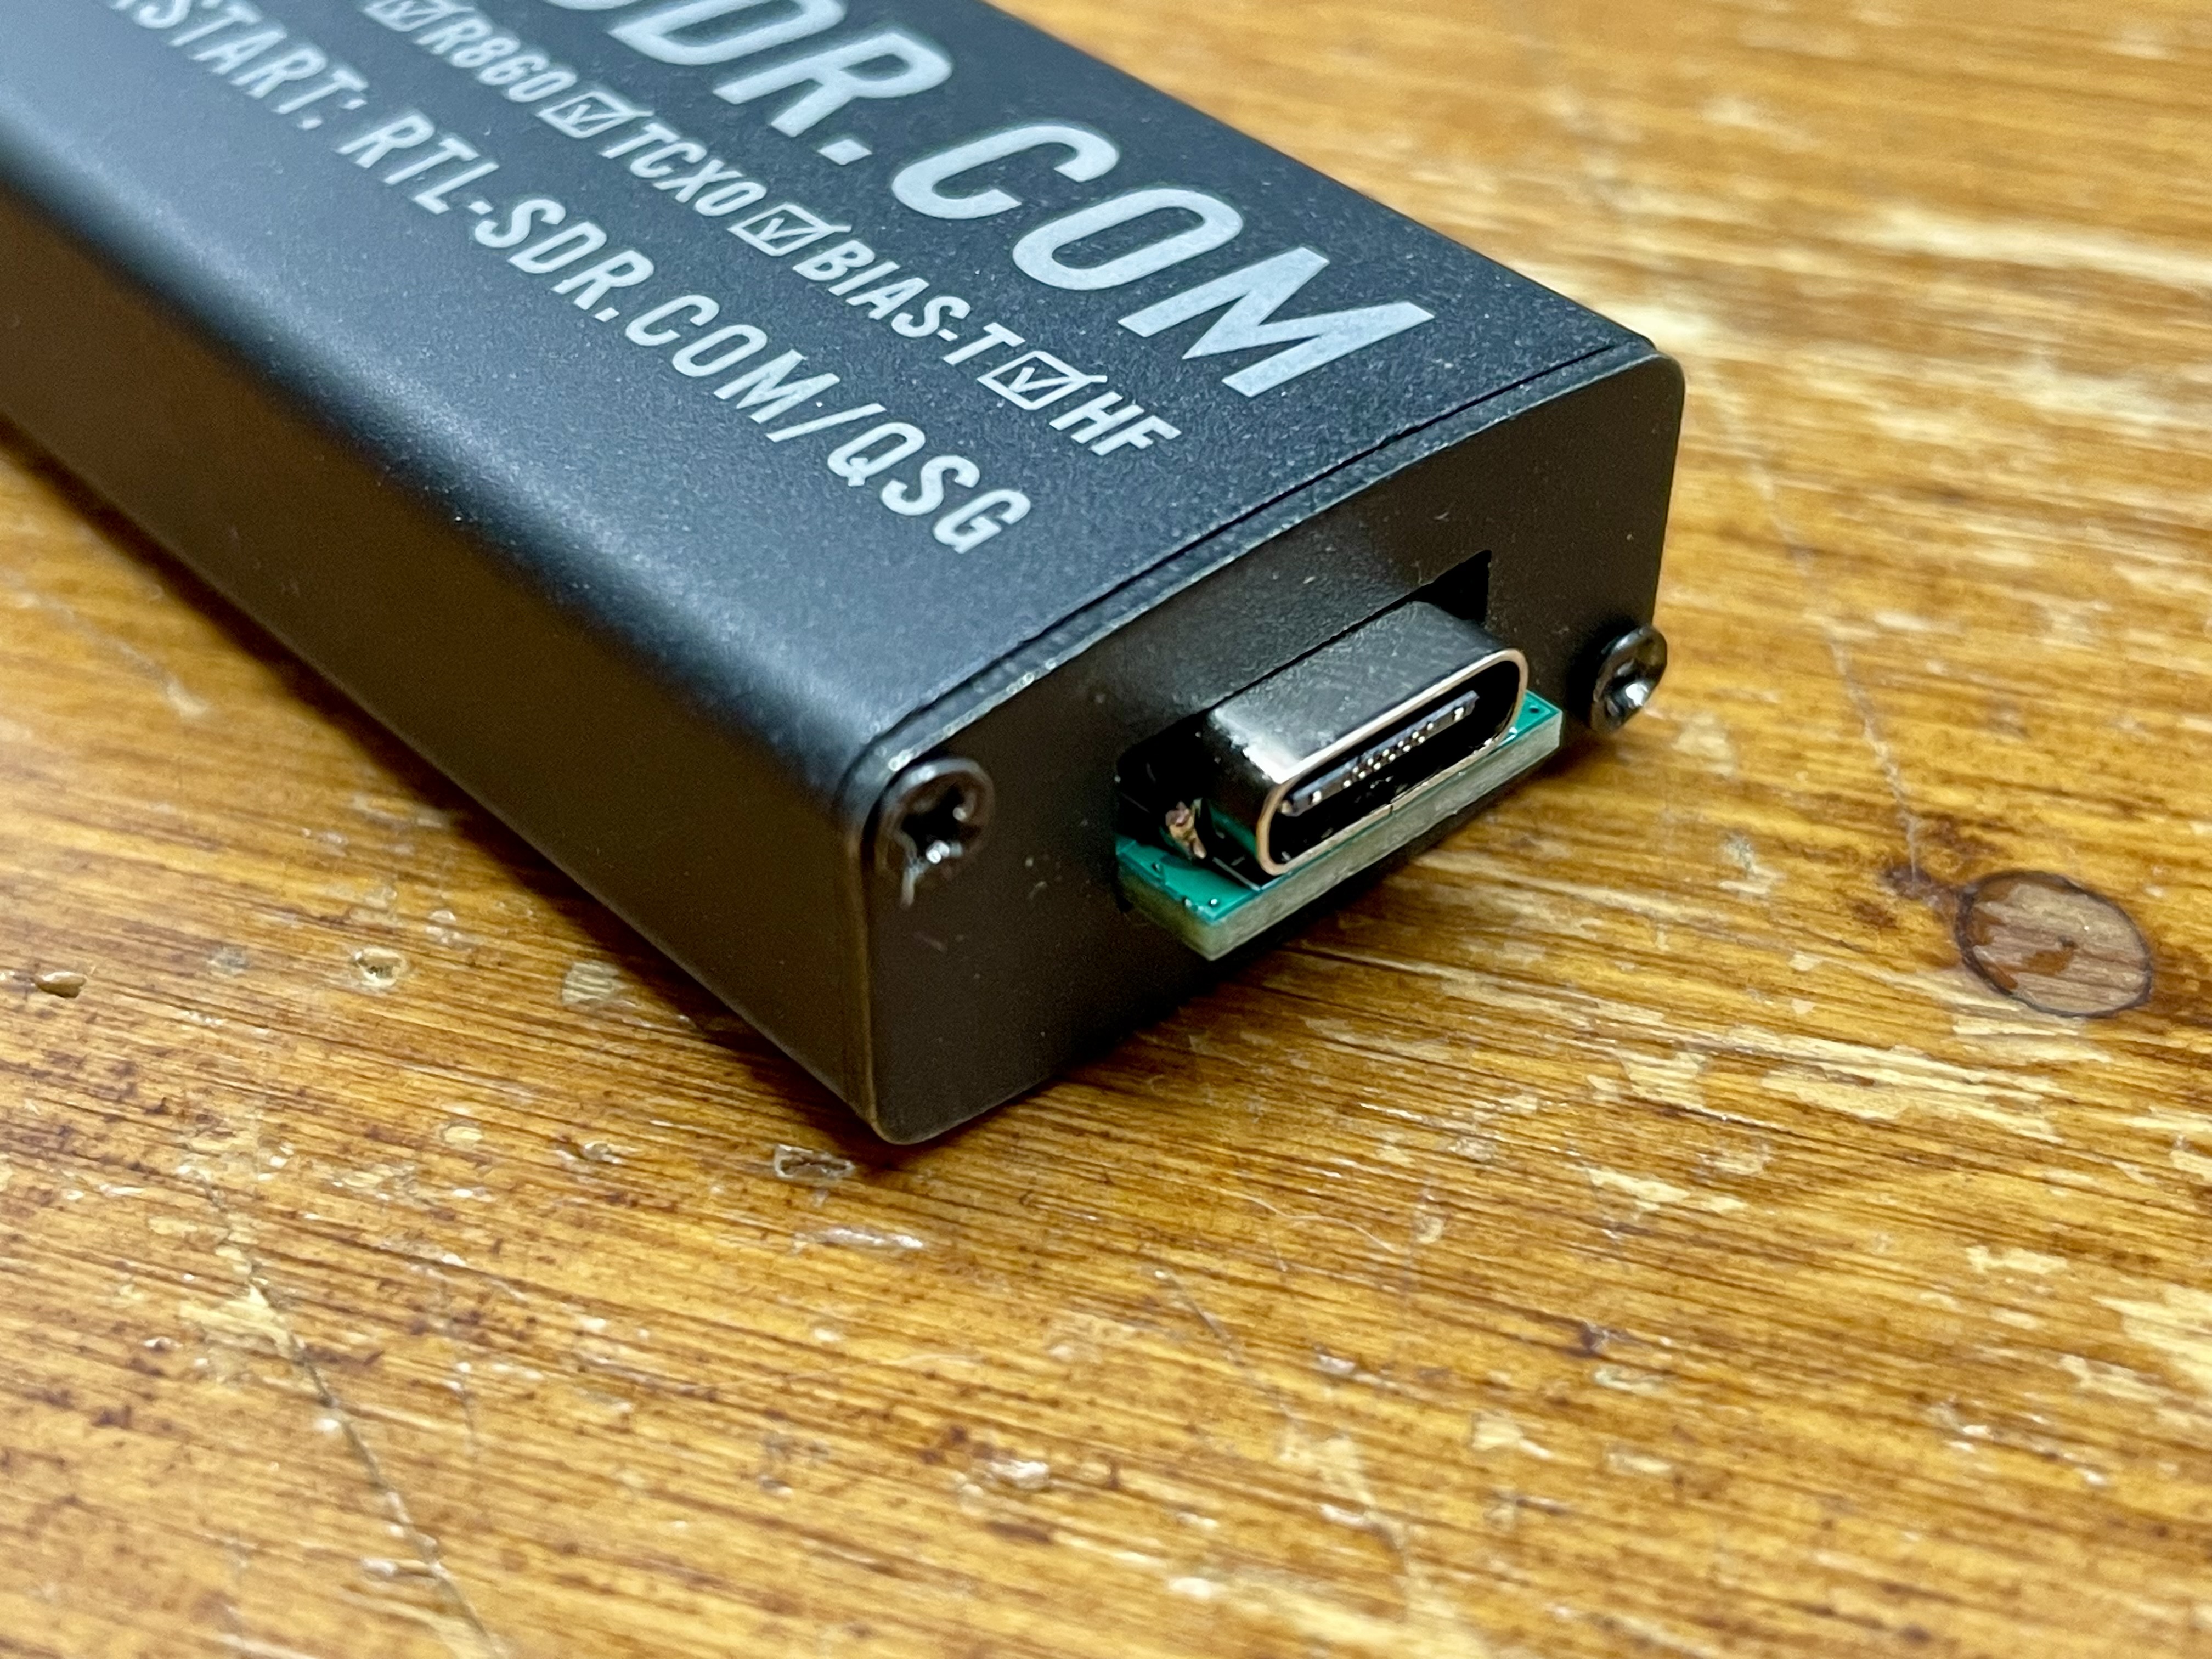
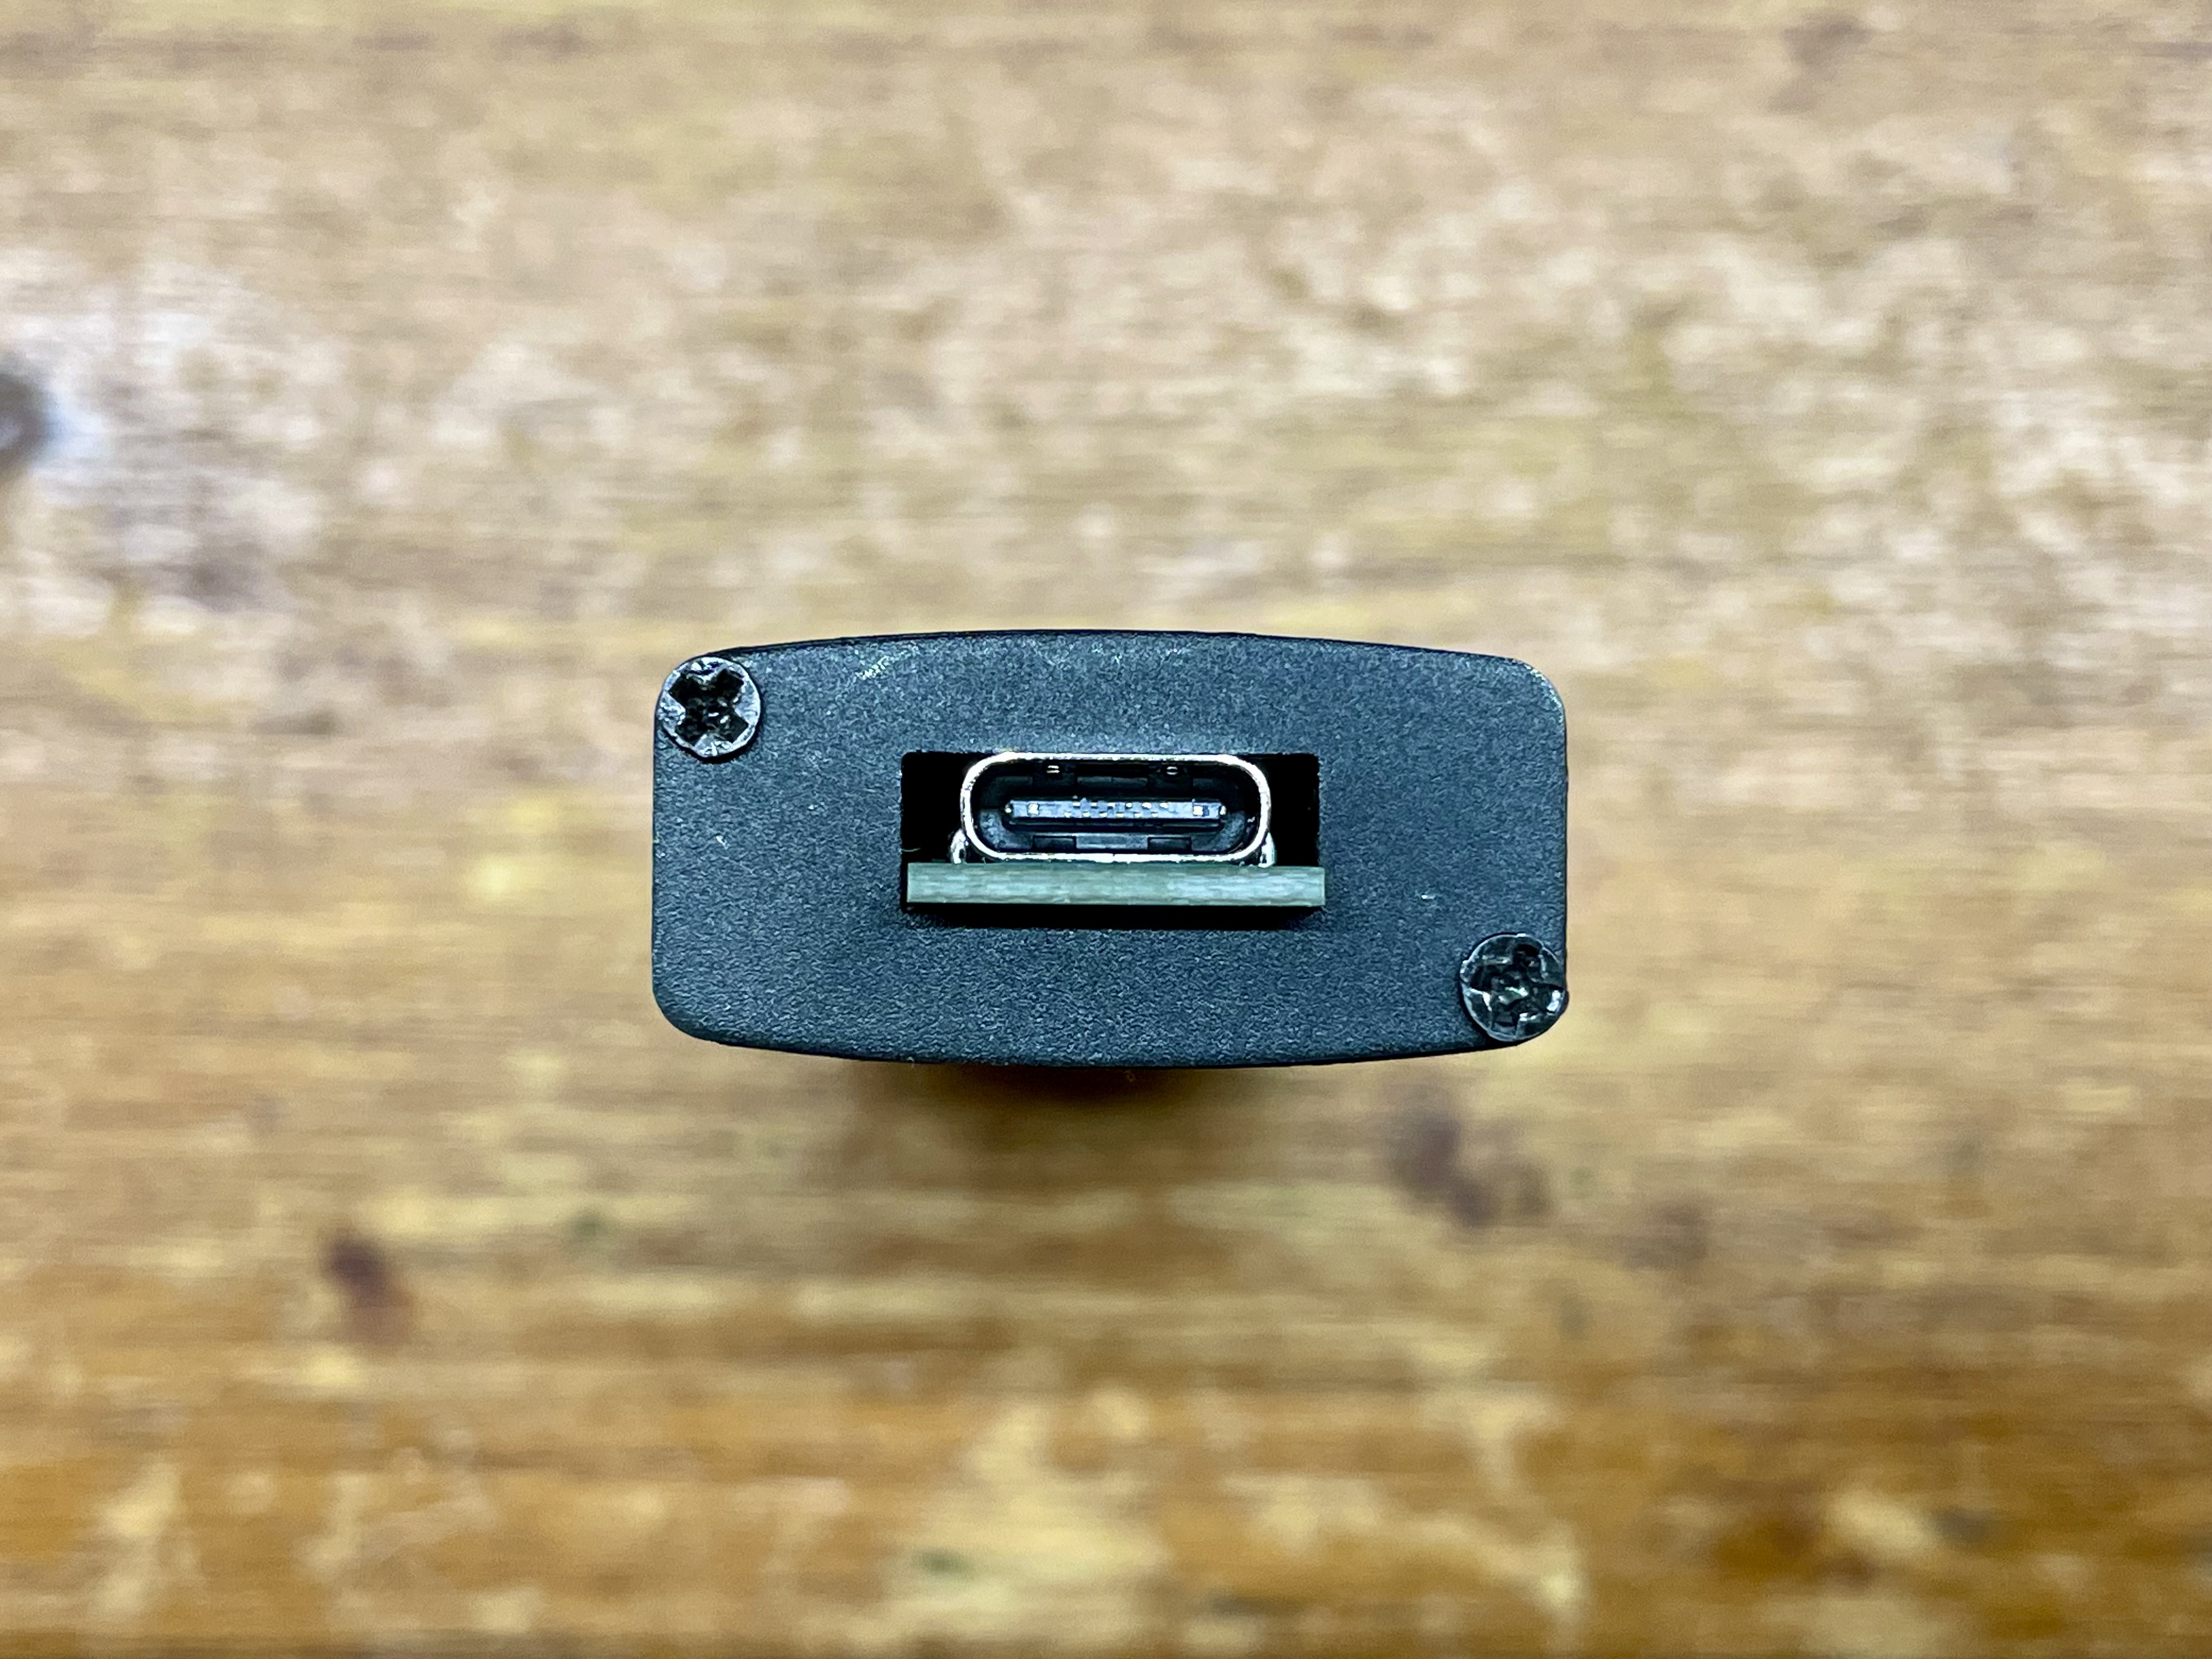
An adapter board to convert your RTL-SDR V3 or V4 from USB A to USB C. Available for purchase on Tindie or Lectronz!
If you want to open and modify the original project in Kicad 8 (>=8.0.7), you can find both the .kicad_sch and .kicad_pcb files in the kicad folder in this repository. I recommend you use the latest Kicad 8 version available for better compatibility.
If you want to fabricate your own PCBs from a PCB manufacturer of your choice, you can go ahead and download the Gerber-v1.x.zip file from the gerber folder in this repository. Upload it or send it to the PCB fabrication house and select the following specifications (if not already filled out):
- Layers: 2
- PCB Thickness: 1.2 mm
- PCB Color: any (green is usually cheaper and faster to produce, but black also looks nice and might blend with the black outer case)
- Surface finish: HASL or ENIG (gold plating)
- Outer Copper Weight: 1 oz
- Via Covering: Tented
- Mark on PCB: Remove Mark (JLCPCB specific, now free of charge)
- Castellated holes: Yes
Included in this repository is the HTML BOM (ibom.html) to help you in the assembly/soldering process after you received your PCBs. You can access the Interactive HTML BOM here, without having to download the .html file. Also, here is the list of components you will have to source and solder yourself:
| Reference(s) | Value | Footprint | LCSC Part # | Qty |
|---|---|---|---|---|
| R1, R2 | 5k1 1% | R_0402_1005Metric | C25905 | 2 |
| USB1 | USB_C_Receptacle_USB2.0 | TYPE-C-31-M-12 | C2988369 | 1 |
- Open the case of your RTL-SDR dongle by unscrewing the 4 screws on the USB A side.
- Unscrew the locking nut on the SMA connector and make sure to remember the order they go in.
- Carefully slide out the PCB from the metal housing.
- Desolder the USB A connector from the board and clean the pads from any residual solder.
- Position the USB C adapter board in place of the old USB A connector, like in the pictures, and tack it in place with some solder.
- Solder all of the pins, including the two GND pads on the left and right sides of the USB C adapter board for mechanical strength.
- (Optional) Clean the PCB and the soldered joints using 99.9% IPA (isopropyl alcohol).
- Slide the board back in its metal housing, being careful of the thermal adhesive pad on the bottom of the PCB.
- Lock the SMA connector in place and screw back the front panel of the metal housing (on the USB side).
- Enjoy the USB C mod!
If you're looking for an adapter board that's already assembled and ready to install on your RTL-SDR dongle, I offer a prebuilt option that's perfect for those who want a plug-and-play solution without the hassle of sourcing and assembling components. Each board is handcrafted and fully tested before shipping. Check it out on my Tindie store or on Lectronz.

