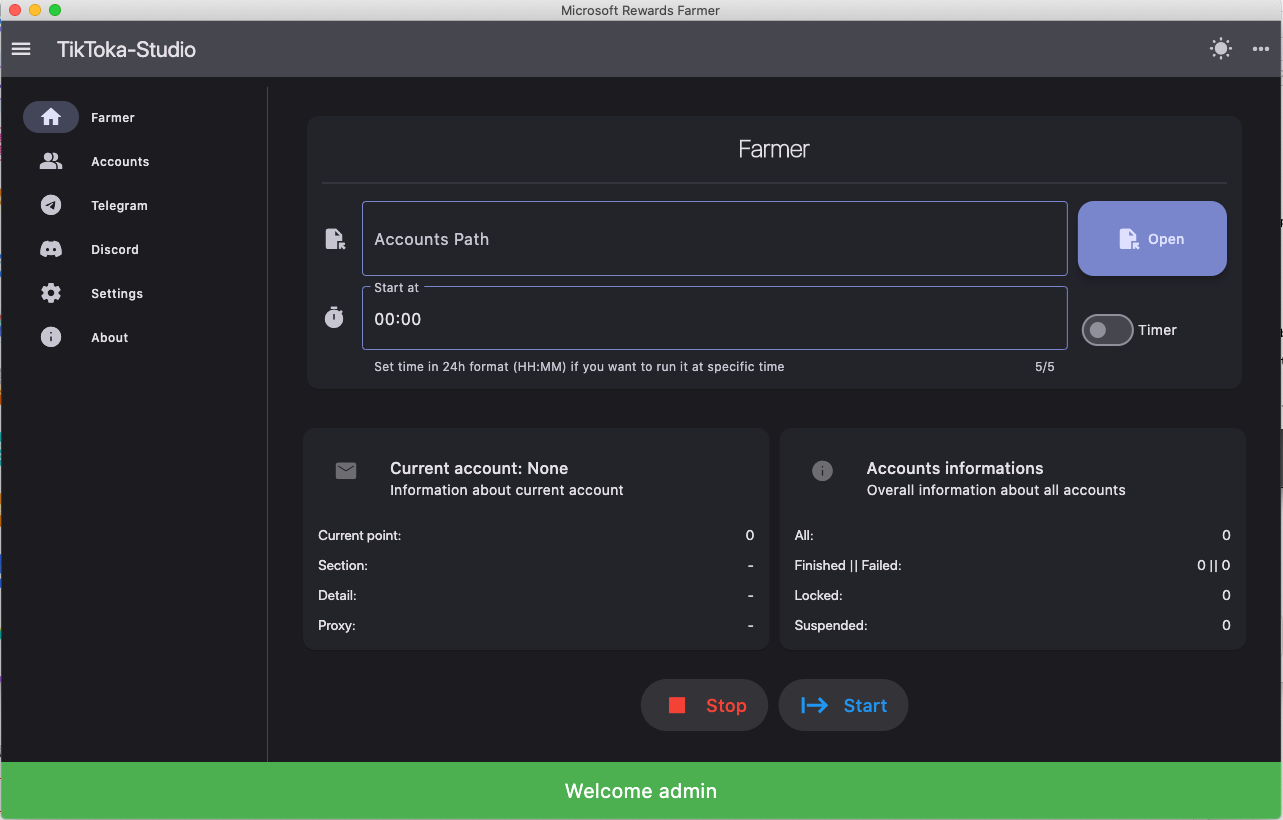
Deploy Flet app as a web app and view it in a browser. Package it as a standalone desktop app for Windows, macOS and Linux. Install it on mobile as PWA or view via Flet app for iOS and Android.
if you are a python guy and looking for a saas solution ,take a look at this
Flet enables developers to easily build realtime web, mobile and desktop apps in Python. No frontend experience required.
Everything you need to build a great multi-platfform desktop APP for your idea.
View Demo
.
Report Bug
.
Request Feature
- Features
- Getting Started
- One click deploy
- Built With
- Contributing
- Acknowledgements
- Contributors
- License
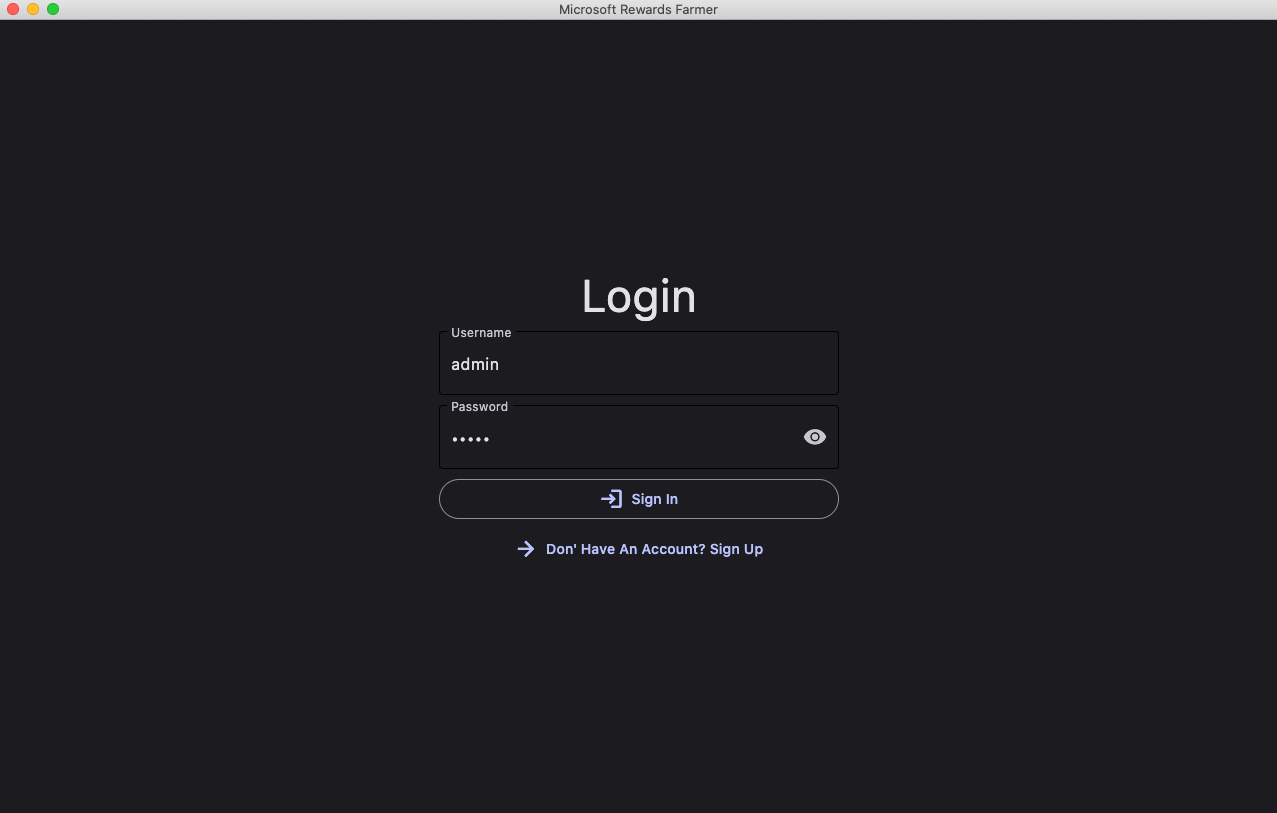
- User account sign up, sign in, password reset, all through asynchronous email confirmation.
- Form generation.
- Error handling.
- HTML macros and layout file.
- "Functional" file structure.
- Python 3.x compliant.
- Asynchronous AJAX calls.
- Administration panel.
- Logging.
- Stripe subscriptions. (WIP)
- RESTful API for payments.
- Simple RESTful API to communicate with your app.
- Click
Use the templateor this link
# run dep install
$ pip install -r requirments.txt

# run the main
python main.py
Hint:
AppVeyor CI pipeline to build Flet app desktop package
github action CI pipeline to build Flet app desktop package
https://github.com/SKbarbon/fpyo2ipa
1- Create a flet dist folder from your main script.

its recomended to make the dist from a flet v0.6.1 or v0.6.2, because this is the version the package have been tested with.
flet publish main.py
2- create a python virtual environment.

python3 -m venv venv

3- activate venv

source  /Users/wenke/github/flet-tiktoka-studio/venv/bin/activate

install this package.

pip install fpyo2ipa --upgrade
4- use this build tool.

python3 -m fpyo2ipa.build
check the app
All work done!
Your app is in the pyo2ipadist/build/pyo2ipadist/iOS/xcode!
To run a simulator, use:
$ cd pyo2ipadist
$ briefcase run iOS
raise ImportError(
ImportError: urllib3 v2.0 only supports OpenSSL 1.1.1+, currently the 'ssl' module is compiled with LibreSSL 2.8.3. See: urllib3/urllib3#2168
(venv) (base) wenke@wenkedeMac-mini pyo2ipadist % pip install 'urllib3<2.0'
Looking in indexes: https://pypi.tuna.tsinghua.edu.cn/simple Collecting urllib3<2.0 Using cached https://pypi.tuna.tsinghua.edu.cn/packages/7b/f5/890a0baca17a61c1f92f72b81d3c31523c99bec609e60c292ea55b387ae8/urllib3-1.26.15-py2.py3-none-any.whl (140 kB) Installing collected packages: urllib3 Successfully installed urllib3-1.26.15 (venv) (base) wenke@wenkedeMac-mini pyo2ipadist % briefcase run iOS
can simulate and can start app but app got blank
https://github.com/SKbarbon/fpyo2apk
1- Publish your flet script into flet-pyodide dist. Use this command for that:
flet publish main.py 2- Create a python virtual environment (highly recommended):
python3 -m venv venv
3- Install fpyo2apk package:
pip install fpyo2apk --upgrade
4- Start building your Android App project.
Make sure that your dist folder is in the current cmd's folder, and make sure that you are done with Android Studio setup. python3 -m fpyo2apk.build
$ cd fpyo2apkdist $ briefcase create Android $ briefcase build Android $ briefcase run Android
https://github.com/ndonkoHenri/Python-Desktop-Notifications/tree/master
Contributions are what make the open source community such an amazing place to be learn, inspire, and create. Any contributions you make are greatly appreciated.
- If you have suggestions for adding or removing projects, feel free to open an issue to discuss it, or directly create a pull request after you edit the README.md file with necessary changes.
- Create individual PR for each suggestion.
- Fork the Project
- Create your Feature Branch (
git checkout -b feature/AmazingFeature) - Commit your Changes (
git commit -m 'Add some AmazingFeature') - Push to the Branch (
git push origin feature/AmazingFeature) - Open a Pull Request
Big thanks to authors of these libraries:
- https://github.com/AlloryDante/Matrix-Rewards-Bot ——a dorable desktop app make me believe flet works
- https://github.com/nbilbo/flet-alchemy- inspired me to build saas based on flet
Thanks goes to these wonderful people (emoji key):
Felipe Morais 💻 |
wanghaisheng 💻 |
This project follows the all-contributors specification. Contributions of any kind welcome!
Distributed under the MIT License. See LICENSE for more information.

