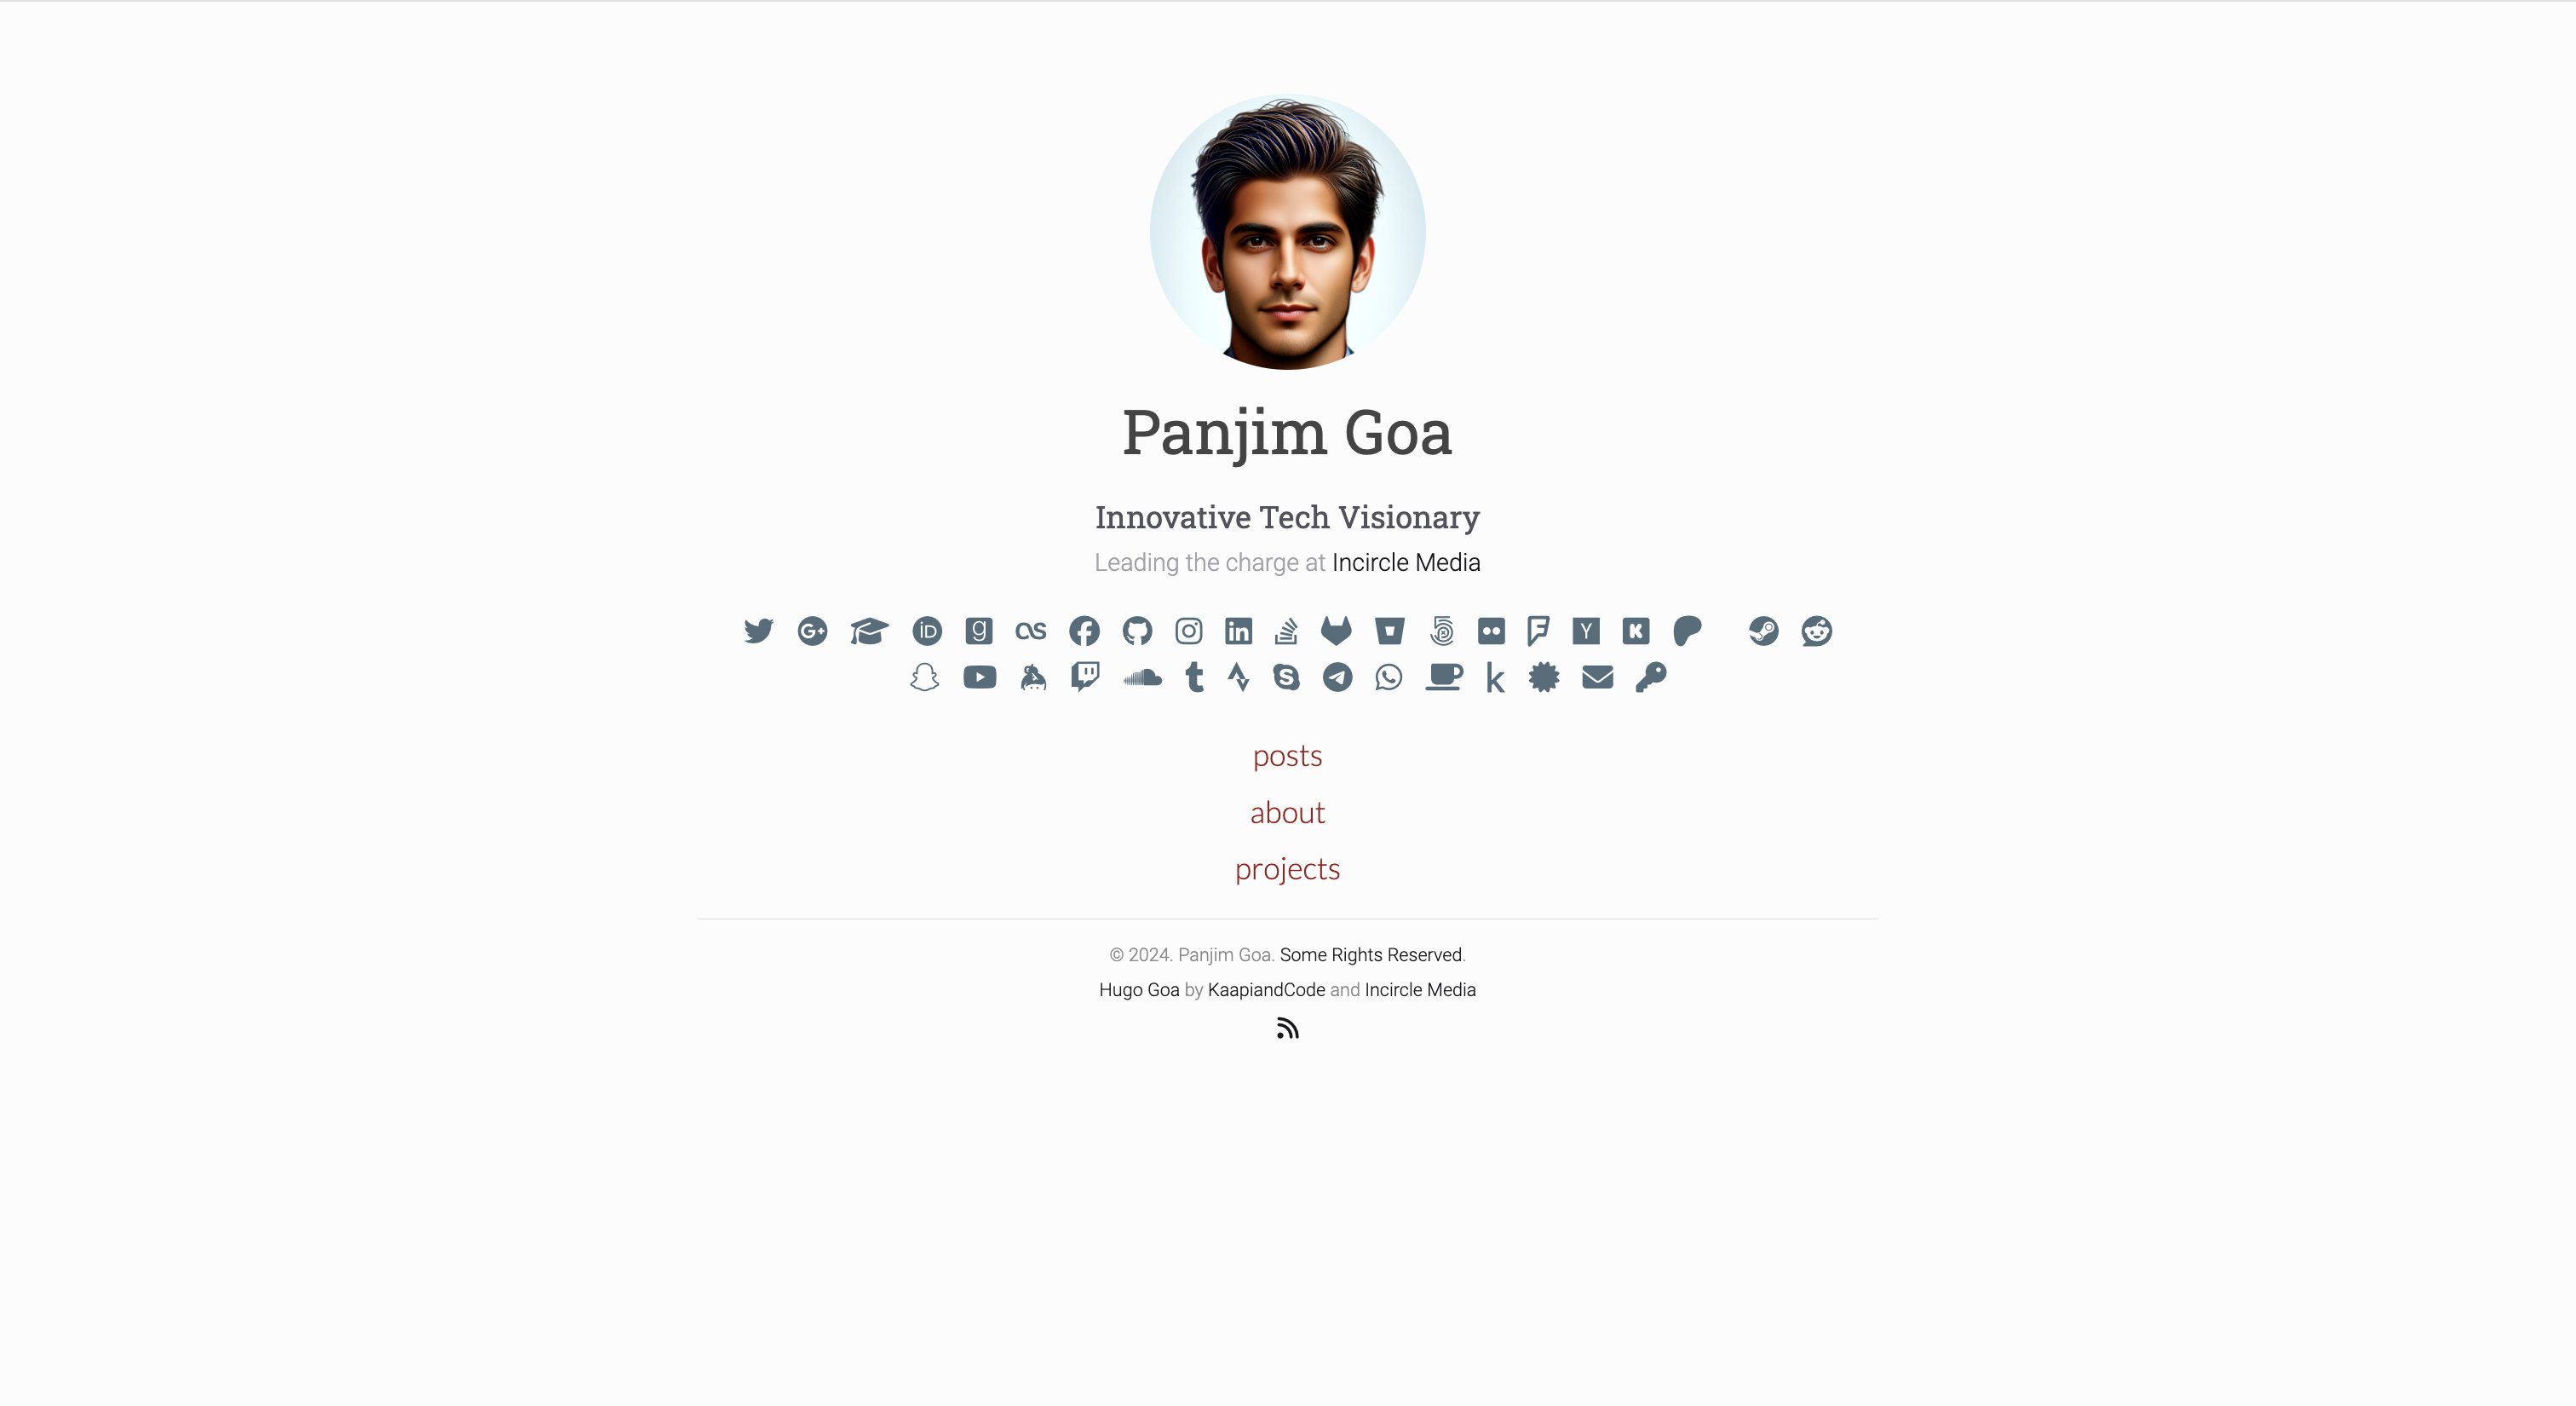
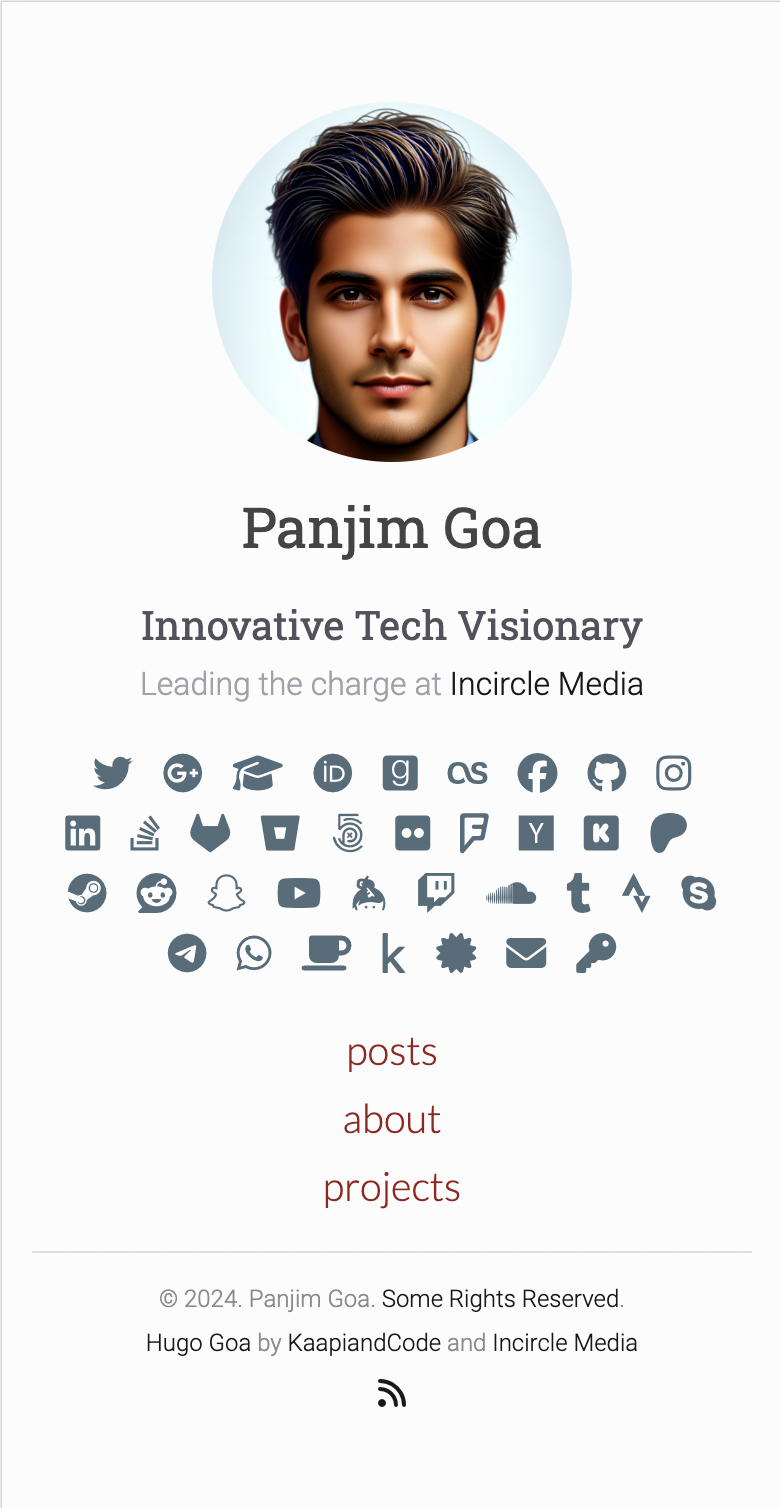
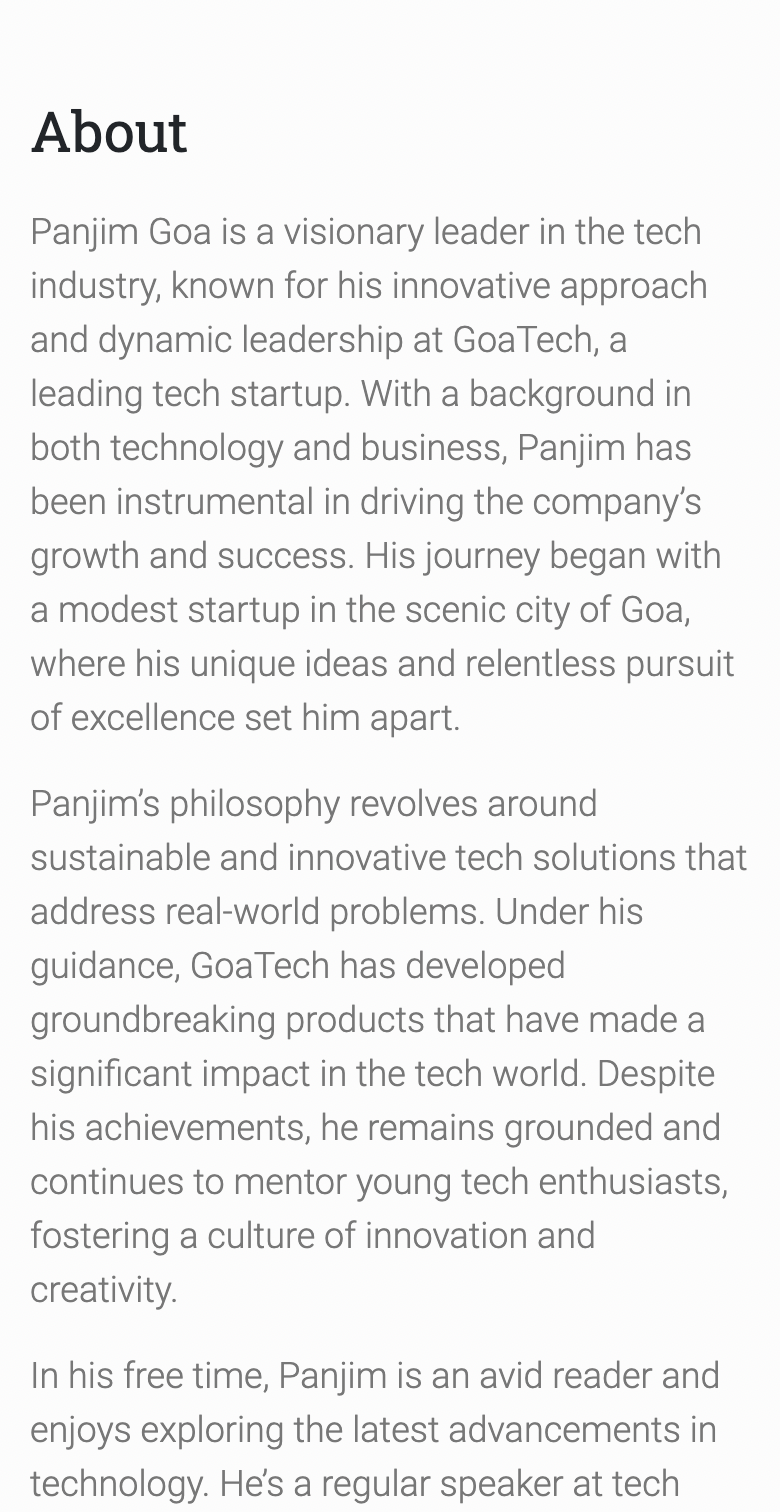
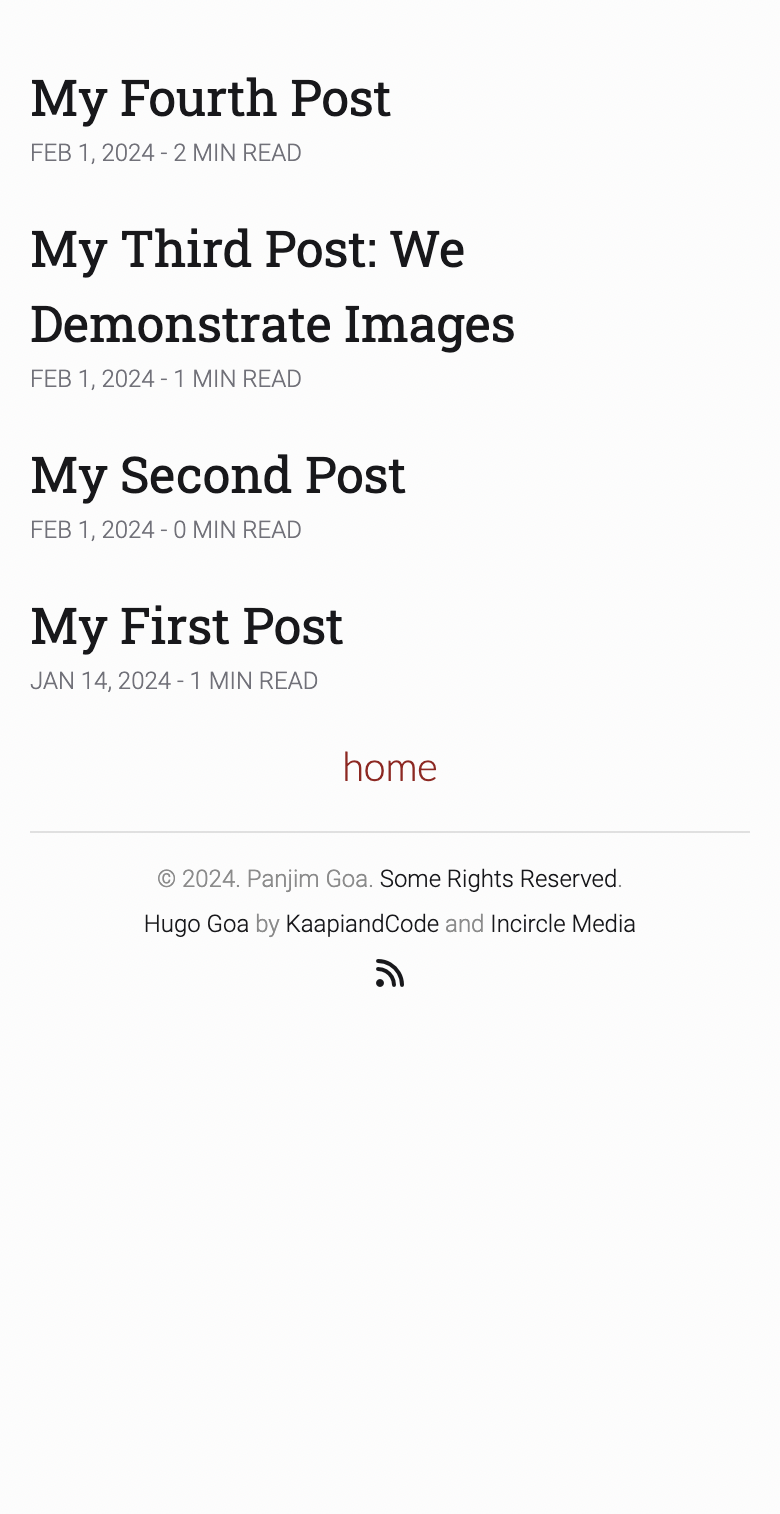
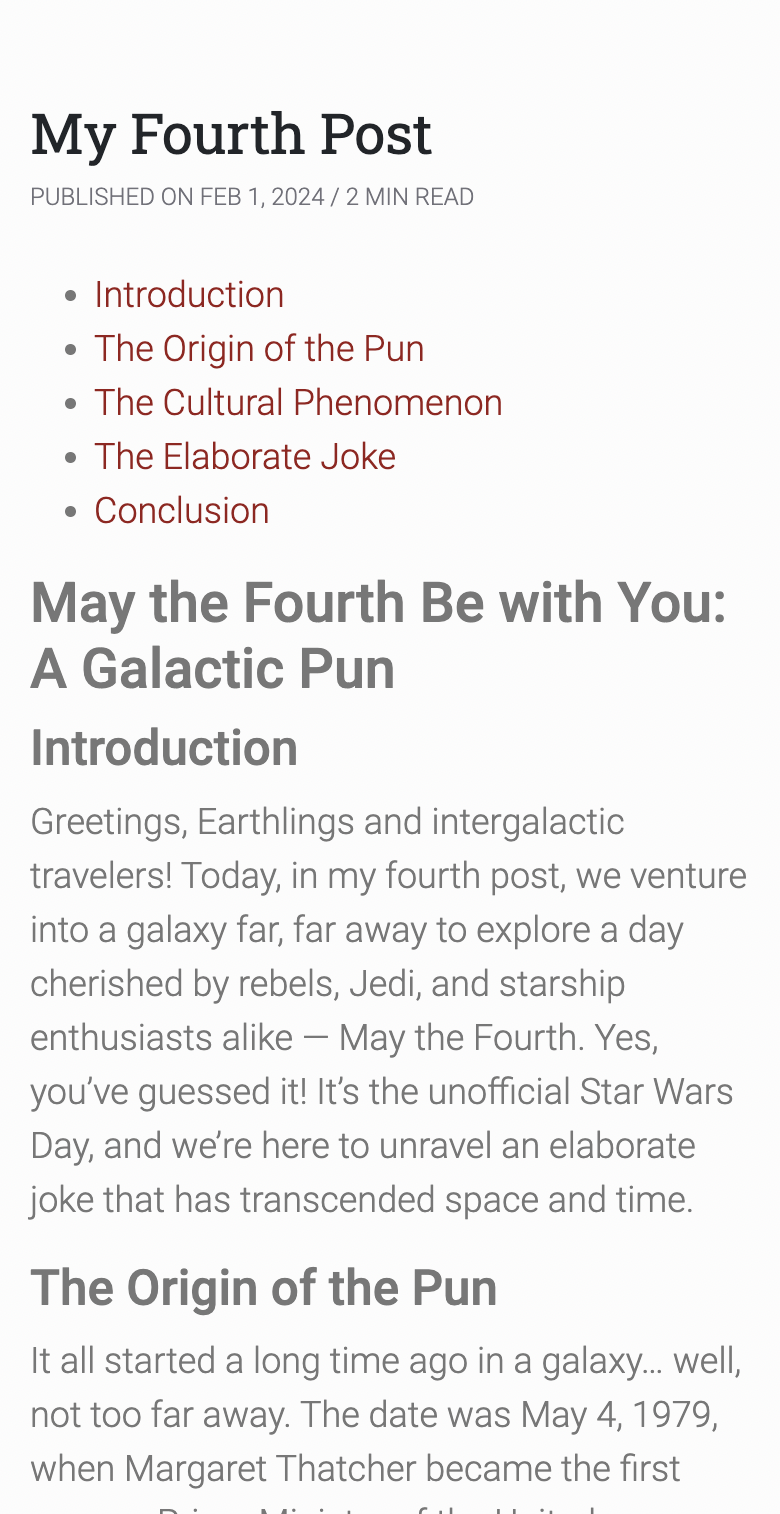
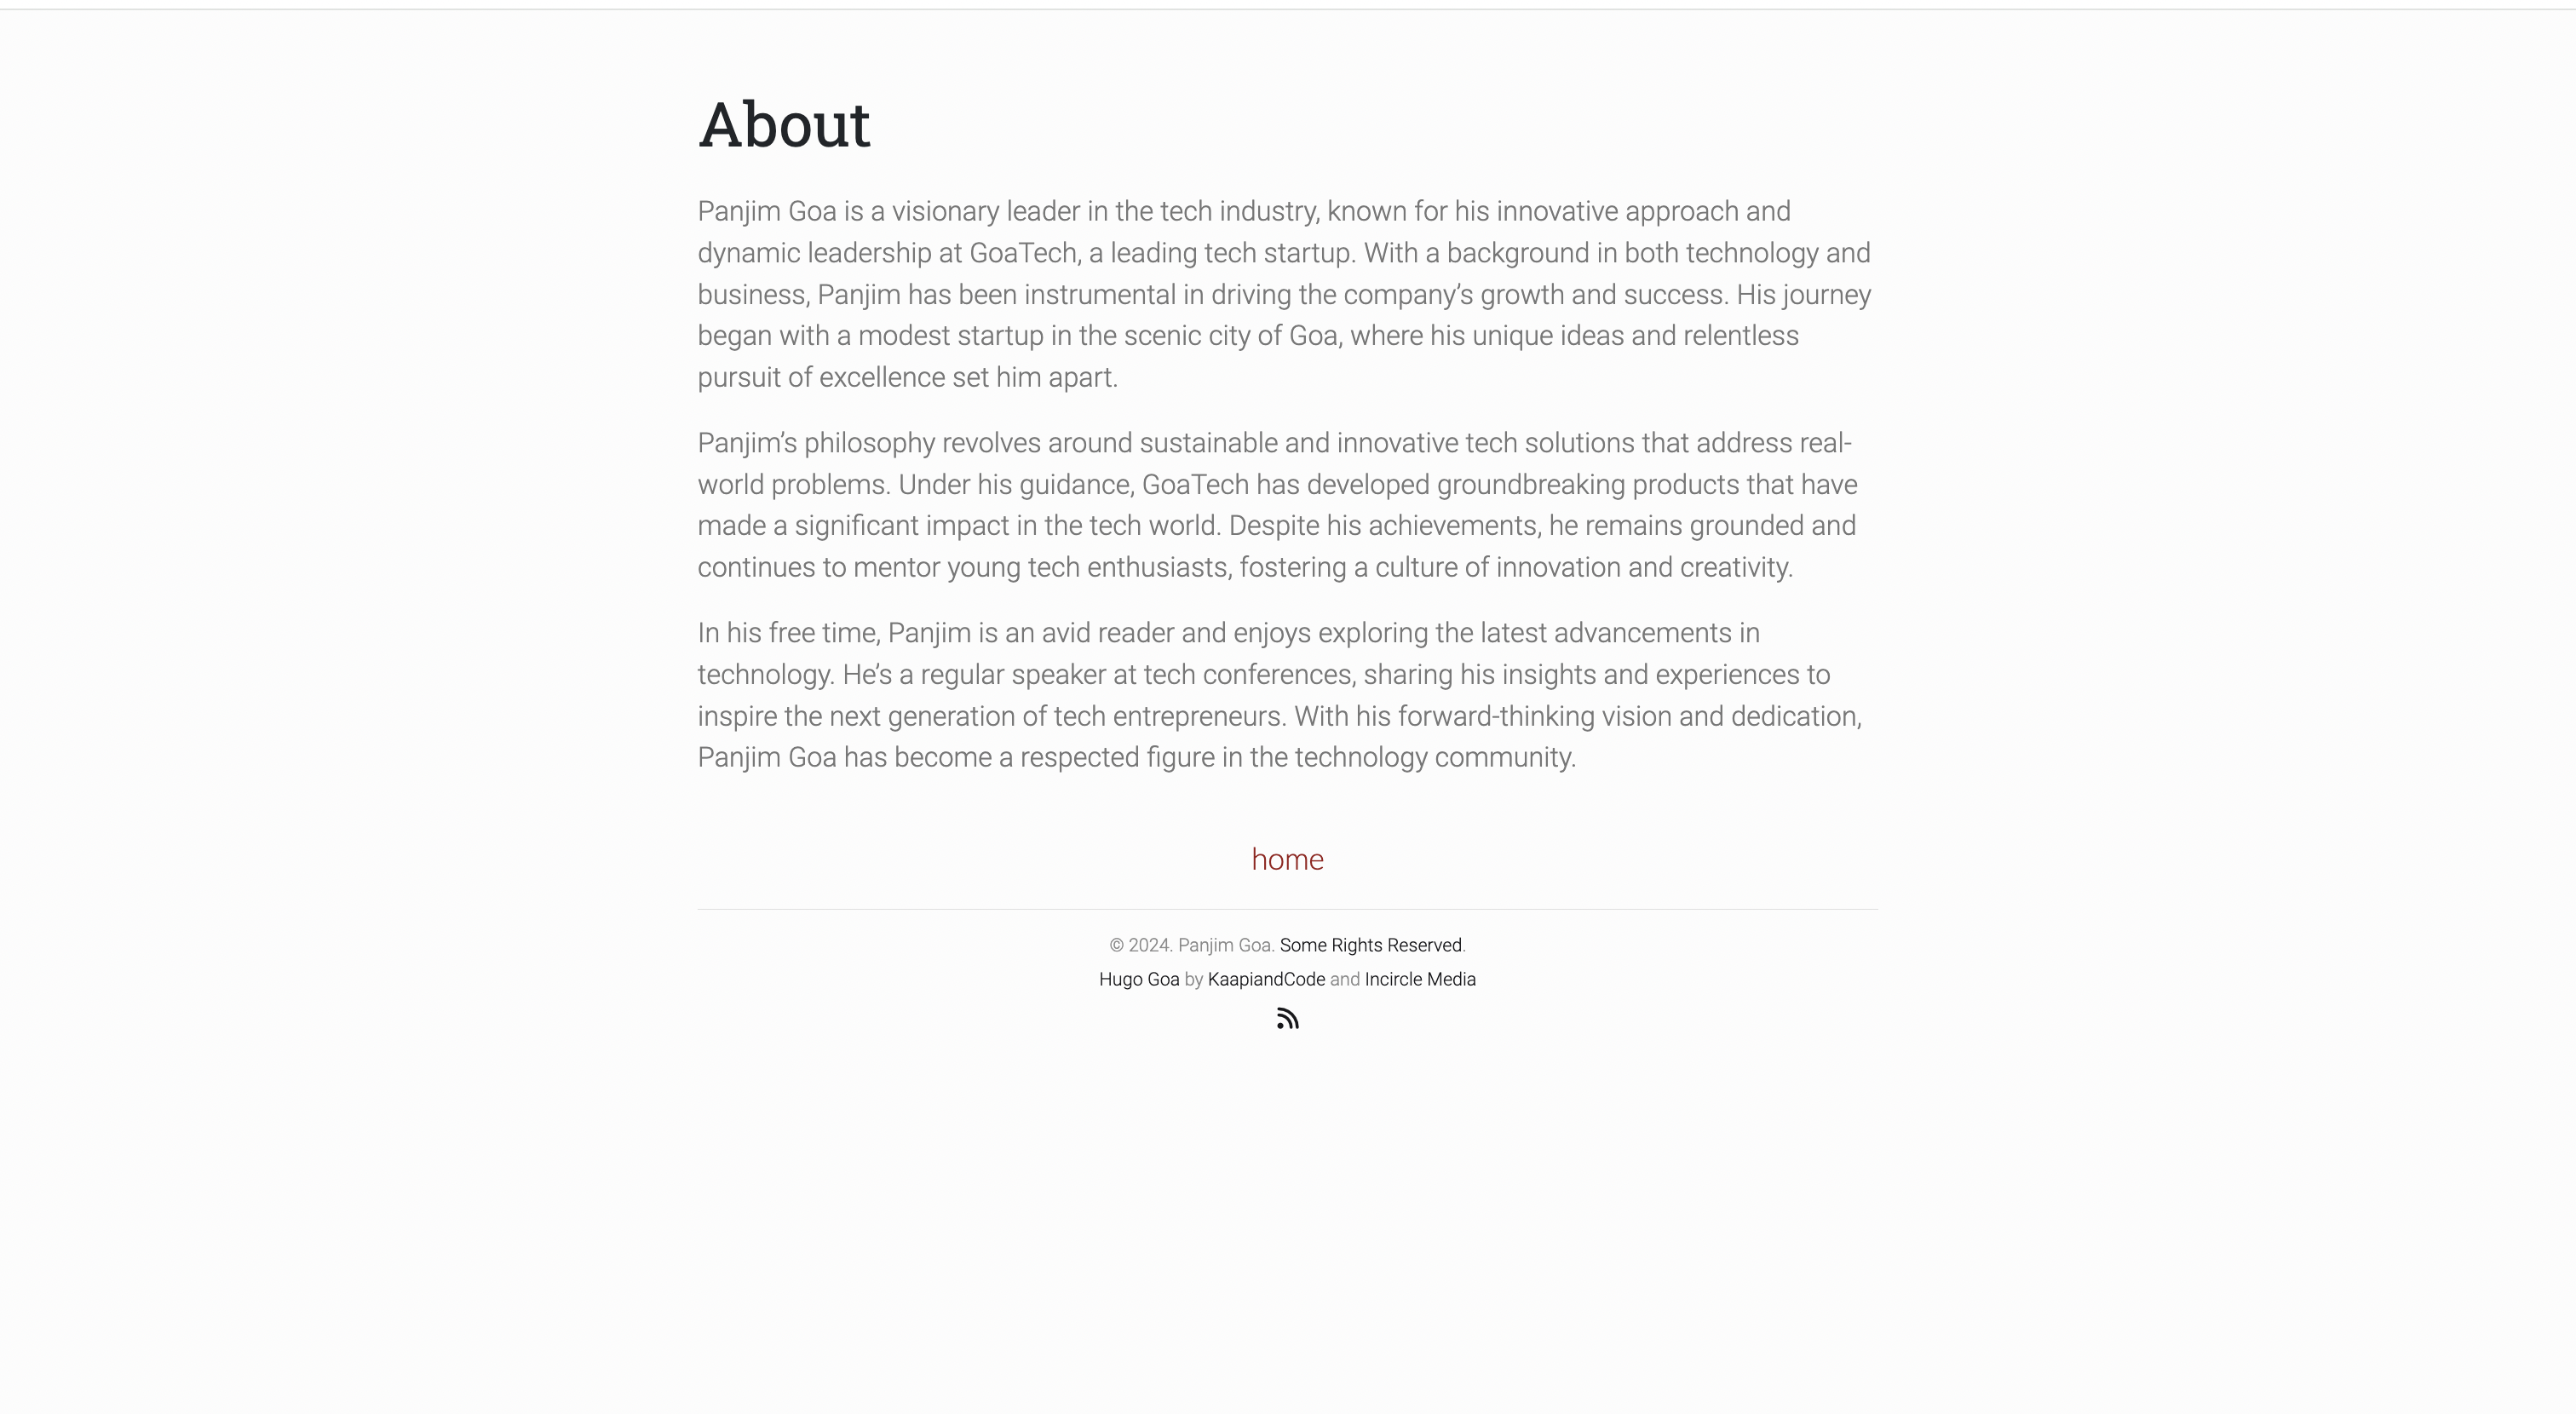
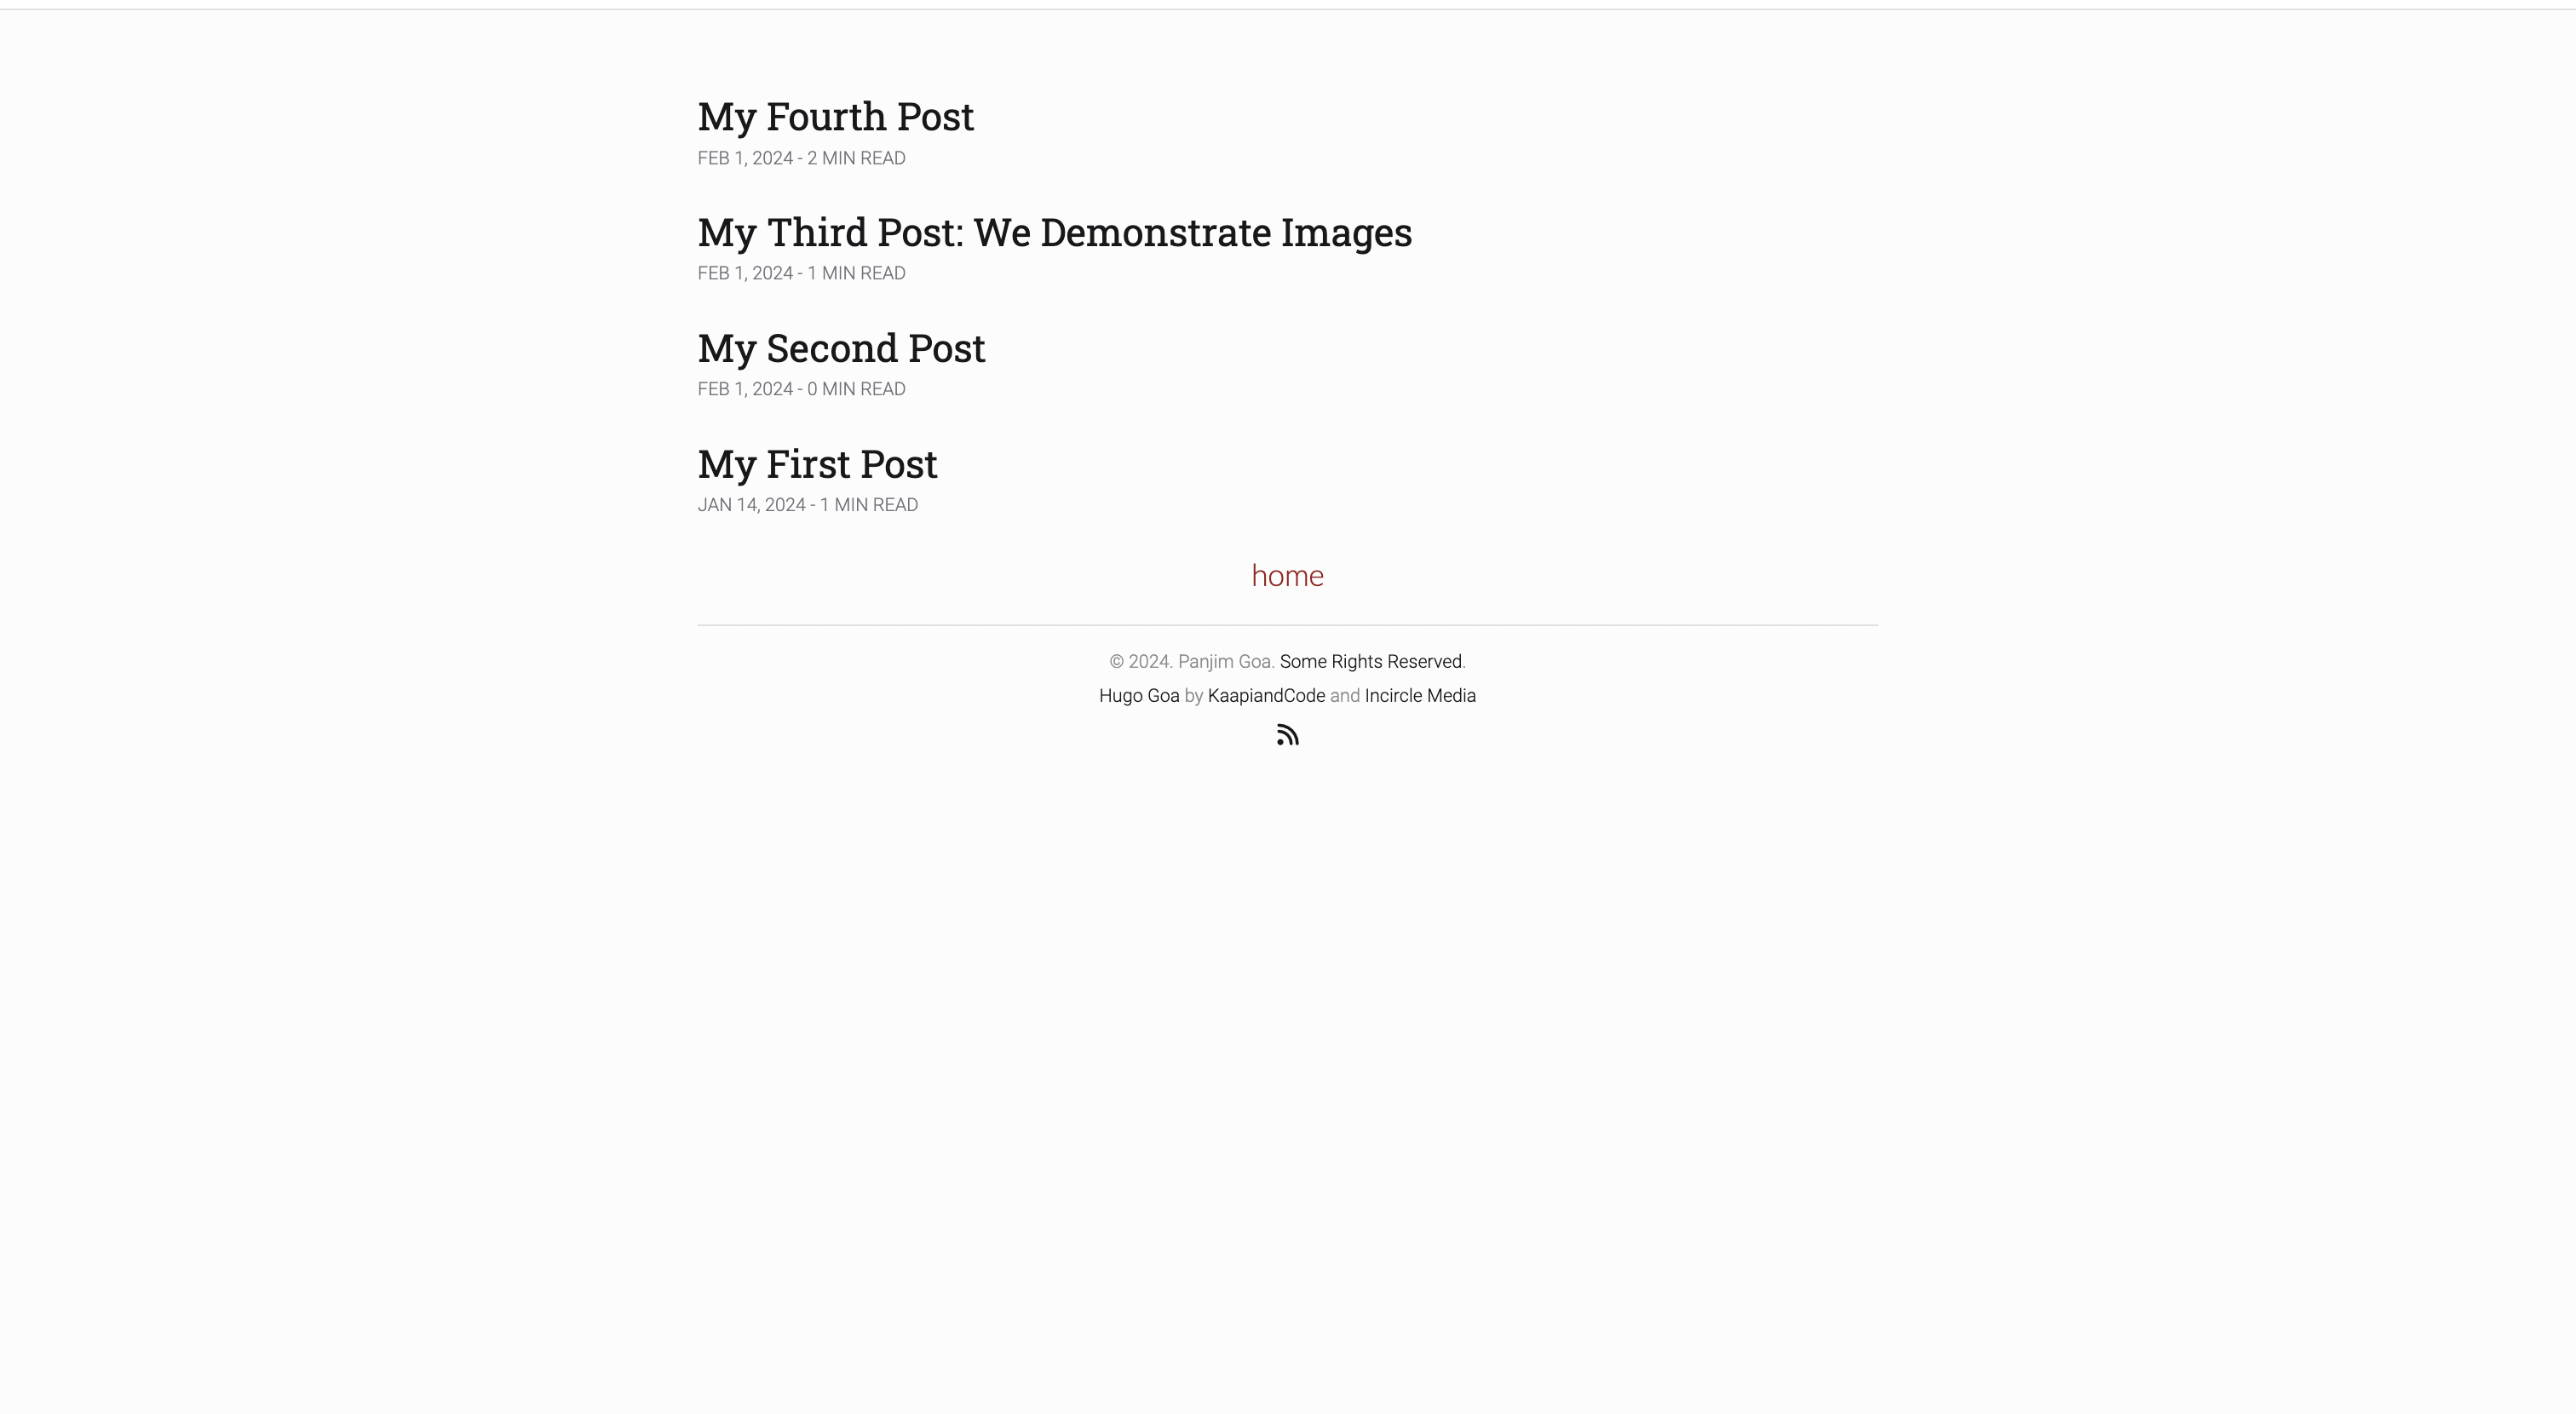
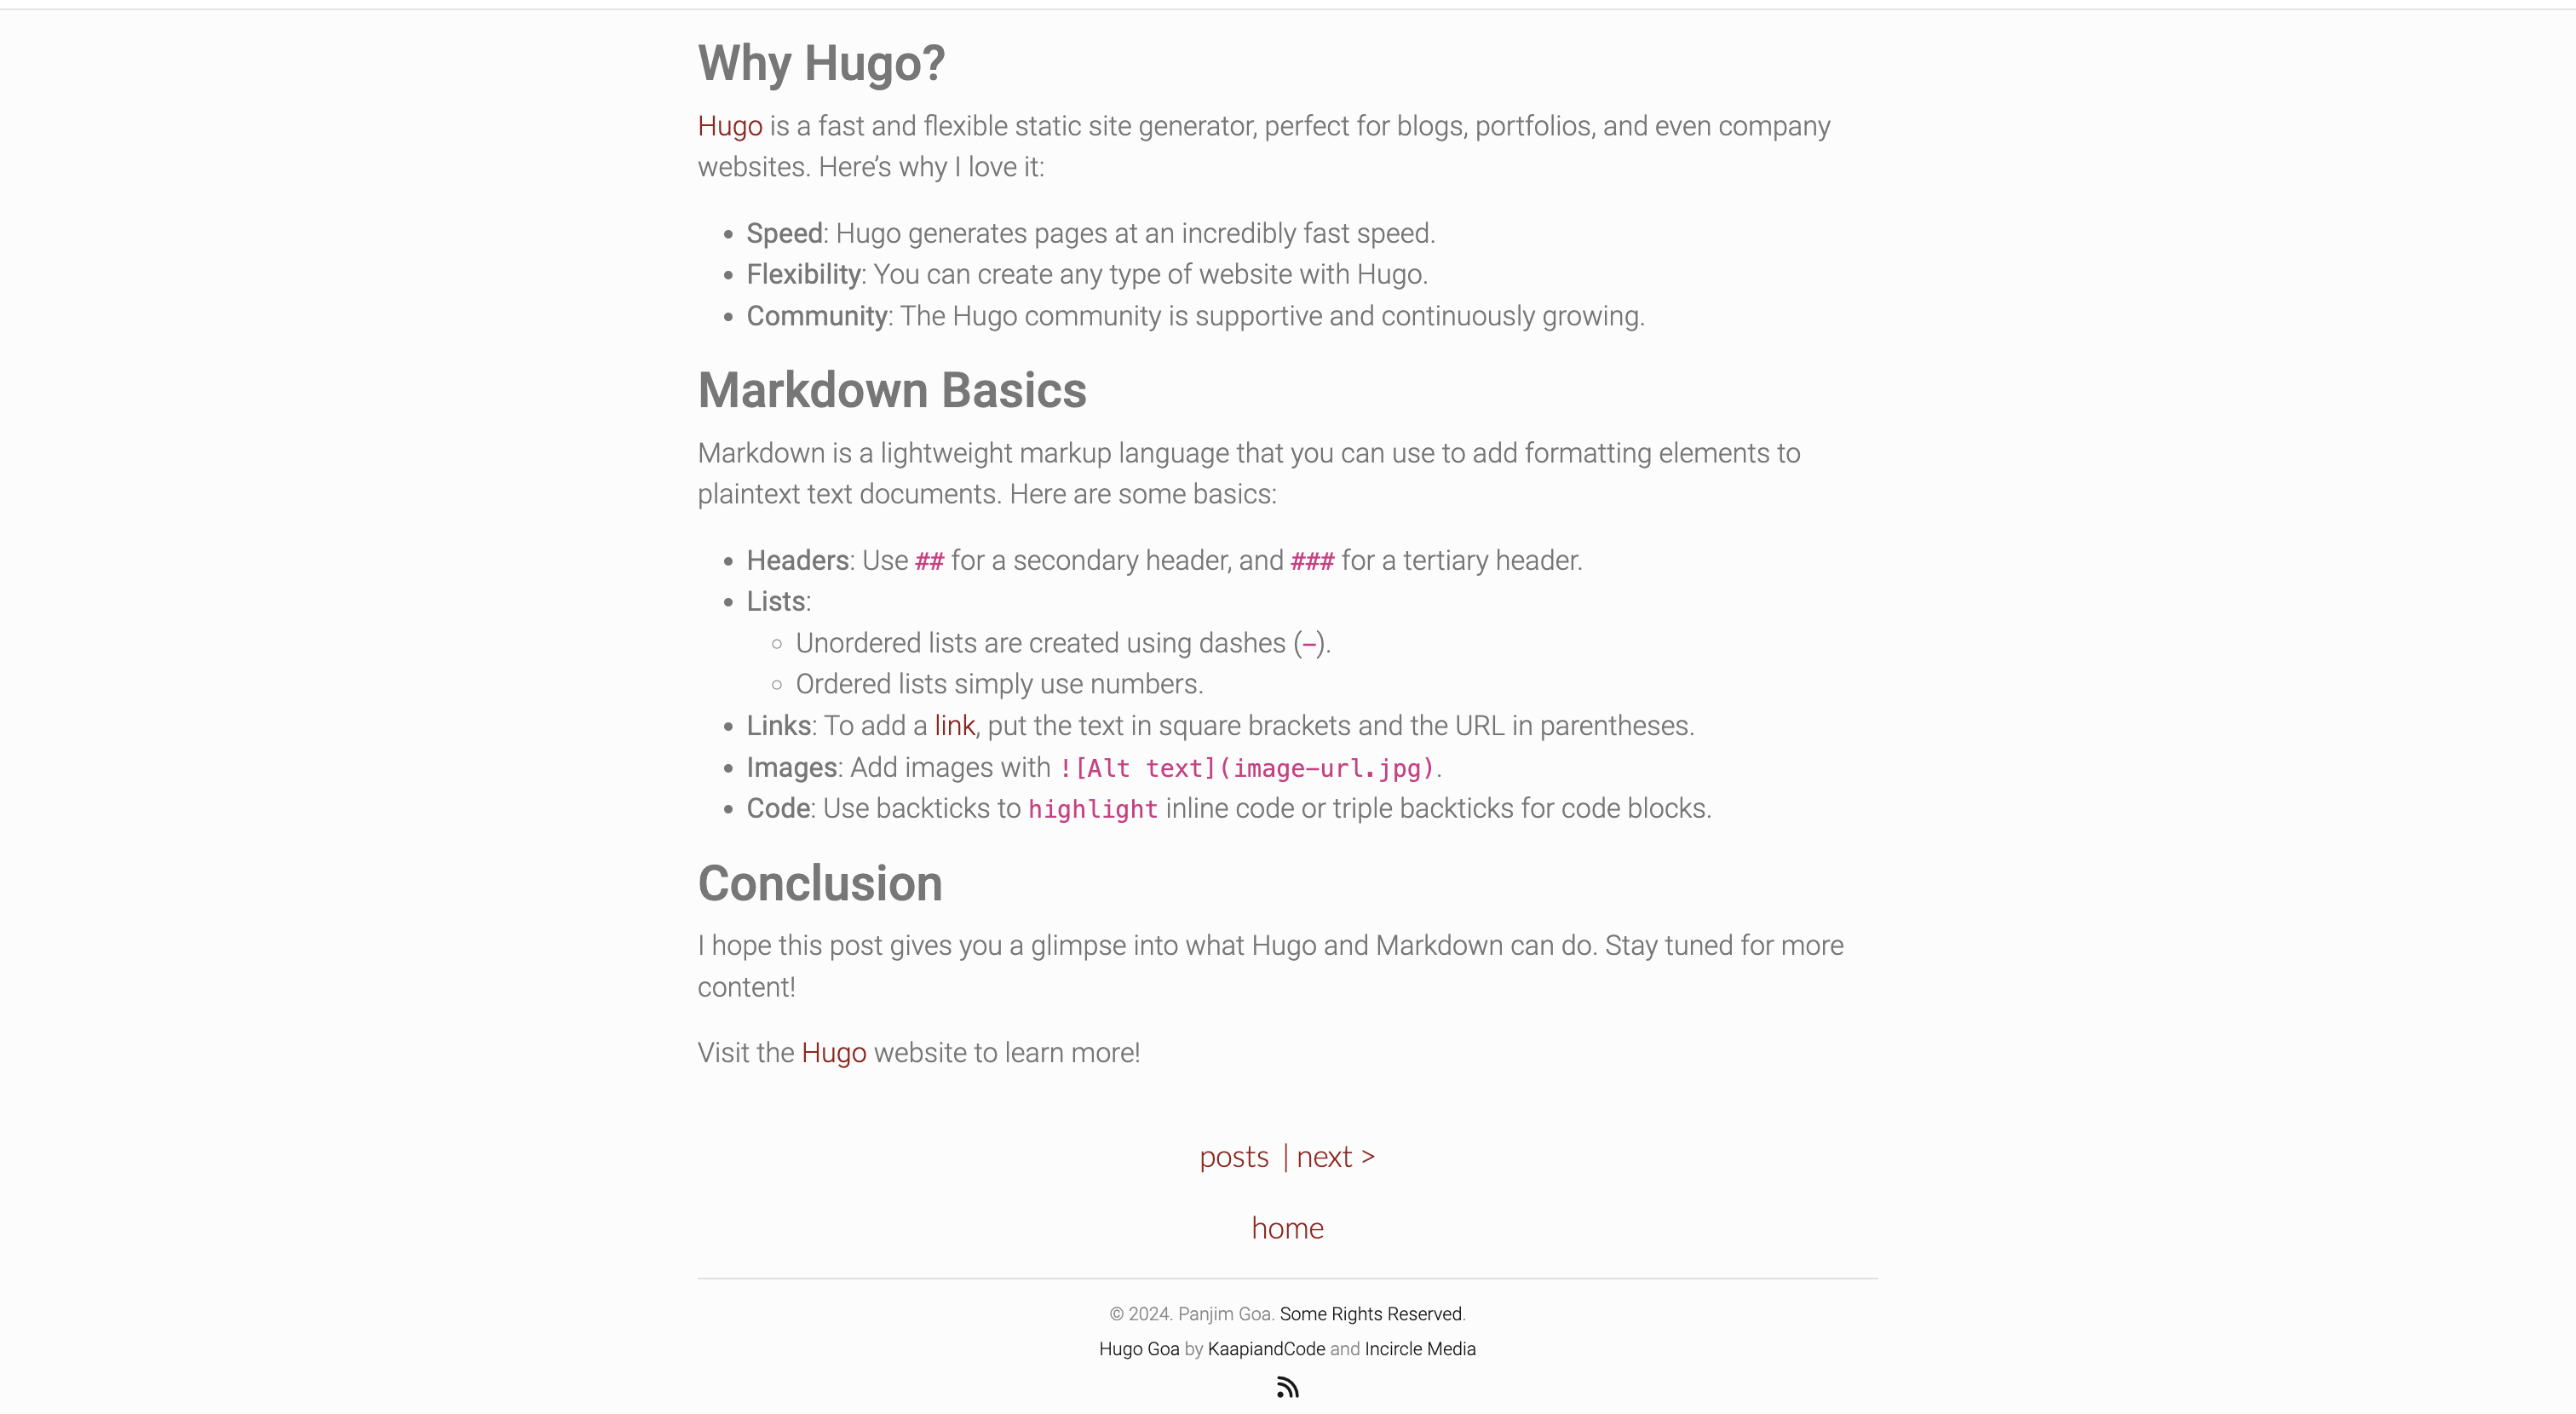
Goa is a clean, simple and minimalist theme for blogs and personal websites.
You can find the demo site in action here and the source here.
hugo new site quickstart
cd quickstart
git init
git submodule add https://github.com/kaapiandcode/hugo-goa.git themes/hugo-goa
echo "theme = 'hugo-goa'" >> hugo.toml
hugo server
To create a new page or post in Hugo, follow these steps:
Use the following Hugo command to create a new post. This will create a Markdown file for your post in the specified directory.
hugo new content posts/my-first-post.mdAfter creating the post, you can go ahead and edit the newly created file. You'll find it under the content/posts directory in your Hugo site's content folder.
To preview your edits in real-time, you can run the Hugo server with draft posts included. You can use either of these commands:
hugo server --buildDraftsor
hugo server -DOnce you have finished editing and are ready to publish your post, set draft = false in the article's front matter. This step is crucial to ensure that Hugo includes your post in the generated site.
Remember, until you set draft = false, Hugo will treat the post as a draft, and it won't appear in your published site unless you use the -D or --buildDrafts flags with hugo server.
To create standalone pages in Hugo, such as an "About" page or a "Projects" page, you can indeed override the default list behavior by adding an index.md file in the corresponding content directory. This approach allows for more control over the content and presentation of these specific pages, setting them apart from regular blog posts or list pages.
To create a new standalone page, like a "Projects" page, you need to first create an index.md file in the appropriate directory. Use the Hugo command to do this:
hugo new projects/index.mdThis command will create a new directory named projects inside the content folder of your Hugo site and then create an index.md file inside this projects directory.
Open the newly created index.md file in your text editor. This file will act as the main content file for your standalone page. Here, you can add the content for your "Projects" page.
At the top of the index.md file, you will find the front matter, which is used by Hugo to store metadata about the page. You can customize this front matter as needed for your page.
If you want to apply a custom layout to this page, you can create a new layout file in the layouts directory of your Hugo site. For example, you might create a layout specifically for the projects page. Then, reference this custom layout in the front matter of your index.md file.
After setting up your index.md file and any custom layouts, run the Hugo command to build your site:
hugo --cleanDestinationDir
This will generate the static files for your site, including your new standalone page, in the public directory.
Remember, the index.md file in a directory allows you to create a standalone page with its own content and layout, different from the auto-generated list pages for blog posts or other content types. This method provides flexibility in organizing and presenting different types of content on your Hugo site.
To publish your site using Hugo without deploying it, you need to run a specific command that tells Hugo to generate the static site in the public directory. This command will create all the necessary files like HTML, CSS, JavaScript, and images. To ensure that draft, future, or expired content is not included, you will use a particular flag with the command.
Here is the command you need to run in your terminal or command prompt where your Hugo site project is located:
hugo --cleanDestinationDirThis command does the following:
- hugo: This is the basic command to build your site.
- --cleanDestinationDir: This flag cleans out the public directory before building. It ensures that only current content is published, and no old or unwanted files are left in the directory.
Remember, this process only generates the static files in the public directory of your Hugo project. It does not deploy these files to a web server or hosting service. For deployment, you would need to follow additional steps depending on your hosting solution.
These settings are at the page level.
-
showpagemeta: default=true. This allows you to disable page meta information from being displayed. For example, this setting is disabled here and enabled here. -
showcomments: default=true. Enables or disable comments. For example, this setting is disabled here and enabled here.
The provided config.toml describes all options and features that are supported. Configure it your way!
These are site wide configuration parameters that are used by this template.
baseurl: This is the root of your site.builddrafts: default=false. Enables or Disable building drafts when hugo is run.canonifyurls: default=false. Prefix all relative URLs with your base URL. More Information.languageCode: Used to set site localization preferences. eg.en-US.contentdir: Where hugo can find your content. eg.content.layoutdir: Where hugo can find your templates. eg.layouts.publishdir: Where hugo generates the static site. eg.public.author: Site author name. eg.Panjim Goa.title: Site title name. eg.Panjim Goa.theme: Your theme name should be set tohugo-goaif using this theme.
These are features that hugo provides and are used by this template.
disqusShortname: Your discusShortname if you want to enable comments on your posts.googleAnalytics: Your google analytics id for tracking.enableRobotsTXT: Enable or disable search engines from crawling your site.
These are settings that are specific to this theme.
author: Main author name. eg.Panjim Goa.intro: Author introduction. This field supports markdown. eg.Innovative Tech Guru.description: Author description. This field supports markdown. eg.Leading the charge at [Incircle Media](https://incirclemedia.com).authorimage: Location of author image under static/img or assets/images directory. eg.headshot.jpgdateformat: Golang date format to be used on this site. eg.Jan 2, 2006
These settings are included in the site's meta section.
description: User this field to describe your site to search engines. eg.Simple minimalist theme.keywords: Keywords that desribe your site. eg.minimalist,blog,goa,hugo,developer.
These settings to display your social accounts.
github: Your Github username.instagram: Your Instagram username.xing: Your Xing username.linkedin: Your Linkedin username.twitter: Your Twitter username.facebook: Your Facebook username.google: Your Google username.googlescholar: Your Google Scholar account ID. How to get this IDmedium: Your Medium username.devto: Your dev.to username.stackoverflow: Your StackOverflow username.angellist: Your AngelList username.lastfm: Your Last.fm username.goodreads: Your Goodreads username.gitlab: Your Gitlab username.bitbucket: Your BitBucket username.fivehundredpx: Your 500px username.flickr: Your Flickr username.foursquare: Your Foursquare username.hackernews: Your Y Combinator Hackernews username.kickstarter: Your Kickstarter username.patreon: Your Patreon username.pintrest: Your Pintrest username.steam: Your Steam username.reddit: Your Reddit username.snapchat: Your Snapchat username.keybase: Your Keybase username.twitch: Your Twitch username.youtube: Your YouTube channel ID.soundcloud: Your Soundcloud username.tumblr: Your Tumblr username.strava: Your Strava username.skype: Your skype username.telegram: Your Telegram username.holopin: Your Holopin username.whatsapp: Your phone number. Follow the steps here. Privacy Warningemail: Your email. Privacy Warningpgp: Your PGP key. The value should be set to the key fingerprint, and the public key should pe placed in static/key_fingerprint.txt
It is recommended to keep your private data (phone number/ email) private. Especially if you don't use them for business. Adding it to your public will expose your data to the public. This is irreversible.
To get this ID, go to Google Scholar, press the "My Profile" tab at the top, then copy the text after the user= till the first subsequent & (e.g. the ACCOUNT_ID part in https://scholar.google.com/citations?user=ACCOUNT_ID&hl=en).
These settings for extra features that this site uses.
copyright: Add a copyright statement to the bottom of the theme. eg.© 2024. Panjim Goa. [Some Rights Reserved](https://creativecommons.org/licenses/by/3.0/)."rss: Enable rss icon next to social accounts.poweredby: Help promote this theme and give the authors credit. eg.trueorfalse.highlightjs: Use highlightJS to highlight code on your site. eg.trueorfalse.socialmarkup: Adds links that conform to the Schema.org markup. See this link for more.
These settings for the main menu that is displayed on the home page.
name: Name of menu item. eg.blogweight: Weight of this menu item. Higher items go to the bottom. eg.100url: Root URL for this section/page. eg./blog/.
Example:
[[menu.main]]
    name = "blog"
    weight = 100
    url = "blog/"
[[menu.main]]
    name = "about"
    weight = 200
    url = "about/"
[[menu.main]]
    name = "projects"
    weight = 300
url = "projects/"- Responsive
- Minimalist
- Bootstrap 5
- Font Awesome 6
- HighlightJS
- Disqus support for commenting
- Built-in support for 404 pages, Disqus comments and Google Analytics.
- Search Github Issues to see if the bug has been previously filed.
- If it has been filed, +1 the post. This helps us in assessing impact and priortitizing the bug.
- If not previously filed, open a new Github Issue and describe in detail. Attach error traces and provide relavant details to help us solve it.
- For Hugo issues, search the Hugo Forum
- Search Github Issues to see if the feature has been previously requested.
- If it has been filed, +1 the post. This helps us in assessing popularity and priortitizing the feature.
- If not previously filed, open a new Github Issue and describe it in detail.
- Clone the repository, create the feature/bug branch.
- Code.
- Make sure your code follows the style of the project.
- Test it thoroughly.
- Open a PR requesting for it to be merged.
- Describe the feature or issue your are solving in detail.
- Wait for its approval.
- Merge and Rejoice.
The theme's design was inspired by many blogs and themes:
Licensed under the MIT License. See the LICENSE file for more details.
- Raj Shenoy
- web: kaapiandco.de
- twitter: @kaapiandcode
- Incircle Media
- web: Incircle Media
- twitter: @incirclemedia
