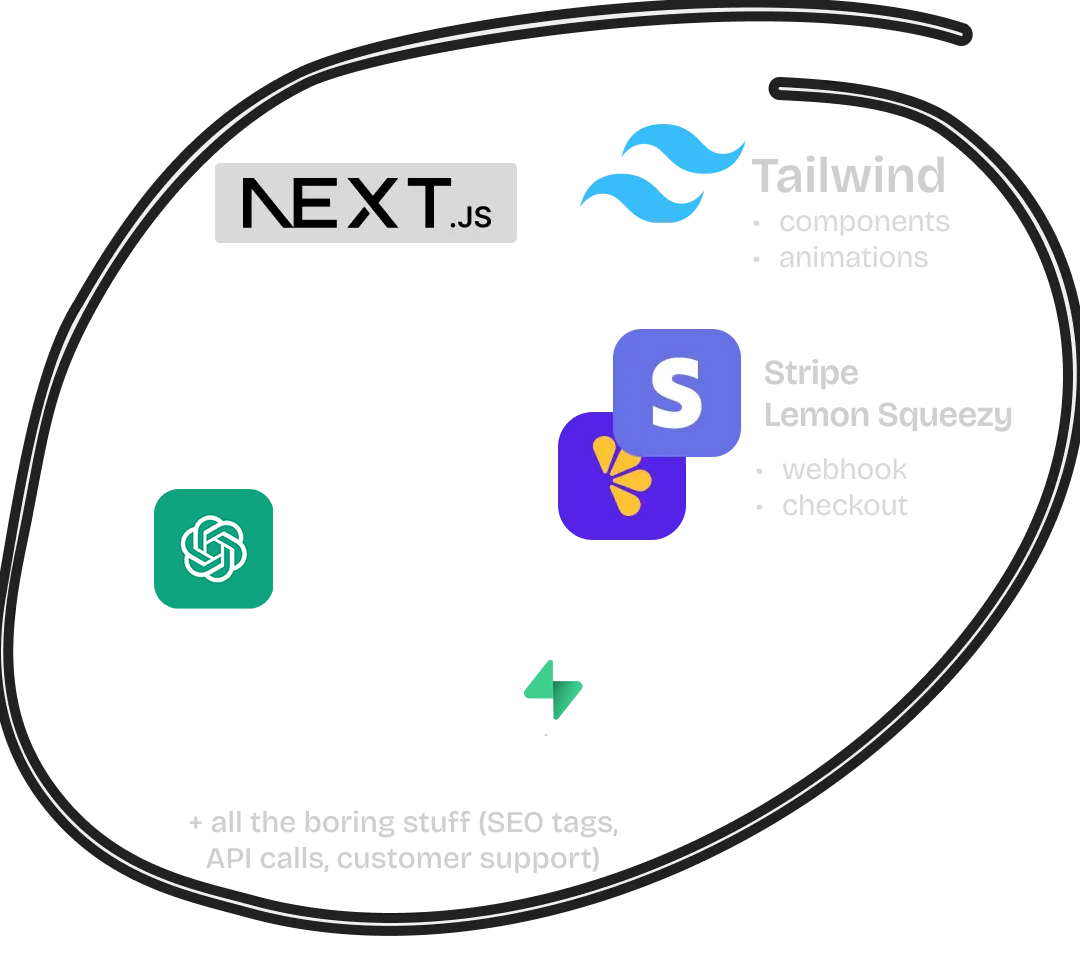
A modern, production-ready SaaS starter kit built with Next.js 15, TypeScript, Tailwind CSS, and more. Perfect for launching your next SaaS project quickly and efficiently.
- ⚡ Next.js 15 with App Router & Server Actions
- 🎨 Tailwind CSS 3.3 & shadcn/ui for beautiful UI
- 📱 Fully Responsive design
- 🔐 Authentication with Supabase
- 💳 Stripe Integration for payments
- 📧 Email Integration with Resend
- 🎯 SEO Optimized
- 🌙 Dark Mode ready
- 🔍 Type Safe with TypeScript 5.3
Before you begin, ensure you have the following installed:
-
Clone the Repository
git clone https://github.com/zainulabedeen123/best-saas-kit.git
-
Navigate to Project Directory
cd best-saas-kit -
Install Dependencies
npm install
-
Set Up Environment Variables
- Copy the example environment file:
cp .env.example .env.local
- Open
.env.localand fill in your environment variables:# App NEXT_PUBLIC_APP_URL=http://localhost:3000 # Supabase NEXT_PUBLIC_SUPABASE_URL=your_supabase_url NEXT_PUBLIC_SUPABASE_ANON_KEY=your_supabase_anon_key SUPABASE_SERVICE_ROLE_KEY=your_service_role_key # Stripe STRIPE_SECRET_KEY=your_stripe_secret_key STRIPE_WEBHOOK_SECRET=your_webhook_secret NEXT_PUBLIC_STRIPE_PUBLISHABLE_KEY=your_publishable_key # Email (Resend) RESEND_API_KEY=your_resend_api_key
- Copy the example environment file:
-
Run Development Server
npm run dev
-
Open Your Browser Visit http://localhost:3000 to see your application running.
- Create a Supabase account
- Create a new project
- Go to Project Settings > API
- Copy the URL and anon key to your
.env.local
- Create a Stripe account
- Get your API keys from the Stripe Dashboard
- Add them to your
.env.local - Set up webhook endpoints (detailed in documentation)
- Create a Resend account
- Get your API key
- Add it to your
.env.local
best-saas-kit/
├── src/
│   ├── app/             # Next.js app router pages
│   ├── components/      # React components
│   ├── lib/            # Utility functions
│   └── styles/         # Global styles
├── public/             # Static assets
├── prisma/            # Database schema
└── ...config files
-
Code Quality
- ESLint for code linting
- Prettier for code formatting
- TypeScript for type safety
-
Git Hooks
- Husky for Git hooks
- lint-staged for staged files linting
We welcome contributions! Please feel free to submit a Pull Request.
- Fork the repository
- Create your feature branch (
git checkout -b feature/AmazingFeature) - Commit your changes (
git commit -m 'Add some AmazingFeature') - Push to the branch (
git push origin feature/AmazingFeature) - Open a Pull Request
This project is licensed under the MIT License - see the LICENSE file for details.
If you have any questions or need help, please open an issue or contact us at [email protected]
Built with ❤️ by Zain UI Abedeen
